
How to Ferment Cabbage in a Mason Jar
A single head of cabbage sitting in the crisper drawer for two weeks pushed me into making the best sauerkraut recipe of my life out of sheer guilt.
Fermentation always sounded like a science experiment I would inevitably ruin, with a kitchen that smelled like a damp basement for a week. The reality is that salt does almost all of the work, and a mason jar handles the rest.
This easy sauerkraut recipe takes fifteen minutes of active time, requires zero special equipment, and produces a tangy, crunchy fermented cabbage that stores in the fridge for months and improves every single week.
Why You’ll Love This Recipe
- Zero special equipment. This easy sauerkraut recipe uses a mason jar you already own and takes about fifteen minutes of active work before the counter takes over.
- Budget friendly. You save a significant amount compared to buying organic sauerkraut at the store, where a small jar runs three to five dollars for a product that costs pennies to make at home.
- Foolproof brine. The cabbage creates its own liquid through the salt massage, so you never measure water or calculate complex ratios.
- Fridge friendly. A small batch fits comfortably in the door of any standard refrigerator and keeps for months without demanding a ceramic crock or a basement full of equipment.
Tools You’ll Need
Nothing fancy, I promise.
- Wide-mouth mason jar – You need a vessel to hold the cabbage, and a wide-mouth mason jar makes packing the shreds down infinitely easier.
- Smaller jelly jar – This acts as a weight to keep the cabbage submerged under the liquid.
- Cheesecloth – A breathable cover keeps dust out while letting the fermentation gases escape.
Kimchi vs Sauerkraut
Sauerkraut is a German fermented cabbage made with nothing but green cabbage and salt, relying on naturally occurring lactic acid bacteria on the leaves to do the work. A classic german sauerkraut recipe keeps the ingredient list minimal, sometimes adding caraway seeds, juniper berries, or mustard seeds for a traditional spice profile.
The kimchi vs sauerkraut comparison comes up constantly, and the key differences lie in the seasoning and fermentation speed. Kimchi uses napa cabbage, garlic, ginger, fish sauce or shrimp paste, and Korean red pepper paste called gochugaru, which gives it a spicy, funky, deeply seasoned flavor. Sauerkraut relies on the cabbage itself and ferments more slowly at cooler temperatures.
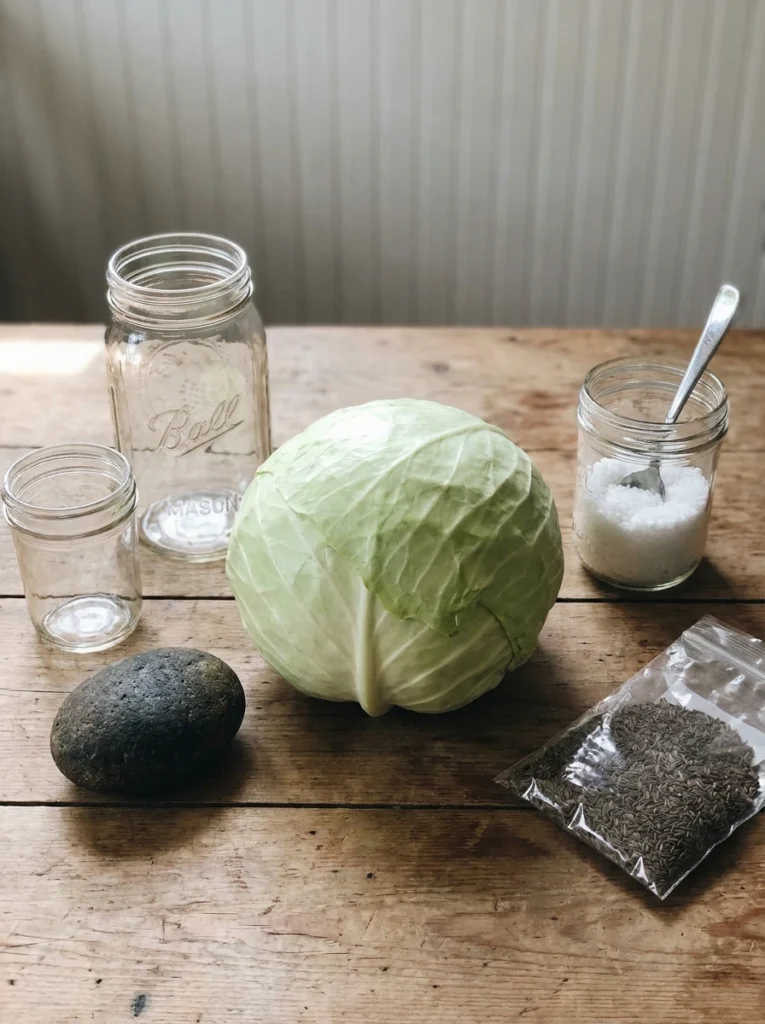
Ingredients
❤
- Green cabbage. One medium head weighing about three pounds gives you the right volume. Fresh, heavy cabbage holds more water and releases it faster when salted, which means less risk of a dry jar. Old, rubbery cabbage resists releasing liquid and can ruin a batch.
- Kosher salt. One and a half tablespoons draws liquid from the cabbage cells and creates a brine that keeps harmful bacteria out while letting the lactic acid producers thrive. You use kosher salt or pickling salt and avoid iodized table salt, because iodine inhibits the fermentation bacteria.
- Caraway seeds. One tablespoon adds the deli-counter flavor most people associate with store-bought sauerkraut. You skip them entirely if caraway tastes like soap to you, and the fermentation works identically.
Instructions
Chop the cabbage, squeeze it until your hands are tired, and let the counter do the rest of the work.
- Clean everything: Make sure your mason jar and jelly jar are washed and rinsed of all soap residue. You will be using your hands to massage the salt into the cabbage, so give those a good wash, too. If you skip this, you might grow the wrong kind of bacteria, and nobody wants a fuzzy science project.
- Slice the cabbage: Discard the wilted, limp outer leaves of the cabbage. Cut the cabbage into quarters and trim out the core. Slice each quarter down its length, making 8 wedges. Slice each wedge crosswise into very thin ribbons. Thinner slices release their water much faster than thick chunks.
- Combine the cabbage and salt: Transfer the cabbage to a big bowl and sprinkle the salt over top. Begin working the salt into the cabbage by massaging and squeezing the cabbage with your hands. At first it might not seem like enough salt, but gradually the cabbage will become watery and limp, more like coleslaw than raw cabbage. This will take 5 to 10 minutes. If you would like to flavor your sauerkraut with caraway seeds, mix them in now. Your hands will cramp, but keep squeezing until you see a puddle of water at the bottom of the bowl.
- Pack the cabbage into the jar: Grab handfuls of the cabbage and pack them into the canning jar. If you have a canning funnel, this will make the job easier. Every so often, tamp down the cabbage in the jar with your fist. Pour any liquid released by the cabbage while you were massaging it into the jar. Optional: Place one of the larger outer leaves of the cabbage over the surface of the sliced cabbage. Pressing hard removes air pockets that can cause spoilage.
- Weigh the cabbage down: Once all the cabbage is packed into the mason jar, slip the smaller jelly jar into the mouth of the jar and weigh it down with clean stones or marbles. This will help keep the cabbage weighed down, and eventually, submerged beneath its liquid. Imperfect weights are totally fine, just make sure the cabbage stays under the water line.
- Cover the jar: Cover the mouth of the mason jar with a cloth and secure it with a rubber band or twine. This allows air to flow in and out of the jar, but prevents dust or insects from getting into the jar. A tight lid will trap gas and potentially cause a very messy explosion.
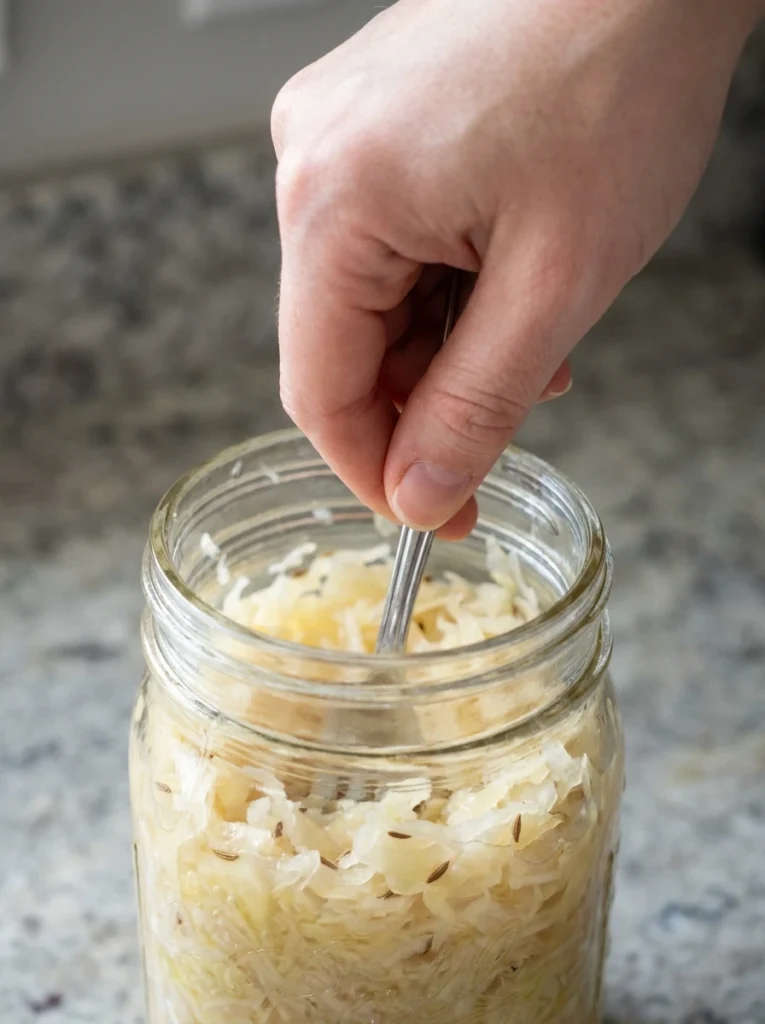
- Press the cabbage every few hours: Over the next 24 hours, press down on the cabbage every so often with the jelly jar. As the cabbage releases its liquid, it will become more limp and compact and the liquid will rise over the top of the cabbage. Patience pays off here.
- Add extra liquid, if needed: If after 24 hours, the liquid has not risen above the cabbage, dissolve 1 teaspoon of salt in 1 cup of water and add enough to submerge the cabbage. Sometimes old cabbage lacks moisture, and a little salt water saves the day.
- Ferment the cabbage for 3 to 10 days: As it ferments, keep the sauerkraut away from direct sunlight and at a cool room temperature, ideally 65°F to 75°F. Check it daily and press it down if the cabbage is floating above the liquid. Because this is a small batch, it will ferment more quickly than larger batches. Start tasting it after 3 days. When the sauerkraut tastes good to you, remove the weight, screw on the cap, and refrigerate. You can also allow the sauerkraut to continue fermenting for 10 days or even longer. There is no hard-and-fast rule for when the sauerkraut is done, go by how it tastes. While it ferments, you may see bubbles coming through the cabbage, foam on the top, or white scum. These are all signs of a healthy, happy fermentation process. The scum can be skimmed off the top either during fermentation or before refrigerating. If you see any mold, skim it off immediately and make sure your cabbage is fully submerged. Do not eat moldy parts close to the surface, but the rest of the sauerkraut is fine. Fermentation is forgiving, so trust your eyes and nose.
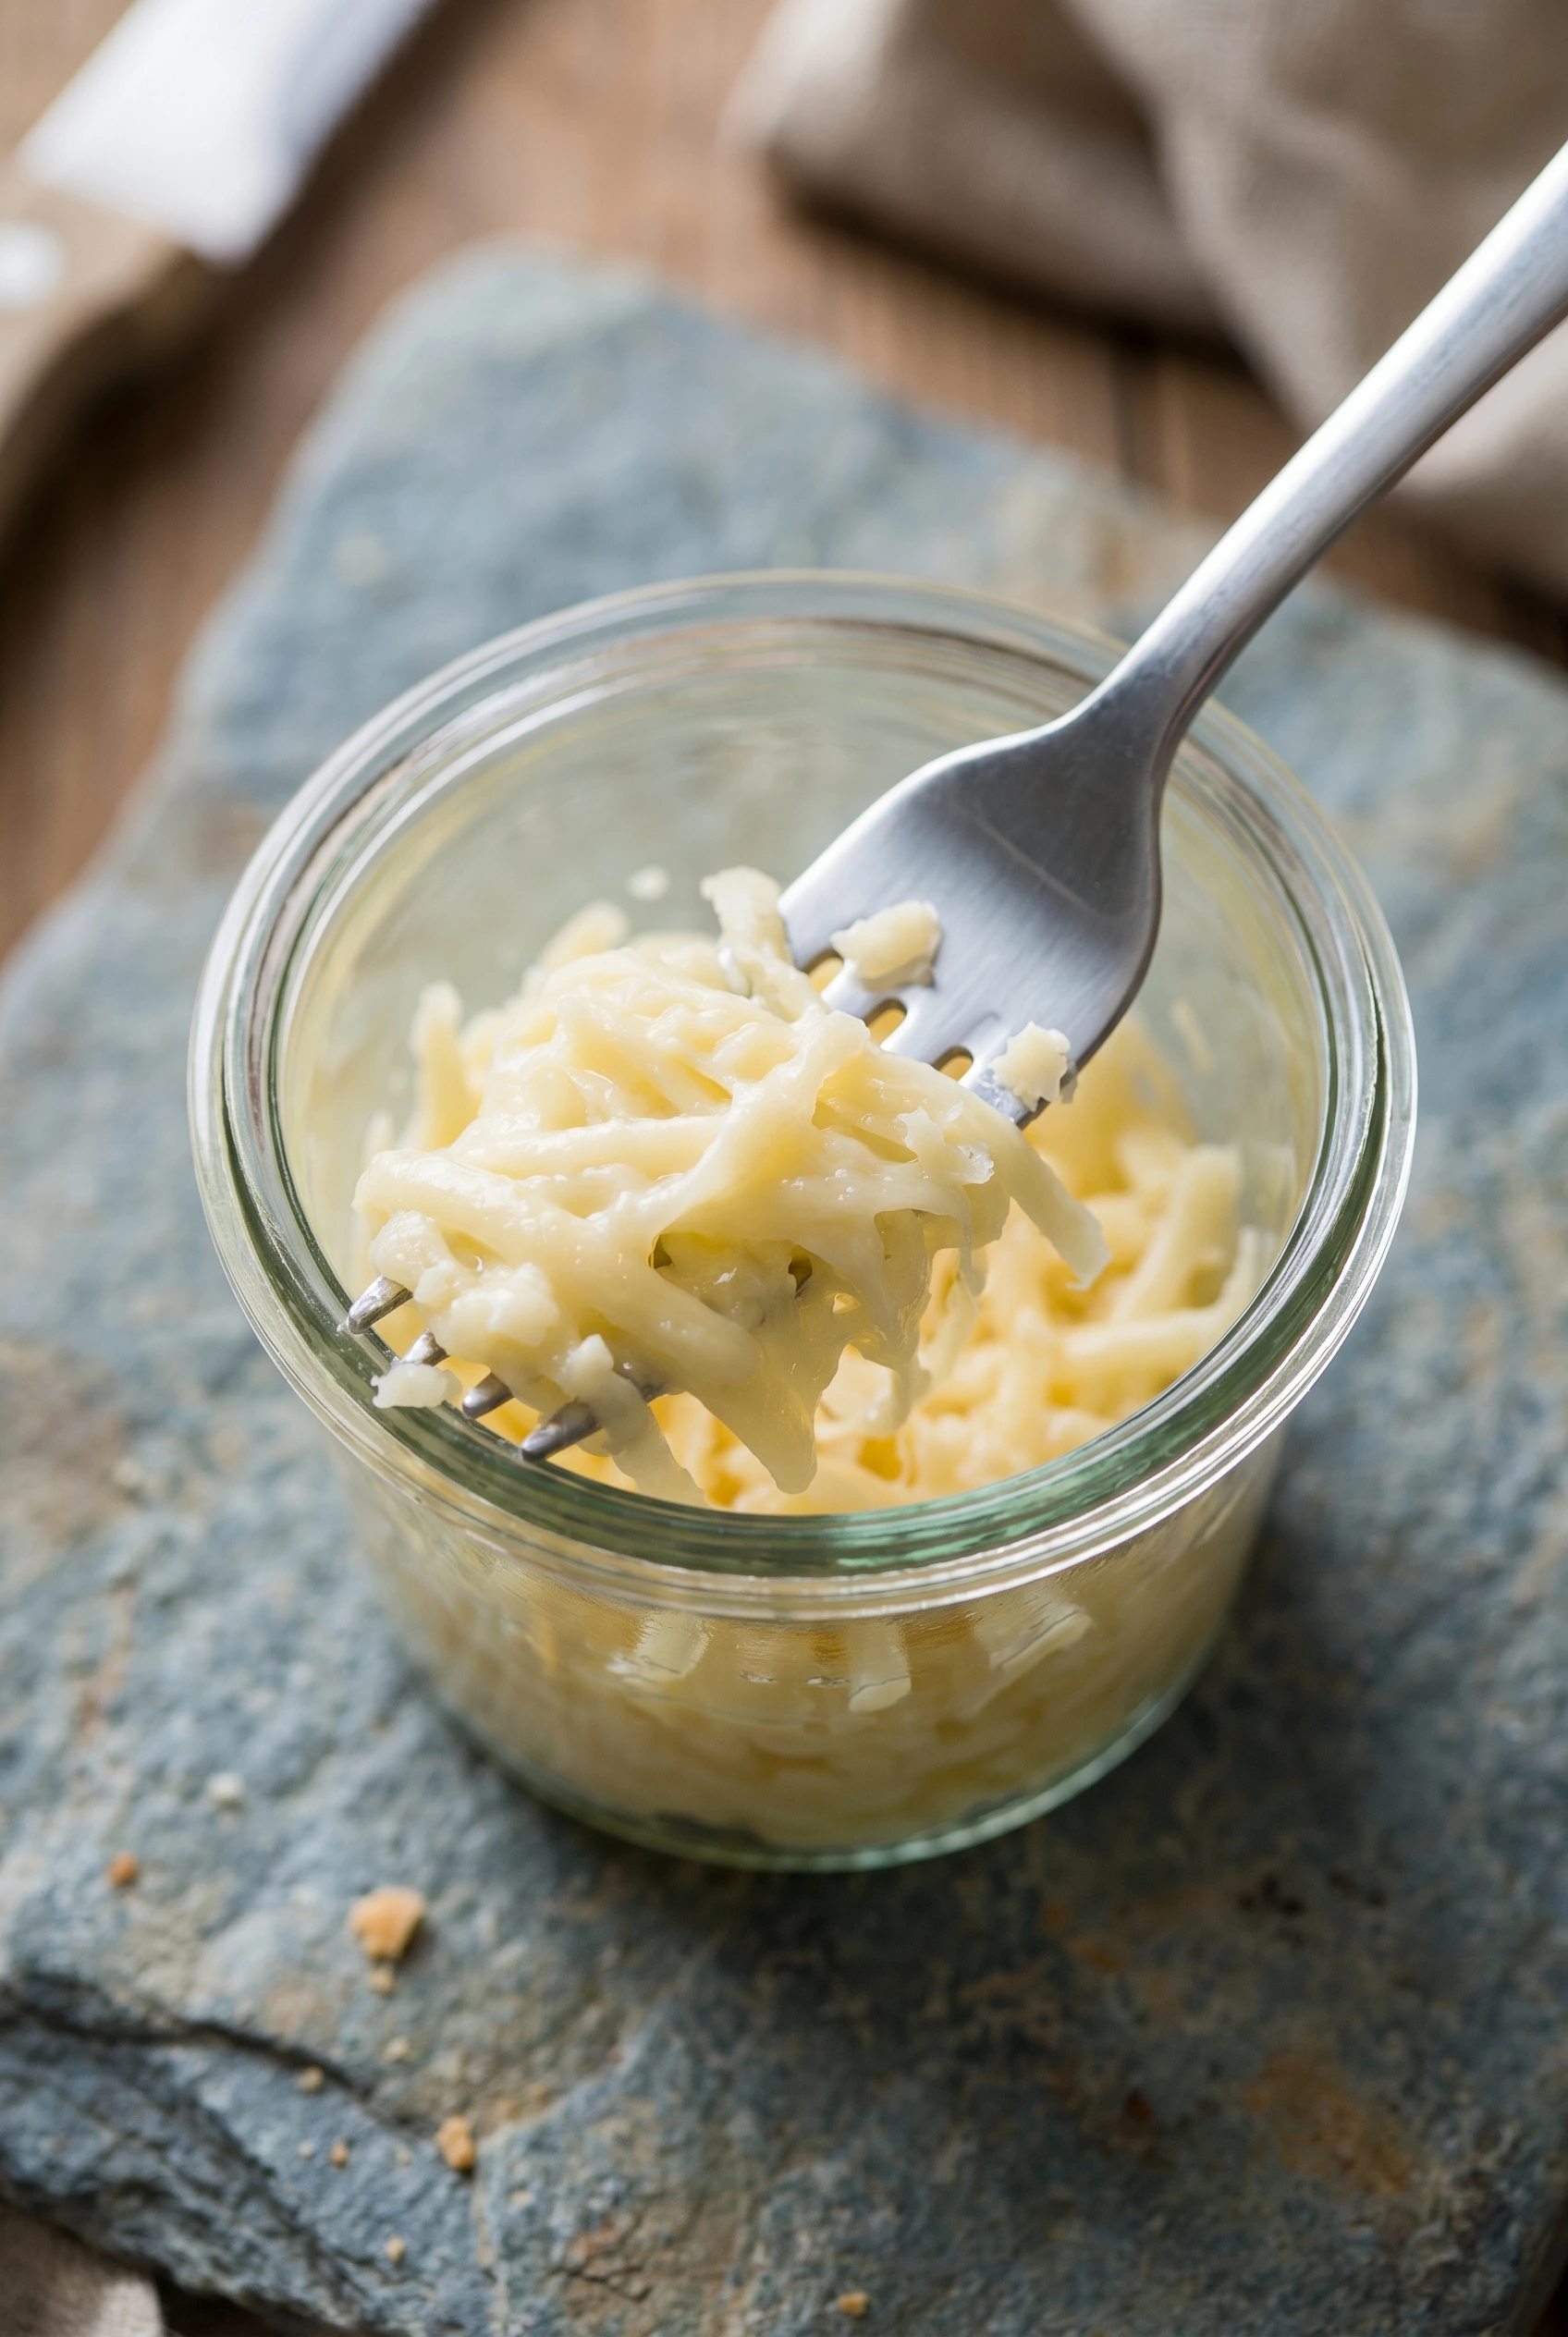
- Store sauerkraut for several months: This sauerkraut is a fermented product so it will keep for at least two months and often longer if kept refrigerated. As long as it still tastes and smells good to eat, it will be. If you like, you can transfer the sauerkraut to a smaller container for longer storage. The flavor deepens the longer it sits in the cold.
Seasoning and Taste as You Go
Getting the flavor right requires patience and a willing palate. Taste a strand of cabbage after three days and decide if you want more sourness.
- Too flat? Let it sit on the counter for another day or two. Time creates the lactic acid that provides the tang.
- Too salty? The saltiness mellows as the cabbage ferments. If it still tastes like an ocean after a week, rinse a portion briefly under cold water before eating.
- Needs depth? Toss in a few peppercorns or a bay leaf at the beginning of the process for a subtle background note.
♥ The Misfit Tips!
- Use fresh cabbage every time. I once tried to ferment a half-head that had been sitting in the fridge for a month. It refused to release a single drop of water, and I added salt water to compensate, but the batch tasted flat and I tossed it on day five. Fresh, dense cabbage is non-negotiable.
- Skim the scum without panic. White film on top of a fermentation jar triggers every alarm instinct your body has. It is harmless wild yeast, not dangerous mold. You skim it with a clean spoon and move on.
- Watch the temperature in summer. A warm kitchen above 78°F pushes fermentation faster than expected and can produce mushy sauerkraut in three days. You check the jar daily when the kitchen feels hot and move it to a cooler spot if the bubbling looks aggressive.
Make It Yours
- Red cabbage swap. You replace the green cabbage with red cabbage and get a vivid purple brine and a slightly sweeter flavor. Red cabbage takes a few extra days to reach the same sourness.
- Spicy version. You add a sliced jalapeño or half a teaspoon of red pepper flakes at the salt massage stage. Spice intensifies over the fermentation period, so you start with less than you think you need.
- Root vegetable additions. You fold in shredded carrots or grated beets during the packing stage for a sweeter, earthier variation that tastes especially good alongside grilled meats.
- Traditional german sauerkraut recipe additions. You add six to eight juniper berries and a teaspoon of whole mustard seeds alongside the caraway for a spice profile closer to what you find in Bavarian restaurants.
Perfect Pairings
Sauerkraut cuts through heavy, fatty flavors and makes a simple meal taste intentional.
- Grilled sausages, where the sour tang balances rich pork fat and keeps every bite from tasting one-dimensional.
- Thick rye bread with mustard and pastrami, which is the sandwich this jar was born to complete.
- A cold pilsner cuts the acidity and matches the deli-counter vibe without competing.
Game day hot dog bars also benefit from a bowl of this, because most condiments there cannot hold their own against a proper sauerkraut.
How to Store Sauerkraut
❤
- Fridge. You seal the jar with a regular lid once it reaches your preferred sourness and keep it refrigerated for up to six months. Cold stops the active fermentation but allows the flavor to deepen slowly.
- Freezer. You can freeze portions in an airtight container for up to six months. You thaw overnight in the fridge. Freezing kills the live bacteria and softens the texture, so you use frozen sauerkraut in cooked dishes rather than as a raw condiment.
- Serving temperature. You serve it cold or at room temperature for full probiotic benefit. You warm it gently on the stove for cooked recipes, but you avoid boiling.
- Fridge storage note. You keep the jar sealed tightly so the fermented smell does not transfer to other foods, especially dairy, stored nearby.
Homemade Sauerkraut
Ingredients
Equipment
Method
- Clean everythingYou wash your wide-mouth mason jar, jelly jar, and hands thoroughly and rinse away all soap residue before anything touches the cabbage. Soap residue kills the beneficial bacteria on the leaves. You take two extra minutes here and protect the entire batch.
- Slice the cabbageYou peel off and discard the wilted outer leaves, keeping one intact leaf to use later as a cover inside the jar. You quarter the cabbage and trim the core from each quarter. You slice each quarter lengthwise into thin wedges, then cut each wedge crosswise into ribbons as thin as you can manage. Thin slices release their water within five minutes of salting. Thick chunks sit there for twenty minutes and may never release enough liquid.
- Massage in the saltYou transfer the shredded cabbage to a large bowl and sprinkle the kosher salt evenly over the top. You dig both hands in and squeeze, press, and work the salt through every handful of cabbage for five to ten minutes without stopping. The cabbage starts dry and stiff. After a few minutes it turns limp and wet, and a visible puddle of cloudy brine collects at the bottom of the bowl. You keep squeezing past the point where your hands start to cramp. That brine is your preservation liquid. You mix in the caraway seeds, if you use them, at this stage.
- Pack the jarYou grab handfuls of salted cabbage and press them into the wide-mouth mason jar. You use your fist to tamp each layer down firmly so no air pockets survive between the shreds. You pour every drop of liquid from the bowl into the jar. You lay the reserved intact cabbage leaf over the surface of the shredded cabbage inside the jar, pressing it against the sides to create a seal that holds the shreds below the brine.
- Weigh the cabbage downYou slip the smaller jelly jar into the mouth of the mason jar and press it down onto the cabbage leaf. You fill the jelly jar with water or add a few clean stones inside it to add weight. The goal is to keep every shred of cabbage submerged under the liquid at all times, because any shred that floats above the brine line and contacts open air can develop mold.
- Cover and restYou drape a square of cheesecloth over the mouth of the jar and secure it with a rubber band. You set the jar on a plate or tray to catch any overflow that may bubble out during active fermentation. You place the jar somewhere away from direct sunlight at a room temperature between 65°F and 75°F and leave it alone.
- Press daily for the first 24 hoursYou press the jelly jar weight down onto the cabbage every few hours for the first day. Each press forces more brine up through the shreds and fills any remaining air gaps. By the end of the first day, the brine should rise visibly above the cabbage line. If it has not, you dissolve one teaspoon of kosher salt in one cup of water and pour enough into the jar to submerge the cabbage fully.