
I made this snow day snack mix at 11 PM on a Tuesday because I found a bag of stale mini marshmallows in the back of my pantry, and the idea of letting them go to waste felt physically painful. My original plan involved something fancy, but then I remembered I had zero patience and a bag of store-bought popcorn about to expire. I melted white candy coating, dumped everything into a bowl, and hoped it would not look like a craft project gone wrong.
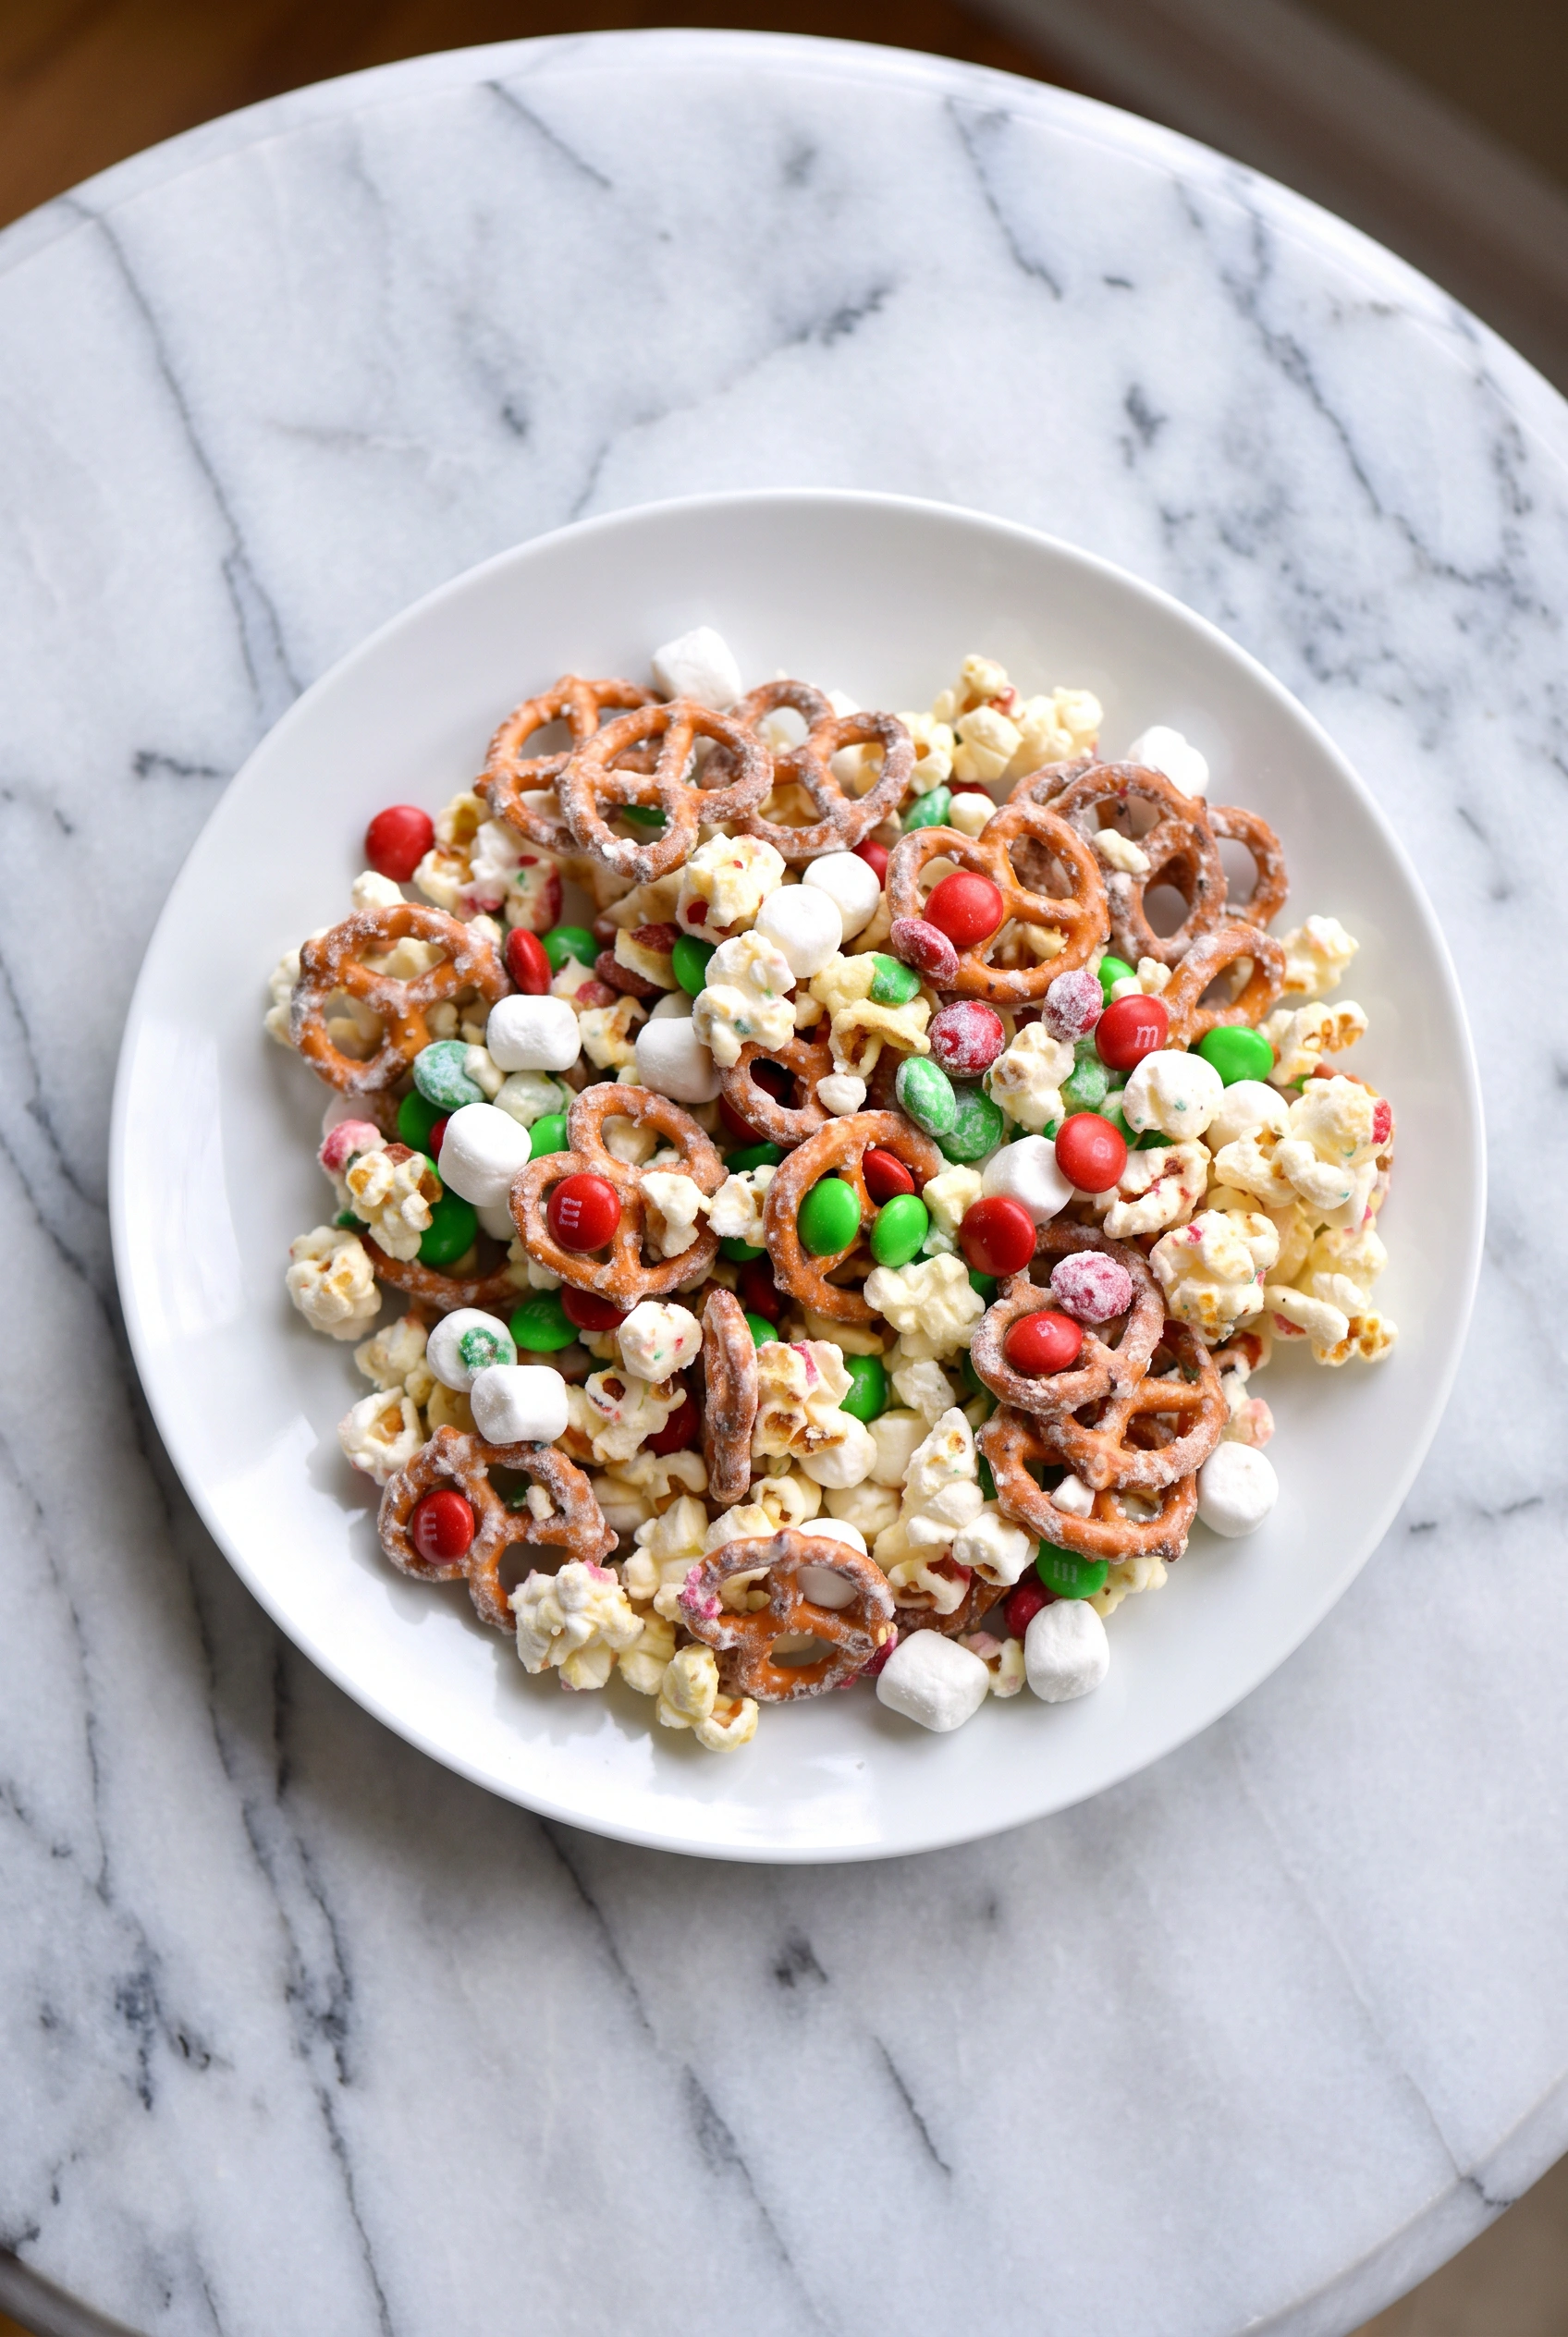
It looked like a snowstorm hit my kitchen, in the best way. This white chocolate christmas snack mix combines popped popcorn, white candy coating, pretzels, M&M’S, sprinkles, and miniature marshmallows. You melt the coating, toss everything together with tongs, spread it on a baking sheet, and let it set for 30 minutes. This easy snow day snack mix for christmas works for movie nights, game day, potlucks, and classroom parties.
Why You’ll Love This Recipe
- Five minutes of actual work: Melt the coating, toss the ingredients, and wait for the mix to set.
- Sweet and salty chaos: Pretzels, M&Ms, marshmallows, and popcorn combine in one bite.
- Kid-approved and adult-friendly: Children enjoy the colors, while adults keep returning to the bowl.
- Budget-friendly: Pantry staples and a bag of candy coating create the mix.
- Party-ready: Scoop the mix into little bags for a potluck or classroom party.
Tools You’ll Need
Nothing fancy, I promise.
- Large baking sheet: Spread the mix out so it sets without clumping.
- Tongs: Coat everything evenly without turning your hands sticky.
- Parchment paper or silicone mat: Make cleanup easy. Foil works in a pinch, though it sticks.
Ingredients
- 12 cups popped popcorn. Use store-bought plain, salted, or kettle corn. Let homemade popcorn cool completely first.
- 16 ounces white candy coating, such as Candiquik. Candy coating creates the snowy look. Avoid white chocolate chips unless you add a little shortening to thin them.
- 3 cups miniature pretzels. Break up any large clumps.
- 10 ounces M&M’S. Use holiday colors for a festive look, or use regular M&M’S.
- 1/2 cup sprinkles. Use white or winter-themed sprinkles.
- 10 ounces miniature marshmallows. Use fresh, soft, squishy marshmallows.
How To Make Snack Mix
Set aside 30 minutes for the mix to set, but the hands-on time is embarrassingly short.
- Prep your pan: Line a large baking sheet with parchment paper or a silicone mat. This is non-negotiable unless you enjoy scrubbing hardened candy coating off metal.
- Popcorn base: Place popped popcorn on top of the parchment paper. Spread it out a bit so it’s not all in one mound.
- Melt and coat: Melt candy coating according to package directions and pour over the top of the popcorn. Use tongs to toss to evenly coat popcorn. If some pieces don’t get fully coated, that’s fine – it adds character.
- Add pretzels and M&Ms: Add the pretzels and M&M’S and toss with tongs to coat again. Work quickly before the coating sets.
- Finish with sprinkles and marshmallows: Add sprinkles and marshmallows and toss again. The marshmallows will get a little smushed – that’s normal and still delicious.
- Let it set: Let the snack mix set for 30 minutes before breaking apart and serving. Do not skip this unless you want a sticky mess.
- Store leftovers: Store leftovers in an airtight container. It keeps for a few days, but it rarely lasts that long.
♥ The Misfit Tips!
- Do not rush the set time: Give the mix the full 30 minutes, or 45 minutes if your kitchen feels warm.
- Use candy coating: White chocolate chips can seize and turn grainy. Candy coating melts and coats more reliably.
- Make it ahead: Make the mix up to 2 days in advance and store it in an airtight container at room temperature.
- Fix sticky mix: Refrigerate it for 10 minutes if it becomes sticky.
- Add marshmallows carefully: Wait a minute or two after coating the popcorn so the marshmallows do not melt.
Perfect Pairings
This easy snow day snack mix for christmas goes perfectly with a cozy movie night or a holiday gathering.
- A cold glass of milk balances the sweet and salty combination.
- Hot cocoa with extra marshmallows doubles the marshmallow flavor.
- A game day spread keeps people returning to the snack table.
- A potluck or classroom party becomes easier when you scoop the mix into little bags.
How to Store
❤
- Room temperature: Store the mix in an airtight container for up to 3 days. It may become slightly sticky.
- Fridge: Refrigeration is not necessary. If the mix becomes sticky, refrigerate it for 10 minutes.
- Freezer: Do not freeze the mix. The marshmallows become strange and the coating may crack.
- Reheat: Do not reheat the mix. Break apart any clumps with your hands.
- Note: Pretzels soften over time, so the mix tastes best fresh. It remains good on day two.
Snow Day Snack Mix
Ingredients
Equipment
Method
- Prep Your PanLine a large baking sheet with parchment paper or a silicone baking mat. This prevents the candy coating from sticking to the pan once it hardens and makes cleanup much easier.
- Prepare the Popcorn BaseSpread the popped popcorn evenly over the prepared baking sheet. Break up any large clusters so the popcorn is distributed in a relatively even layer rather than sitting in one large mound.
- Melt and CoatMelt the candy coating according to the package instructions, stirring until smooth. Pour the melted coating over the popcorn. Using tongs, gently toss the popcorn until the coating is distributed as evenly as possible. Don't worry if a few pieces remain uncoated; they add a little extra texture to the mix.
- Add the Pretzels and M&M'sAdd the pretzels and M&M's to the popcorn mixture. Toss everything together with the tongs until the ingredients are well distributed and lightly coated. Work quickly before the candy coating begins to set.
- Finish with Sprinkles and MarshmallowsSprinkle in the sprinkles and marshmallows, then gently toss again to distribute them throughout the mixture. The marshmallows may become slightly squished as you mix, but that's perfectly fine and adds to the fun texture of this festive snack.
- Let It SetAllow the snack mix to sit undisturbed for about 30 minutes, or until the candy coating has completely hardened. Once set, break the mixture into bite-sized clusters and serve.
- Store LeftoversTransfer any leftover snack mix to an airtight container and store it in a cool, dry place. It should keep well for a few days, although it's often enjoyed long before then!