
A day of eating nothing but string cheese is exactly what led to these red velvet brownies at nine on a random Tuesday night. This red velvet brownies recipe came together out of sheer desperation and a half-empty bottle of red food coloring found hiding behind the baking soda.
A previous attempt at a fancy layered cake once ended on the kitchen floor and in tears, so brownies became the safer choice going forward. Melted butter skips any need for advance planning, and the deep red color makes it look like real effort went into every square. Here is exactly how I do it.
reader review
“Fudgy Fudgy and Fudgy. I used the gel food coloring exactly like the recipe says and got the most vibrant red batter I have ever made at home. My mother-in-law asked for this recipe before she even finished her first square with the cream cheese frosting. Thank you Thank you Thank you!!!!!” – Genevieve H.
Loved this too? Add your reviewWhy You’ll Love This Recipe
- Ridiculously fast. These go into the oven in about 15 minutes, matching most people’s actual attention span for baking.
- Zero planning required. Melted butter means nobody has to remember leaving butter out on the counter ahead of time.
- Crowd-pleasing illusion. The deep red color convinces everyone that serious effort went into this red velvet brownie recipe.
- Budget-friendly. A homemade batch costs far less than overpriced bakery squares, and the corner pieces stay all yours.
Tools You’ll Need
Nothing fancy, I promise.
- Large mixing bowls. Stirring batter in a bowl that is too small only spreads flour across the counter.
- hand mixer – You will need this for the frosting unless you have the arm strength of an Olympic rower.
- 8×8 or 9×9 baking pan. Metal bakes faster than glass, which matters when patience runs thin.
- Parchment paper. Skipping this step turns removal into a fight with a butter knife.
How To Make Red Velvet Brownies
For the Brownies
- 2 cups all purpose flour – Measure this properly or you will end up with red velvet cake brownies instead of fudgy ones.
- 1/2 teaspoon baking soda – Check the expiration date. I once used three-year-old baking soda and baked a brick.
- 1/4 teaspoon salt – Do not skip this; it wakes up the chocolate.
- 1/4 cup unsweetened cocoa powder – I use regular, not Dutch-processed, for that classic red velvet cake flavor profile.
- 1 cup unsalted butter, melted – Melted butter is the secret to chewy brownies.
- 1 1/4 cups sugar – Yes, it is a lot. No, we are not thinking about it.
- 2 teaspoons vanilla – Measure with your heart, but two teaspoons is a good start.
- 2 medium eggs, at room temperature – Room temperature if you can remember, but cold works if you are in a rush.
- 1 tablespoon white vinegar – Sounds weird, but it reacts with the cocoa and baking soda.
- 1 1/2 teaspoons red gel food coloring – Gel is crucial. If you use liquid, you will need half a bottle and your batter will get soupy.
For the Cream Cheese Frosting
- 4 oz cream cheese, full-fat – Low-fat cream cheese will betray you and turn into soup.
- 1/4 cup unsalted butter, at room temperature – This actually needs to be soft, do not microwave it to a puddle.
- 2 1/2 – 3 cups powdered sugar – Start with less, add more until it stops looking sad.
- 1 teaspoon vanilla – For that classic tangy-sweet finish.
Instructions
Mix it, dump it in a pan, and try not to eat half the raw batter before it hits the oven.
- Prep the oven and pan: Preheat the oven to 350°F / 180°C. Line the pan with parchment paper. Set it aside. If you skip the parchment, getting these out will be a violent and messy affair.
- Mix the dry ingredients: Whisk together the flour, cocoa powder, salt and baking soda in a large mixing bowl. Set it aside. Make sure there are no massive cocoa lumps.
- Mix the butter and sugar: In another bowl, beat the sugar and the melted butter together until well combined. It will look a bit gritty, and that is totally fine.
- Add the wet ingredients: Add the vanilla, eggs, vinegar and food coloring and mix until everything is well incorporated. This is where it turns violently red—do not wear a white shirt for this step.
- Combine wet and dry: Add the dry ingredients and mix until everything is thoroughly combined and there are no more streaks of flour. Don’t overmix. If you overmix, you will get tough brownies, and nobody wants that.
- Fill the pan: Spread the batter into the prepared pan and even out the top. It will be thick, just push it into the corners with a spatula.
- Bake: Bake for about 25 minutes in a 9-inch (23×23 cm) pan or about 30 minutes in an 8-inch (20X20 cm) pan, or until a toothpick inserted in the center comes out with a few moist crumbs. Let the brownies cool completely before cutting into squares. If you cut them hot, they will fall apart and you will be eating brownie pudding.
- Start the frosting: Beat the butter on high speed until it’s light, fluffy and smooth. Give it a solid two minutes; patience is hard but necessary here.
- Add the sugar: Gradually add the powdered sugar in 3 batches. Beat on high for a few minutes until the mixture is light and creamy. Scrape the bowl a few times in between as needed. If you dump it all at once, you will inhale a cloud of sugar dust.
- Finish the frosting: Add the cream cheese and vanilla and beat until it’s combined. Don’t beat it too long, or it could get runny. Cream cheese hates being over-whipped, treat it gently.
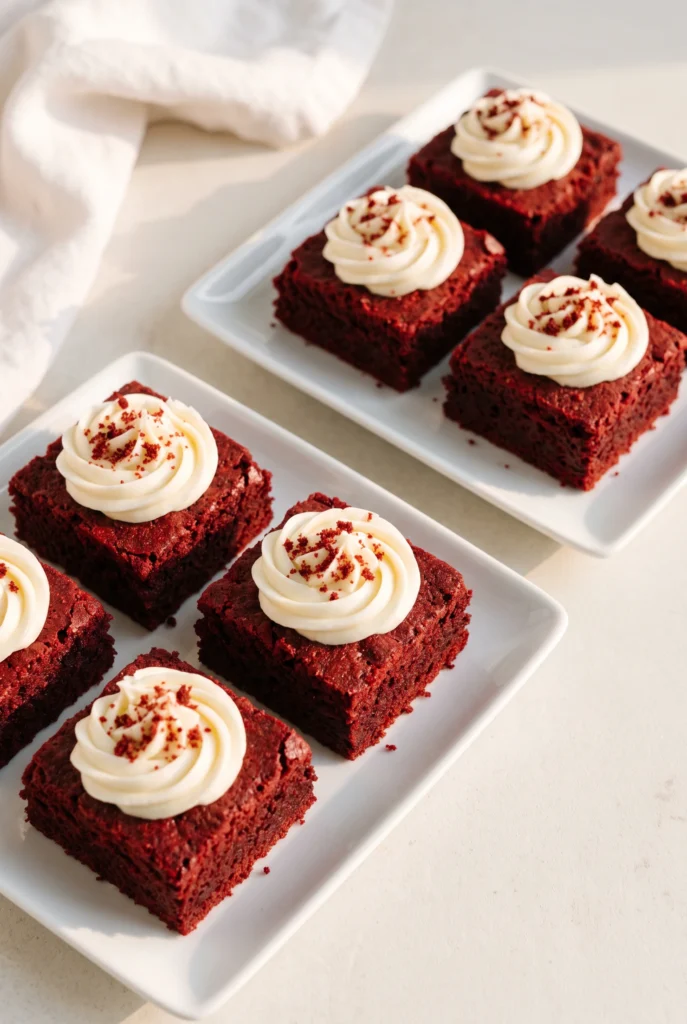
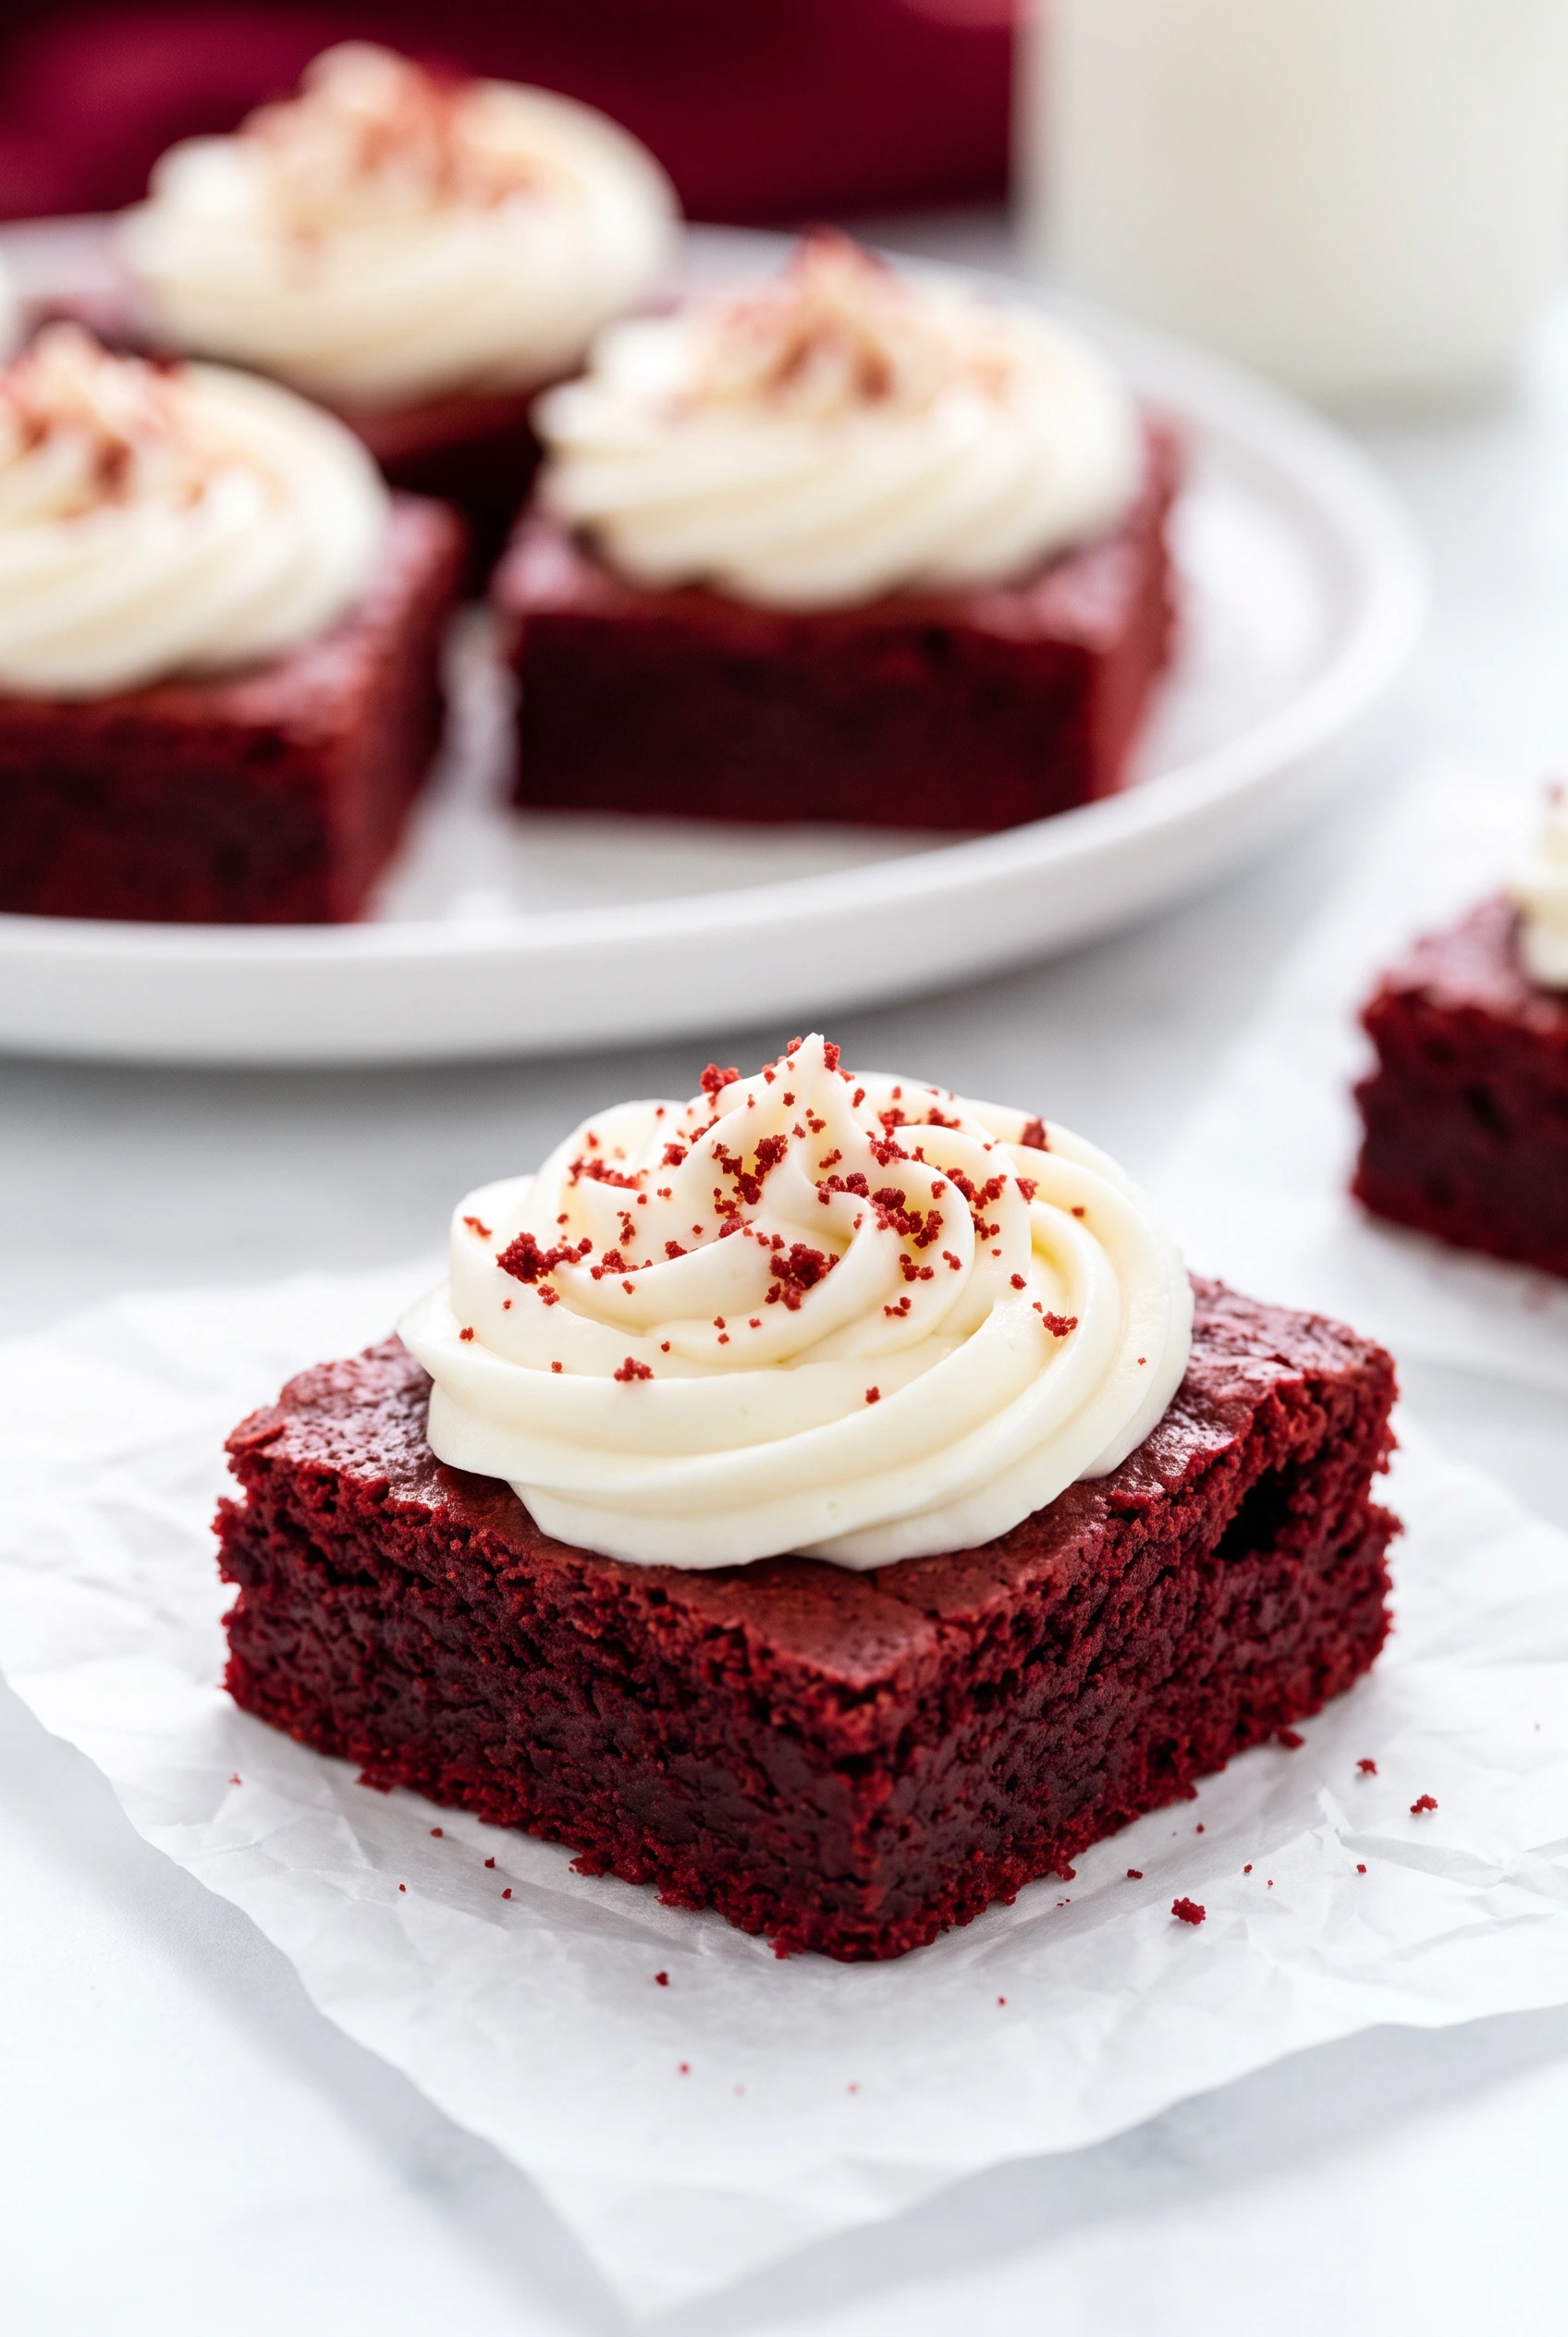
- Frost and serve: Use a small spoon or a pastry bag to frost the cooled brownies. Or just aggressively smear it on with a butter knife like I do. Enjoy!
♥ The Misfit Tips!
- Wait for the brownies to cool completely. Frosting a warm pan once turned the frosting into a translucent, melted glaze instead of a proper layer.
- Try the swirl method. Swirling the cream cheese mixture directly into the raw batter before baking turns this into red velvet cheese brownies instead of a frosted version.
- Trust the gel food coloring. Liquid coloring adds too much moisture and throws off the fudgy texture this recipe depends on.
Make it yours
- Cheesecake swirl version. Swirling a portion of the cream cheese frosting into the batter before baking creates a marbled red velvet cheesecake brownies effect.
- White chocolate version. Folding white chocolate chips into the batter adds extra sweetness against the tangy cocoa base.
Perfect Pairings
These red velvet brownies suit two specific pairings particularly well.
- A giant scoop of vanilla bean ice cream cuts through the richness with every bite.
- A strong cup of black coffee balances the sweet cream cheese frosting on top.
How to Store Red Velvet Brownies
❤
- Fridge. Up to five days in an airtight container, and the chilled texture turns even denser and fudgier.
- Freezer. Up to two months wrapped tightly in plastic wrap, thawed overnight in the fridge with the frosting surviving the freeze well.
- Reheat. Fifteen minutes at room temperature brings back the right texture, though microwaving a frosted square risks a hot, melted puddle.
- Storage note. Cream cheese frosting requires refrigeration, so these should never sit out on the counter for days.
Red Velvet Brownies
Ingredients
Method
- Prep the oven and panYou preheat the oven to 350°F and line the pan with parchment paper, setting it aside until the batter is ready.
- Mix the dry ingredientsYou whisk the flour, cocoa powder, salt, and baking soda together in a large bowl, making sure no cocoa lumps remain.
- Mix the butter and sugarYou beat the sugar and melted butter together in another bowl until combined, even if the texture looks a bit gritty.
- Add the wet ingredientsYou add the vanilla, eggs, vinegar, and food coloring, mixing until everything turns a vivid red.
- Combine wet and dryYou add the dry ingredients to the wet mixture and stir until the flour streaks disappear, avoiding overmixing along the way.
- Fill the pan and bakeYou spread the thick batter into the prepared pan, pushing it into the corners with a spatula, then bake for 25 to 30 minutes depending on pan size, until a toothpick comes out with a few moist crumbs.
- Make the frostingYou beat the butter on high speed until light and fluffy, then gradually add the powdered sugar in three batches, beating until creamy. You add the cream cheese and vanilla last, beating only until combined.
- Frost and serveYou spread the frosting over the fully cooled brownies using a spoon, pastry bag, or a butter knife.