
Hot chocolate Cookies: Easy Marshmallow Chocolate Cookies
I made these at 2 PM on a Tuesday because the weather app showed a single snowflake, and I used it as an excuse to completely abandon my adult responsibilities. If you are looking for the perfect Hot chocolate Cookies recipe to justify staying indoors, you have found it.
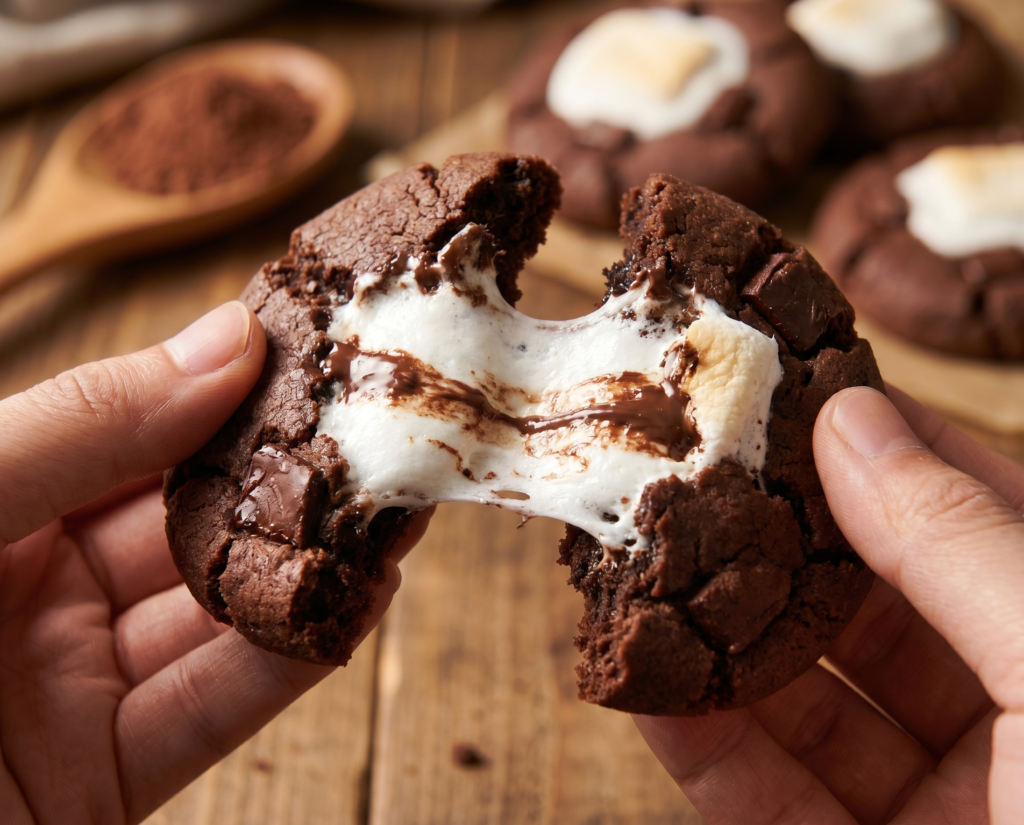
These easy marshmallow chocolate cookies are exactly what happens when you crave a warm mug of hot chocolate but also want to aggressively chew something. I once tried to eat three of these fresh out of the oven and ended up with molten marshmallow fused to my chin for an hour which was both painful and incredibly delicious.
If you have ever looked at a steaming mug of cocoa and thought you would rather eat it like a sandwich, you are my kind of person. Here is exactly how I make the best hot chocolate cookies on the internet.
reader review
“Ok these are DANGEROUS. That gooey marshmallow center got me good. My kids went absolutely wild and we ate the whole batch in one night. Soft chocolatey and warm and perfect. This will be my go to all winter long. Thank you Thank you!!!!!” – Ashley B.
Loved this too? Add your reviewWhy You’ll Love This Recipe
- Fast comfort: These are ready in under 30 minutes, which is faster than finding your winter coat in the back of the closet.
- Pantry friendly: You probably have everything you need right now, except maybe the marshmallows.
- Kid approved: Children absolutely lose their minds when they see the gooey marshmallow center.
- Forgiving dough: Even if you mess up the mixing slightly, the melted marshmallow covers a multitude of sins.
Tools You’ll Need
Nothing fancy, I promise.
- Large baking sheet: To give your cookies room to breathe.
- Parchment paper: Unless you enjoy chiseling baked marshmallow off your metal pans for three consecutive days.
- Stand mixer or hand mixer: Because creaming butter by hand is an arm workout I simply refuse to do.
Ingredients
- 2 cups all-purpose flour – Spoon it into the measuring cup so you do not end up with dense chocolate hockey pucks.
- 2/3 cup unsweetened cocoa powder – The regular kind, nothing fancy required.
- 1 teaspoon baking soda – Check the expiration date unless you want flat cookies.
- 1/2 teaspoon kosher salt – To balance out the massive amount of sugar we are about to use.
- 3/4 cup unsalted butter – Leave it on the counter for an hour, or microwave it for 4 seconds and pray it does not melt into a puddle.
- 3/4 cup light brown sugar – Packed tight, like your schedule.
- 3/4 cup granulated sugar – For those crispy edges.
- 2 large eggs – Room temperature if you remember, straight from the fridge if you are me.
- 2 teaspoons pure vanilla extract – Measure with your heart, but two teaspoons is a good start.
- 19 large marshmallows – Cut them in half horizontally. Do not use mini marshmallows unless you want a sticky disaster.
- Finely chopped chocolate – Optional, but we both know it really isn’t.
Instructions
Do not let the mid-bake marshmallow addition intimidate you; it is just a quick game of oven hot-potato.
- Prep the pan: Preheat oven to 350 degrees F. Line a large baking sheet with parchment paper. Set aside. If you skip the parchment, you will be scraping marshmallow glue off your pan until next Christmas.
- Whisk dry ingredients: In a medium bowl, whisk together flour, cocoa powder, baking soda, and salt. Set aside. I know washing two bowls is annoying, but it stops you from biting into a clump of pure baking soda later.
- Cream butter and sugar: In the bowl of a stand mixer fitted with a paddle attachment, beat the butter and sugars on medium high speed until light and creamy, about 2 minutes. Mix in the eggs and vanilla extract, scraping down the side of the bowl with a spatula, as necessary. The mixer always misses that one chunk of butter at the bottom.
- Add dry ingredients: Add the dry ingredients and mix on low until just combined. Don’t over mix. Stop the second you do not see flour, or your cookies will be tough.
- Scoop the dough: Scoop by the rounded tablespoon onto the prepared baking sheet, placing the dough balls about 2-inches apart. Give them space, because they spread out and like their personal bubble.
- The marshmallow maneuver: Bake for 8 minutes. Open the oven and carefully slide out the pan. Gently press one marshmallow half in the center of each cookie. Try to work quickly. Push the pan back in the oven and bake for an additional minute so the marshmallows can get soft. Try not to burn your knuckles on the oven rack during this frantic step.
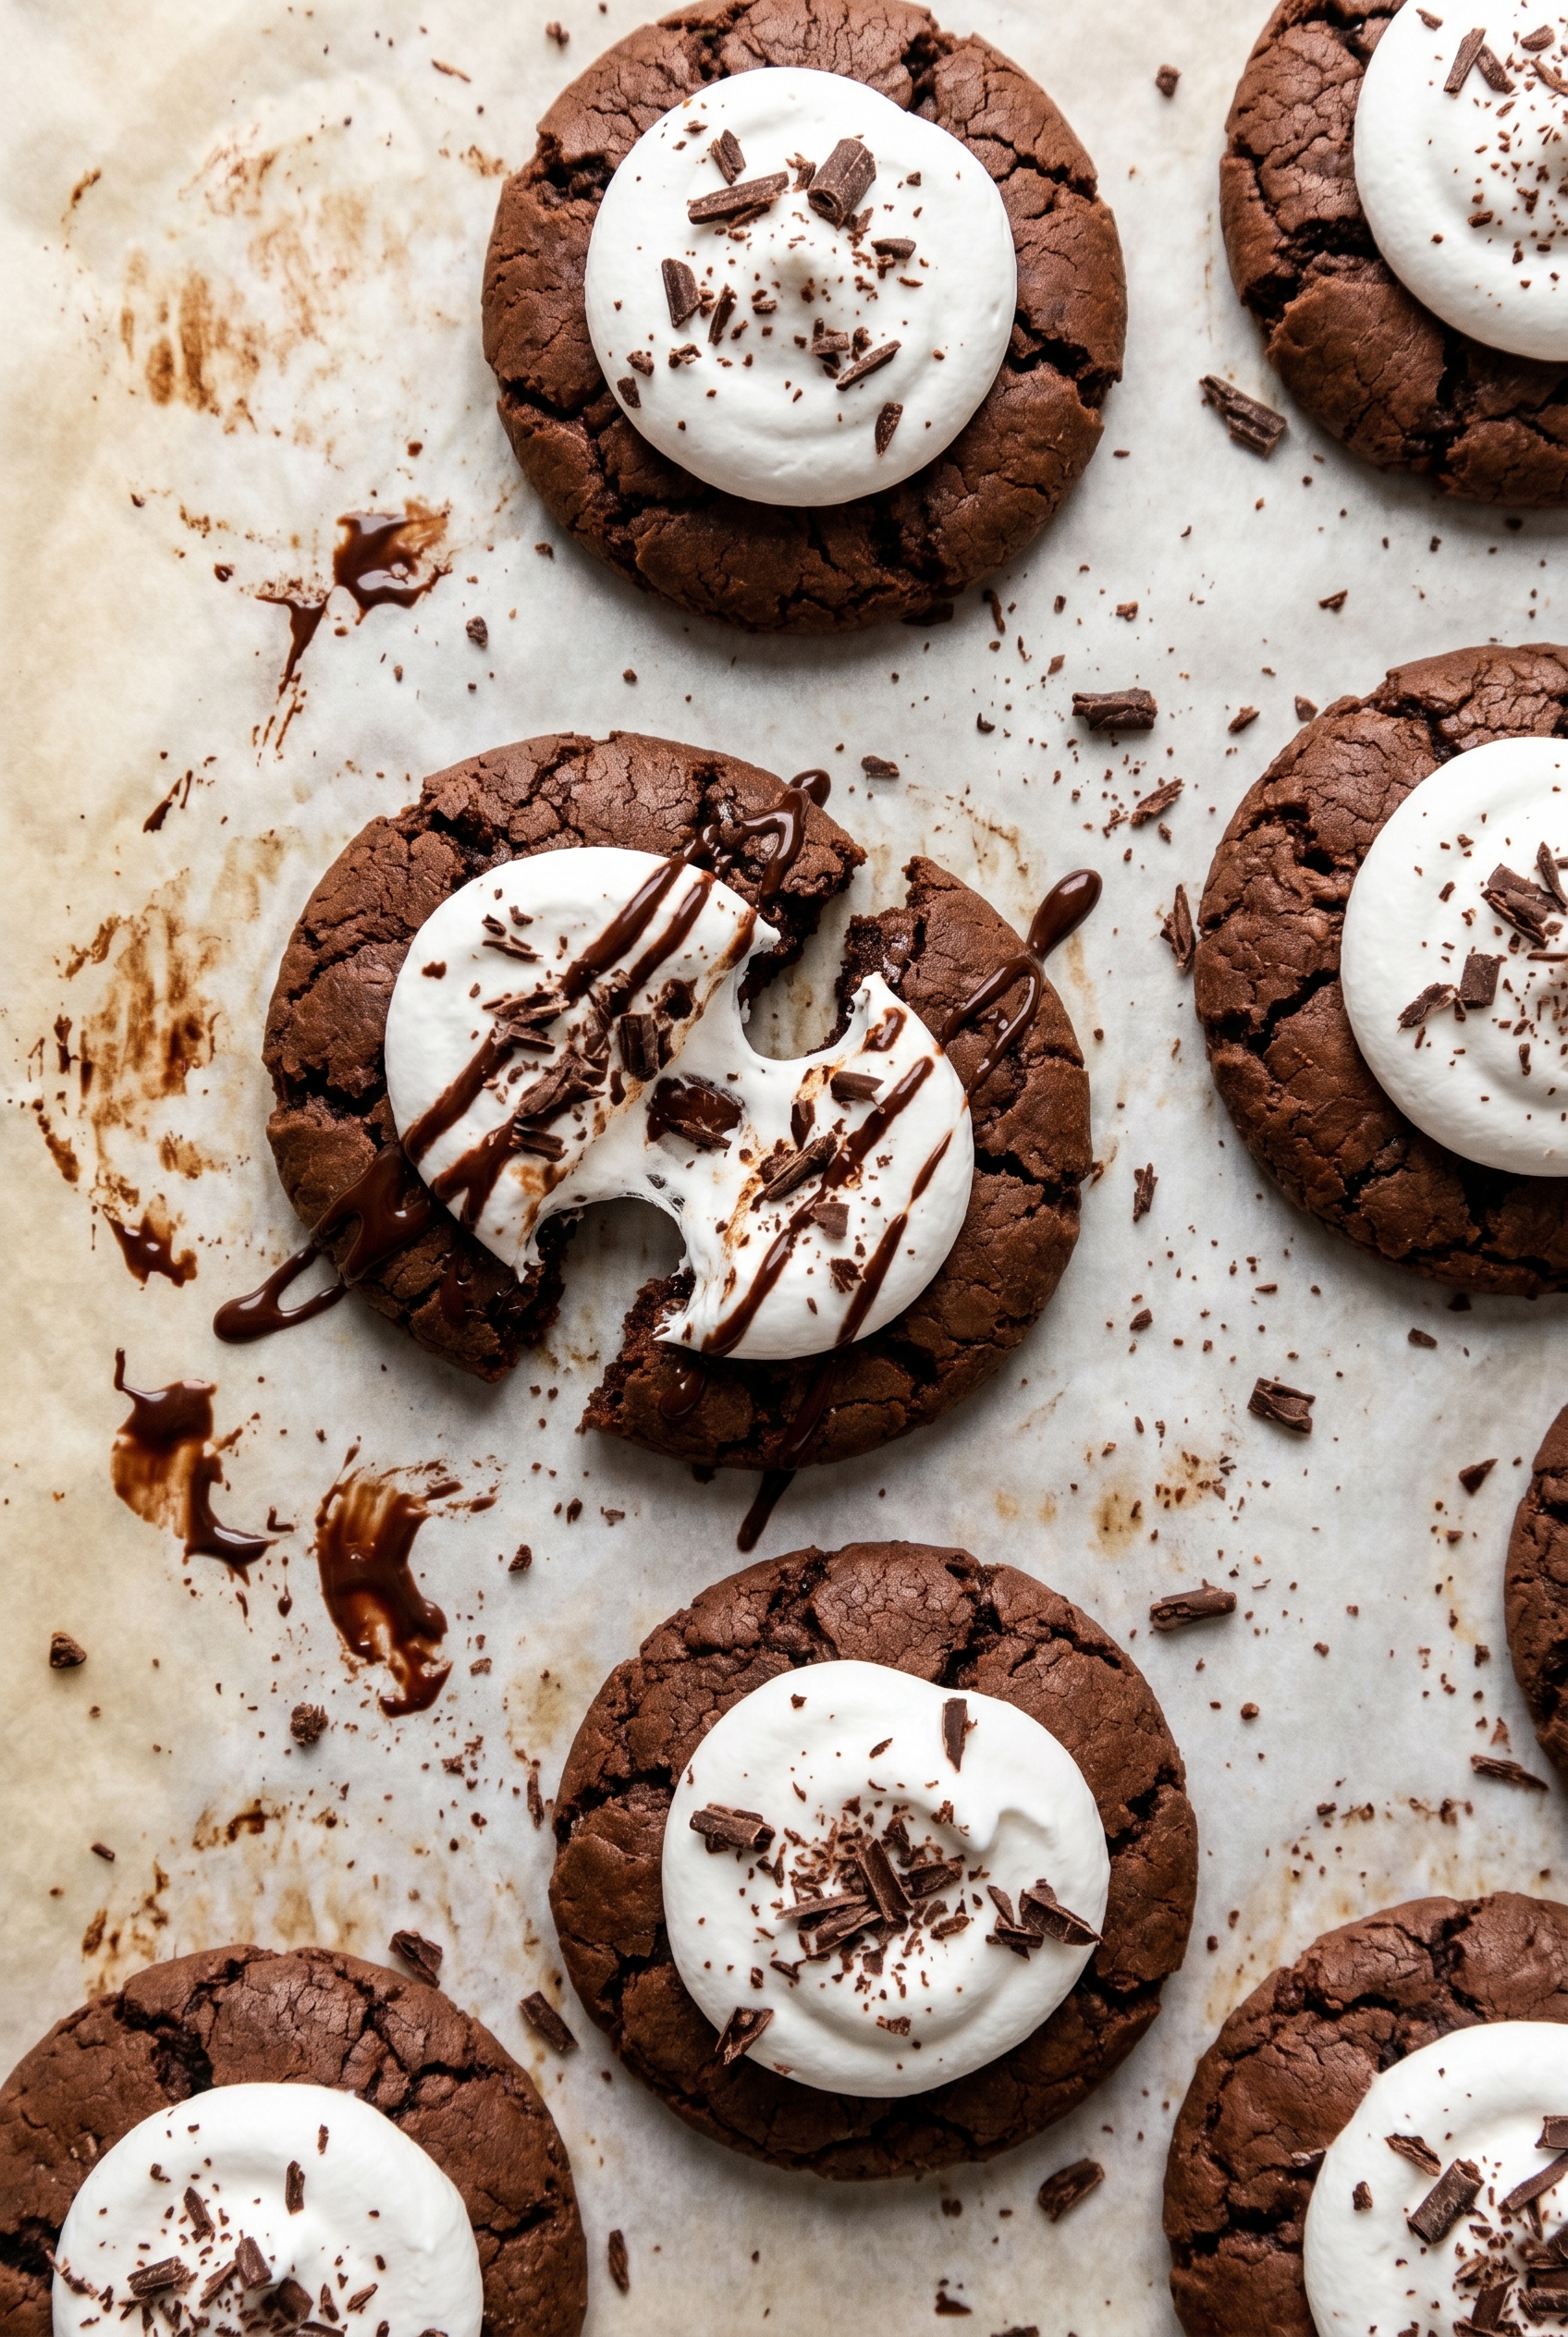
- Cool and garnish: Remove the baking sheet from the oven and let the cookies cool on the pan for a few minutes, then transfer to a wire rack to cool completely. Garnish with finely chopped chocolate. The chopped chocolate sticks to the warm marshmallow, hiding any ugly spots perfectly.
♥ The Misfit Tips!
- Cut the marshmallows in half before you start baking, not while the first batch is already in the oven. That one-minute window for pressing them on moves fast, and scrambling with scissors over a hot pan is how people get burned.
- Softened butter means dented with your finger, not shiny and melting at the edges. Butter that’s too soft makes the dough spread too thin before it sets, and your cookies come out flat with crispy edges instead of chewy centers.
- Pull the cookies out when the edges look set but the center still looks underdone. They finish baking on the hot pan after you take them out of the oven. A cookie that looks perfect inside the oven will be overbaked by the time it cools.
Troubleshooting Guide
Something went sideways? Been there. Here is how to fix it.
- Problem: My marshmallows slid completely off the cookies.
Why it happened: You either used whole marshmallows instead of halves, or the cookies were domed too high when you pressed them on.
Fix it: Next time, press the marshmallow half firmly into the center. For now, just scoop the melted marshmallow back on with a spoon. It all tastes the same.
- Problem: The cookies are hard and crunchy.
Why it happened: Overbaking or using too much flour.
Fix it: Microwave a hard cookie for 10 seconds with a damp paper towel. Next time, spoon the flour into the measuring cup instead of scooping it directly from the bag.
- Problem: The marshmallow burned in the oven.
Why it happened: You left them in for more than that final one minute.
Fix it: Call it a campfire s’mores cookie and pretend the char was completely intentional.
Perfect Pairings
These go perfectly with…
- A cold glass of milk – obviously.
- Actual hot cocoa, if you want to completely overdo the chocolate theme.
- A holiday movie marathon on the couch while wearing sweatpants.
- Your morning coffee, because I am not here to judge your breakfast choices.
How to Store Hot chocolate Cookies
❤
- Counter. Up to 4 days in an airtight container at room temperature. The marshmallow center stays soft for the first two days, then firms up slightly but stays chewy.
- Fridge. Up to 7 days covered tightly. Pull them out 15 minutes before eating or microwave one for 10 seconds to bring the marshmallow back to life.
- Freezer. Up to 2 months, wrapped individually in plastic wrap then stored in a zip-lock bag. Thaw overnight in the fridge or 20 minutes on the counter. The marshmallow texture holds up surprisingly well after freezing.
- Storage note. Store them away from strong-smelling foods. The cocoa dough absorbs surrounding odors faster than you’d expect, and a cumin-adjacent chocolate cookie is a tragedy nobody deserves.
Hot Chocolate Cookies
Ingredients
Method
- Prep the oven and pansPreheat your oven to 350°F (175°C). Line a large baking sheet with parchment paper and set aside. Seriously, if you skip the parchment, you will be scraping marshmallow glue off your pan until next Christmas.
- Whisk the dry ingredientsIn a medium bowl, vigorously whisk together the flour, cocoa powder, baking soda, and kosher salt. I know washing two bowls is annoying, but this evenly distributes the leavening agents and stops you from biting into a clump of pure baking soda later.
- Cream the butter and sugars In the bowl of a stand mixer fitted with a paddle attachment (or using a hand mixer), beat the softened butter, brown sugar, and granulated sugar on medium-high speed. Do this for a full 2 minutes until the mixture is visibly pale, light, and fluffy.
- Incorporate the wet ingredientsAdd the eggs one at a time, mixing well after each addition. Pour in the vanilla extract. Stop the mixer and thoroughly scrape down the sides and bottom of the bowl with a rubber spatula. The mixer always misses that one stubborn chunk of butter at the very bottom.
- Blend dry into wetAdd the whisked dry ingredients to your wet mixture. Mix on low speed until just combined. Stop the second you no longer see streaks of dry flour. Overmixing develops gluten, which makes cookies tough instead of chewy
- Scoop the doughUsing a cookie scoop or a spoon, drop rounded tablespoons of dough onto your prepared baking sheet. Place the dough balls about 2 inches apart. Give them space—they spread out and value their personal bubble.
- The Marshmallow ManeuverBake for exactly 8 minutes. The edges should look set but the centers will still be very soft. Open the oven, carefully slide out the rack, and quickly but gently press one marshmallow half (sticky side down) into the center of each cookie.
- The Final Bake: Push the pan back into the oven and bake for 1 additional minute. This allows the marshmallows to get soft and puffy without turning into liquid sugar. Try not to burn your knuckles on the upper oven rack during this frantic step!
- Cool and garnishRemove from the oven. Let the cookies rest on the hot baking sheet for 5 minutes so they can set up, then transfer them to a wire cooling rack. While the marshmallow is still warm and sticky, sprinkle the finely chopped chocolate on top. Pro-tip: The chopped chocolate hides any ugly, uneven spots perfectly.