
Having exactly zero energy to turn on the oven at 10 PM on a Tuesday, combined with an overwhelming and completely unreasonable craving for something sweet, is exactly what led to these peanut butter marshmallow squares.
Trying a different old fashioned peanut butter marshmallow bars recipe once by impatiently dumping marshmallows into boiling hot syrup produced a sad, sticky soup that I ended up eating with a spoon anyway, which was definitely not my proudest moment. Those nights where you want a sugar fix but refuse to do real baking call for this exact solution. Here is exactly how I do it.
reader review
“Chewy Chewy Chewy, well gooey gooey gooey since these are no-bake bars. I used processed creamy peanut butter exactly like the recipe suggests and got zero oily disaster anywhere in the batch. My whole family devoured all 16 squares before I even finished washing the saucepan. Thank you Thank you Thank you!!!!!” – Imogene P.
Loved this too? Add your reviewWhy You’ll Love This Recipe
- No Bake Brilliance. This is an easy no bake dessert that requires absolutely zero oven time, meaning you won’t heat up your whole kitchen.
- Crowd Pleaser. These are fantastic no bake butterscotch peanut butter squares for a crowd, because you can just slice them up and watch them disappear at potlucks.
- Zero Fancy Skills Required. Melting things in a pan and stirring without panicking makes you overqualified for this job.
- Nostalgia Factor. They taste exactly like the treats your grandma used to bring to church bake sales, minus the pressure to actually go to a bake sale.
Tools You’ll Need
Nothing fancy, I promise.
- 8×8 baking pan Crucial for getting the right thickness. If you use a 9×13, they will be tragically thin.
- Medium saucepan. This melts the base ingredients together without making a total mess of your stove.
- Parchment paper. Skipping this means aggressively chipping peanut butter cement out of your pan later.
Ingredients
- 1/2 cup unsalted butter – Butterscotch chips are already incredibly sweet, so skip the salted butter here unless you want a salt lick.
- 1 cup creamy peanut butter – Use the cheap, commercial stuff (like Jif or Peter Pan). The fancy natural peanut butter that separates will turn these into an oily disaster.
- 11 ounces butterscotch chips – The star of these no bake butterscotch bars. I usually grab Nestle Toll House because they melt reliably without throwing a tantrum.
- 1 teaspoon vanilla extract – Just rounds out the flavors nicely.
- 10 ounces fruity-flavored mini marshmallows – You can use plain white ones too, but the fruity ones add that weirdly wonderful, nostalgic flavor.
How To Make Peanut Butter Marshmallow Squares
Melt, mix, and walk away to let the fridge do all the heavy lifting.
- Prep the pan: Line an 8×8 baking pan with parchment paper, leaving enough to overhang the sides, then lightly spray with non-stick spray. Leaving that overhang is your escape hatch—without it, you are never getting these out in one piece.
- Melt the base: In a saucepan over medium-low heat, add the unsalted butter, creamy peanut butter, and butterscotch chips, stirring until melted. Do not crank the heat to high to rush this; scorched butterscotch is a tragedy nobody needs.
- Cool it down: Stir in the vanilla extract, remove from the heat, and allow the mixture to cool for 2 to 3 minutes. Seriously, set a timer—if you skip this, you are making marshmallow soup.
- Fold them in: Add the mini marshmallows to a large mixing bowl, pour the slightly cooled peanut butter mixture over them, and gently fold to combine. A few slightly melty edges are totally fine, do not stress about perfection.
- Spread it out: Transfer the mixture to the prepared pan and spread it into an even layer. If the top looks a little bumpy, that just proves they are homemade.
- Chill out: Chill in the fridge for 1 1/2 to 2 hours or until completely firm. I know waiting is awful, but slicing warm bars is a guaranteed disaster.
- Remove and slice: Gently lift the bars from the pan using the parchment overhang and place onto a cutting board to slice into 16 squares. You can run your knife under hot water and wipe it dry between cuts if you want them to look somewhat presentable.
♥ The Misfit Tips!
- Let it cool before adding marshmallows. Dumping the marshmallows straight into the hot pan once melted them into a giant, un-sliceable blob of goo.
- Stick to processed peanut butter. Natural peanut butter on toast works great, though the oil separation makes this recipe fail miserably.
- Use the hot knife trick. Running your knife under hot water and wiping it dry between every single cut produces clean squares instead of toddler-hacked edges.
Make it yours
- Chocolate chip version. You fold semi-sweet chocolate chips alongside the marshmallows for a richer twist on this easy no bake dessert.
- Pecan crunch version. You fold chopped pecans into the mixture for extra texture and a nutty finish.
Perfect Pairings
These go perfectly with your favorite holiday cookie tray, where they will absolutely outshine the dry sugar cookies.
- A slightly bitter cup of black coffee balances out the intense sweetness.
- A Friday night on the couch watching terrible reality TV in your sweatpants rounds out the whole experience.
How to Store
- Fridge: Store in an airtight container for up to one week. They get pretty firm in the fridge, so let them sit out for 10 minutes before eating if you want a softer bite.
- Freezer: Yes! You can freeze these whole or sliced for up to two months. Thaw them overnight in the fridge. The marshmallows might get a tiny bit chewier, but they still taste great.
- Reheat: Do not reheat these. Ever. They are a no-bake, chilled treat and heating them will turn them back into a puddle.
- Note: Keep them away from warm areas or direct sunlight. The butterscotch and peanut butter base softens very quickly at room temperature.
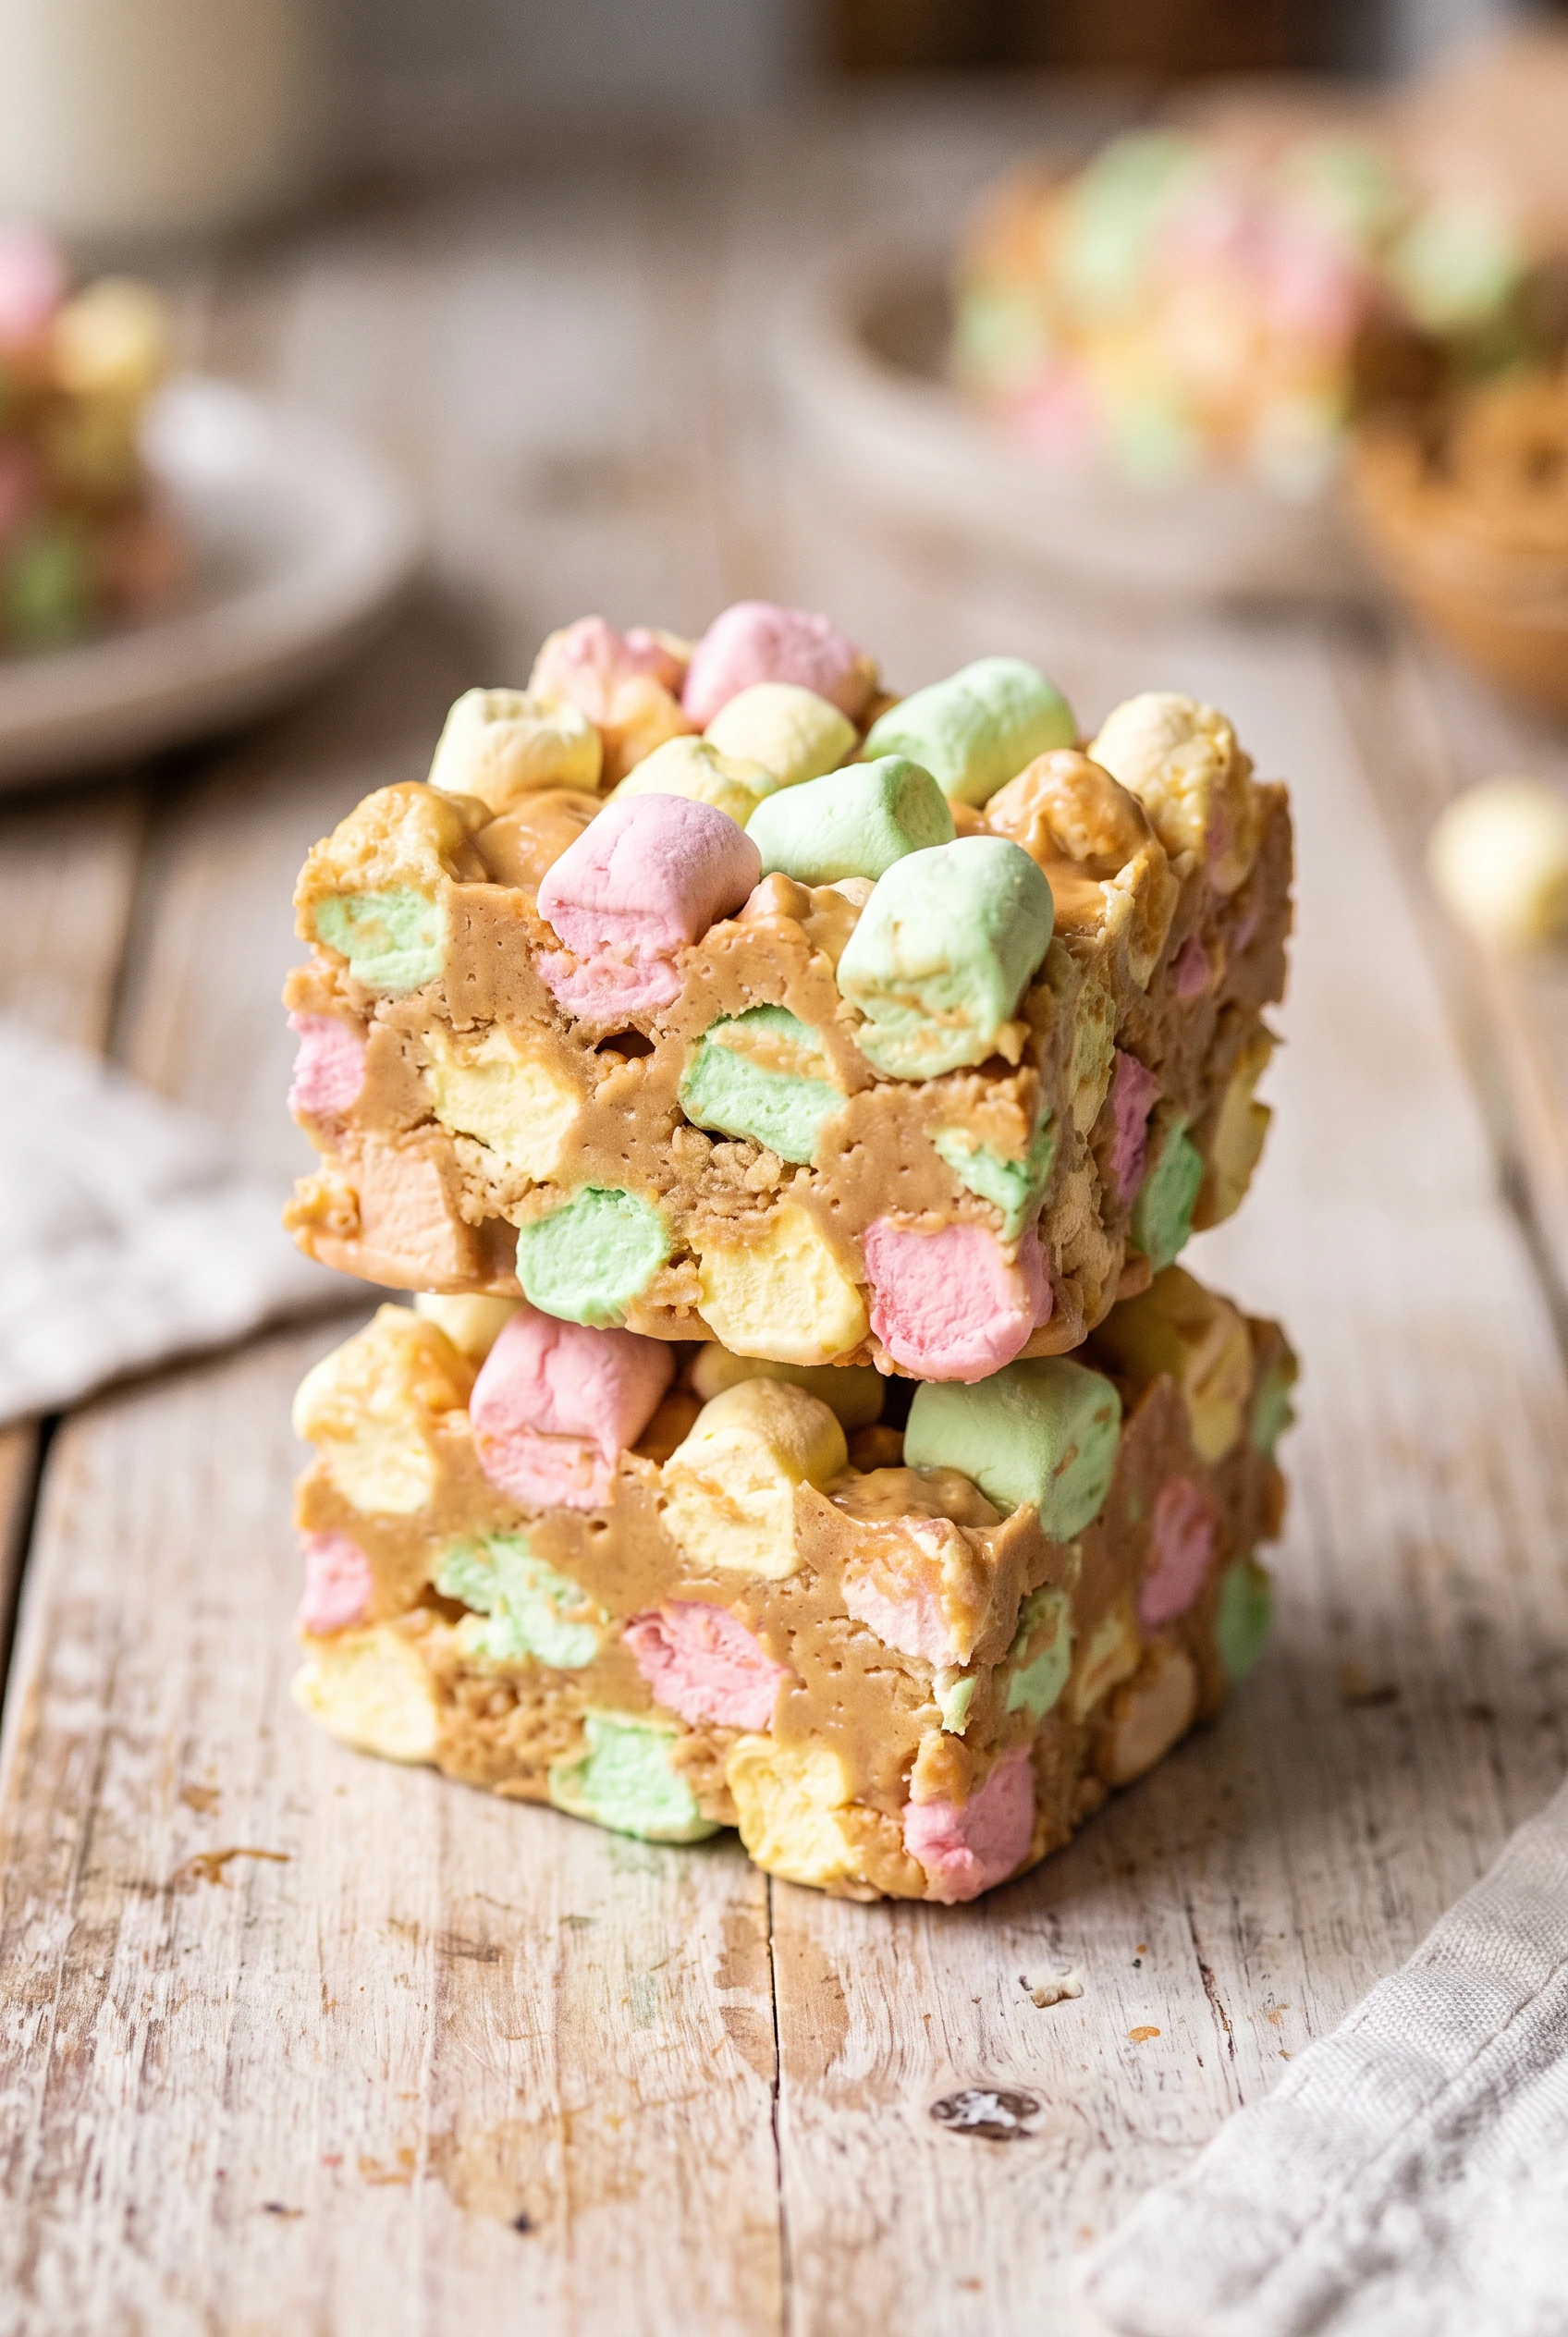
Marshmallow Peanut Butter Squares
Ingredients
Equipment
Method
- Line a 8×8 straight-sided baking pan with parchment paper, leaving enough to overhang the sides, then lightly spray with non-stick baker’s spray. This helps to remove the chilled squares from the pan when ready to slice.
- In a 3 ½ to 4 quart saucepan, over medium-low heat, add the unsalted butter, creamy peanut butter, and butterscotch chips. Stir until melted and smooth.
- Stir in the vanilla extract and remove from the heat and allow the mixture to cool for 2 to 3 minutes to ensure the marshmallows don’t melt when mixed in.
- Add the mini marshmallows to a large mixing bowl, pour the slightly cooled peanut butter mixture over the marshmallows and gently fold to combine until all the mini-marshmallows are evenly coated.
- Transfer the mixture to the prepared pan and spread into an even layer.
- Chill for 1 ½ to 2 hours or until completely firm.
- Gently lift the peanut butter bars from the pan using the overhanging parchment paper and place onto a large cutting board.
- Slice into 16 squares using a large sharp knife. You can run the knife under hot water and wipe clean between slices for smooth cuts.