
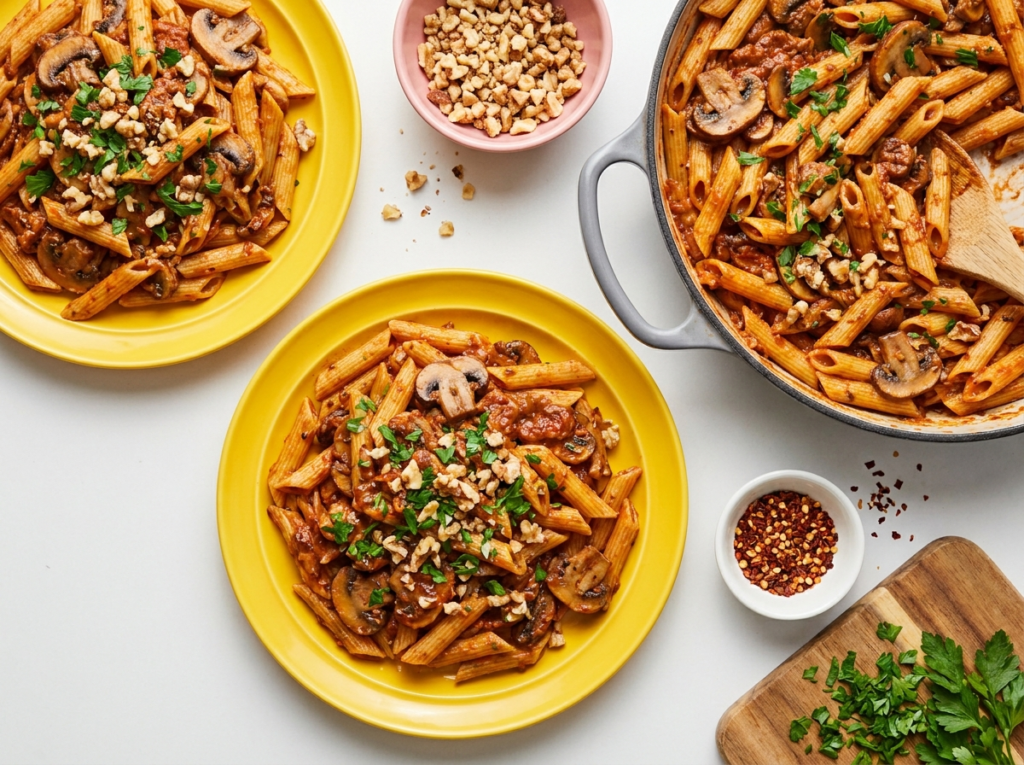
Three pounds of assorted mushrooms staring back at you from the fridge will either become compost or become dinner, and this mushroom pasta without cream is the reason they became dinner.
Most mushroom pasta recipes reach for a pint of heavy cream to build the sauce. This one skips it entirely and uses starchy pasta water instead, which thickens the pan juices into a glossy, rich coating that clings to every ridge of the noodle.
You brown the mushrooms in olive oil, deglaze with red wine, and toss everything with parmesan and walnuts in under thirty minutes. This mushroom pasta no cream recipe tastes like a restaurant made it on purpose.
reader review
“I could not believe how rich and silky this sauce got with NO cream! Just pasta water, wine, and parmesan and it tasted like a fancy restaurant dish. Ready in 30 minutes on a weeknight too. My husband had thirds. This is my new favorite pasta. Thank you Thank you!!!!!” – Heather J.
Loved this too? Add your reviewWhy You’ll Love This Recipe
- No heavy cream. Starchy pasta water builds the same rich, coating texture without the heaviness of dairy.
- Clears out the fridge. Any mushroom variety works here. Baby bellas, white buttons, and portobellos all go into the same pan.
- Fast execution. The sauce finishes in exactly the time the pasta takes to boil.
- One pan cleanup. You boil the noodles, reserve the water, drain the pot, and toss everything back into the skillet.
Perfect Pairings
This mushroom pasta no cream recipe stands on its own, but a few extras make it a full meal:
- Crusty sourdough bread soaks up every drop of savory pan sauce left at the bottom of the bowl
- A sharp arugula salad dressed with lemon juice cuts through the richness of the walnuts and parmesan
- Pour a glass of the same dry red wine you used to deglaze the pan
Tools You’ll Need
- Large skillet. You need maximum surface area so the mushrooms brown in the fat rather than steam in their own moisture. A 12-inch pan handles one pound of mushrooms without crowding.
- Pasta pot. Any pot large enough to hold eight ounces of noodles in a full rolling boil.
- Tongs. Tossing the pasta into the sauce with tongs distributes the coating faster and more evenly than a spoon.
Ingredients
- 8 ounces short pasta – Toscani, penne, or rigatoni trap the sauce in their ridges.
- Kosher salt – Pulls moisture out of the mushrooms so they brown.
- 1/3 cup extra virgin olive oil – Mushrooms act like sponges, and you need enough fat to keep them from burning.
- 1 tablespoon butter – Adds a tiny bit of dairy richness to the finish.
- 2 shallots – Sweeter and less aggressive than standard yellow onions.
- 5 garlic cloves – Minced fine so they melt into the background.
- 8 ounces baby bella mushrooms – Brings a dense, meaty texture.
- 8 ounces white mushrooms – Readily available and soak up the wine beautifully.
- 8 ounces portobello mushrooms – Chopped roughly for distinct bites of earthiness.
- Black pepper – Adds immediate warmth to the pan.
- 1 teaspoon dried rosemary – Grounding herb that stands up to the earthy flavors.
- 3 tablespoons tomato paste – Builds a deep savory base before you add the liquids.
- 1/4 cup dry red wine – Lifts the stuck bits off the pan and adds necessary acidity.
- 1/2 cup grated parmesan – The salt and fat bind the sauce together.
- 1/2 cup packed chopped parsley – Brings freshness to a brown dish.
- 1/3 cup chopped walnuts – Adds a needed physical crunch.
- Red pepper flakes – Optional, but a pinch wakes up the whole plate.
Instructions
Do not rush the browning step, or you end up with rubbery gray discs instead of deeply roasted mushrooms.
- Cook the pasta: Boil a pot of salted water and cook the pasta to al dente. Reserve one cup of the starchy water before draining. If you forget to save the water, the sauce will never thicken, and we both know you deserve better than that.
- Soften the aromatics: Heat the olive oil and butter in a large skillet over medium-high heat. Add the minced shallots and garlic, tossing them for two to three minutes. Manage your heat so the garlic softens without turning bitter and black.
- Sauté the mushrooms: Drop in the sliced mushrooms and toss them with another drizzle of oil. Season with the dried rosemary, salt, and pepper. Let them cook undisturbed for a few minutes before tossing, continuing for about ten minutes until they turn golden brown. Poking them guarantees they steam rather than sear.
- Make the sauce: Stir in the tomato paste, red wine, and half a cup of the reserved pasta water. Let the mixture bubble and reduce over medium heat for five minutes. The smell at this stage makes up for whatever went wrong in your day.
- Combine: Transfer the drained pasta into the skillet and toss everything. If the noodles look dry, splash in a little more of that reserved pasta water until a glossy coating forms.
- Finish and serve: Remove the pan from the heat and stir in the parmesan, parsley, walnuts, and red pepper flakes. Taste a noodle before serving to ensure the seasoning hits right.
Seasoning and Taste as You Go
Getting the balance right takes ten seconds and saves the whole meal. Taste a mushroom and a noodle together before you plate it up. Trust your tongue.
- Too flat? Add a squeeze of lemon juice or a splash of red wine vinegar.
- Too salty? Toss in a splash of unseasoned hot water or a tiny bit more unsalted butter to dilute the intensity.
- Needs depth? Let the sauce reduce for another two minutes or stir in an extra spoonful of parmesan.
♥ The Misfit Tips!
- Never rinse mushrooms under running water. They absorb moisture instantly and steam rather than sear in the pan. Wipe them with a damp paper towel and move on.
- Save more pasta water than you think you need. Pouring it down the drain and realizing the sauce is too thick thirty seconds later is an entirely avoidable problem. One full mug covers every scenario.
- Use the widest pan you own. Crowding a small skillet traps steam and produces mushrooms that taste like they boiled rather than roasted. Surface area determines the outcome here more than any other variable.
Make It Yours
You can swap ingredients based on what is sitting in your pantry.
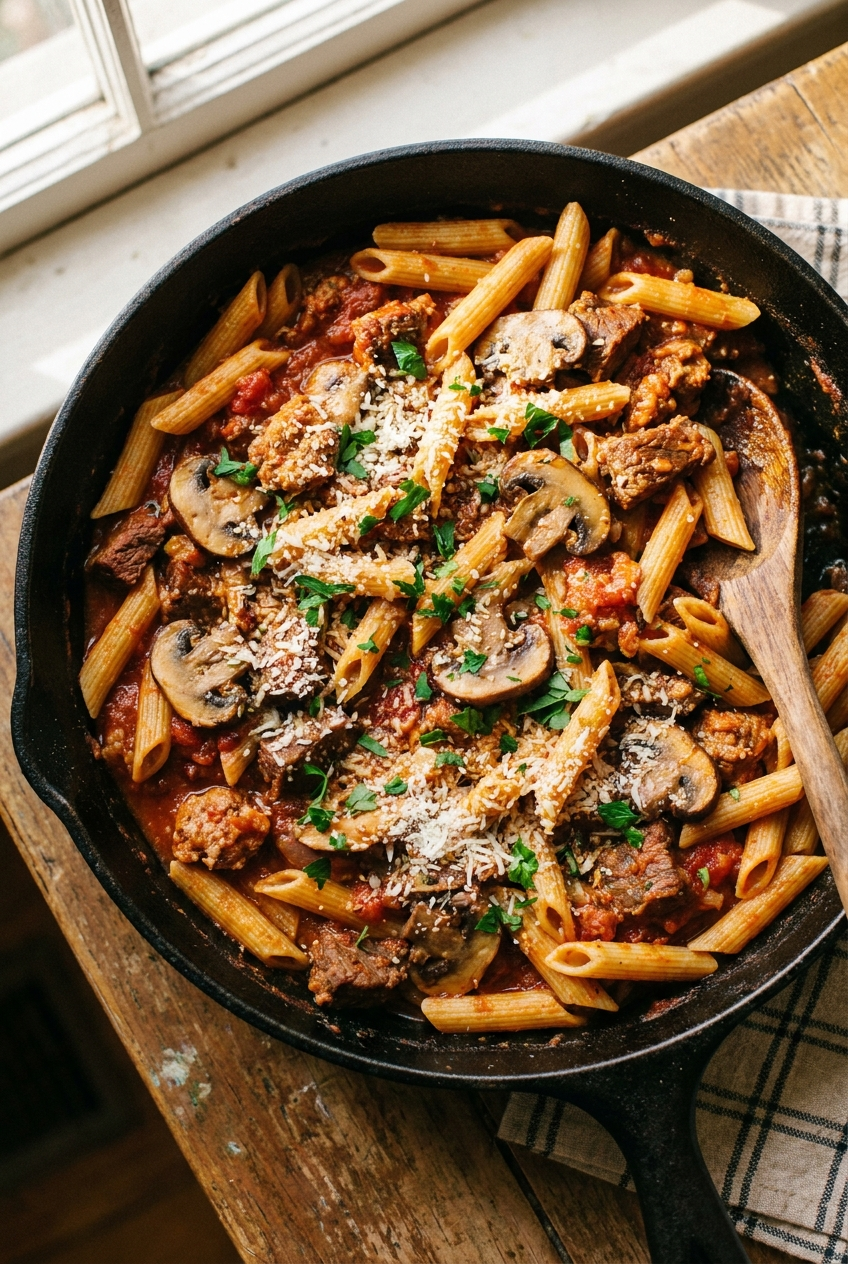
- Protein addition. Shredded rotisserie chicken or sliced seared Italian sausage stirred in during the final toss adds protein without changing the sauce.
- Vegan version. Swap the butter for extra olive oil and replace the parmesan with two tablespoons of nutritional yeast. The sauce loses a little of its binding quality but tastes genuinely good.
- Heat level. Double the red pepper flakes or stir a spoonful of Calabrian chili paste in with the tomato paste for serious heat that builds slowly through each bite.
- Gluten-free. Use a sturdy rice-based or chickpea pasta. Check it two minutes before the package suggests since gluten-free pasta overcooks fast and turns to mush in the skillet.
Troubleshooting Guide
Something went sideways? Been there. Here is how to fix it.
- Problem: The sauce is too thin
- Why: Too much pasta water added at once, or not enough reduction time
- Fix: Keep the pan on medium heat with no lid and let it bubble for three more minutes. The sauce tightens quickly once the excess water evaporates.
- Problem: The mushrooms turned rubbery and gray
- Why: The pan ran too cold or you stirred them before they had time to sear
- Fix: Turn the heat up to medium-high and stop touching them. Once the moisture evaporates, they start frying in the oil and recover their color and texture.
- Problem: The whole dish tastes flat
- Why: Under-salted pasta water or not enough parmesan in the finish
- Fix: Stir in a heavy pinch of kosher salt and a squeeze of lemon juice right before serving. Both wake up the existing flavors without adding competing ones.
How to Store Mushroom Pasta
❤
- Protein addition. Shredded rotisserie chicken or sliced seared Italian sausage stirred in during the final toss adds protein without changing the sauce.
- Vegan version. Swap the butter for extra olive oil and replace the parmesan with two tablespoons of nutritional yeast. The sauce loses a little of its binding quality but tastes genuinely good.
- Heat level. Double the red pepper flakes or stir a spoonful of Calabrian chili paste in with the tomato paste for serious heat that builds slowly through each bite.
- Gluten-free. Use a sturdy rice-based or chickpea pasta. Check it two minutes before the package suggests since gluten-free pasta overcooks fast and turns to mush in the skillet
Mushroom Pasta Recipe
Ingredients
Equipment
Method
- Cook the pastaBring a large pot of heavily salted water to a boil and cook the pasta to al dente according to package directions. Before draining, scoop out a full mug of the starchy cooking water and set it aside. Drain the pasta and leave it in the colander while you build the sauce.
- Soften the aromaticsHeat the olive oil and butter together in a large skillet over medium-high heat until the butter melts and the oil shimmers. Add the shallots and garlic and toss them for two to three minutes, until the shallots soften and turn translucent. Keep the heat steady so the garlic softens without burning at the edges.
- Brown the mushroomsAdd all three varieties of mushrooms to the skillet and drizzle with a little more olive oil if the pan looks dry. Season with the dried rosemary, a generous pinch of kosher salt, and several cracks of black pepper. Spread the mushrooms across the pan in a single layer and leave them untouched for three to four minutes. Stirring immediately causes them to steam in their own moisture. Once the undersides go golden, toss and cook for another five to six minutes until the mushrooms shrink and turn deeply browned.
- Build the sauceStir the tomato paste into the mushrooms and let it cook for two full minutes, stirring occasionally. Pour in the red wine and scrape up every browned bit from the bottom of the pan. Add half a cup of the reserved pasta water and let the mixture bubble over medium heat for five minutes until it reduces into a thick, glossy sauce.
- CombineAdd the drained pasta directly to the skillet and toss with tongs until every noodle coats in the sauce. If the pasta looks dry or the sauce looks tight, add the pasta water a splash at a time until a glossy coating forms around each noodle.
- Finish and servePull the pan off the heat. Stir in the parmesan, fresh parsley, walnuts, and red pepper flakes. Taste a noodle before plating and add a pinch of salt or a squeeze of lemon juice if the seasoning needs a lift. Serve immediately.