
Staring into the pantry at ten on a random Tuesday night, physically unable to choose between cookies or brownies, is exactly what led to this brookie recipe. The only logical solution for an exhausted, indecisive baker involved making both desserts at once and shoving them into one pan.
A previous attempt at layering without lining the pan first once turned into a half brownie half cookie brick chiseled out of a favorite baking dish the next morning. These brookie bars turned out so ridiculously good that compromise stopped being an option entirely. Here is exactly how I do it.
reader review
“Gooey Gooey and Gooey. I dropped the cookie dough randomly over the brownie batter exactly like the recipe says and the layers baked into the perfect half brownie half cookie combo. My brother ate three squares before dinner and did not feel one bit sorry about it. Thank you Thank you Thank you!!!!!” – Wilhelmina P.
Loved this too? Add your reviewWhy You’ll Love This Recipe
- Zero compromises. Every bite delivers the fudgy richness of a brownie alongside the buttery chew of a chocolate chip cookie.
- Crowd control. Bringing these brownie cookie bars to a potluck guarantees a fight over the middle pieces.
- Pantry friendly. Every single ingredient probably already sits in the cupboard.
- Forgiving layers. Dropping blobs of cookie dough onto raw brownie batter leaves no room for neatness, and none is required.
Tools You’ll Need
Nothing fancy, I promise.
- 9×13 baking dish – The vessel for our indecision.
- Parchment paper. Skipping this step means scrubbing baked-on chocolate out of the corners later.
- Hand mixer. A stand mixer works too, though a hand mixer means fewer heavy things to wash afterward.
Ingredients
For the Brownie Batter
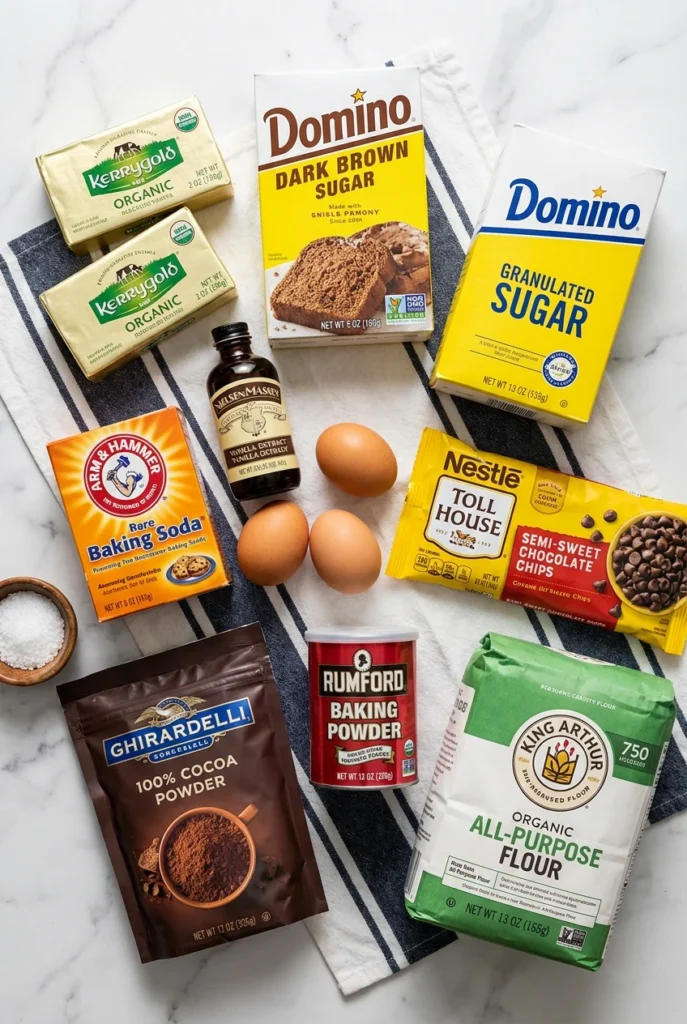
- ½ cup melted unsalted butter – If you only have salted, just omit the extra salt later and pretend it was intentional.
- ⅓ cup cocoa powder – Use decent quality, but honestly, even the cheap stuff works fine in a pinch. Cocoa powder can be messy, so measure carefully.
- ½ cup granulated sugar – For the structure.
- ½ cup packed brown sugar – Light or dark, whatever is currently hardening into a rock in your pantry.
- ½ teaspoon salt – To balance the sugar coma.
- 2 large eggs – Room temperature if you remember, straight from the fridge if you are me.
- 1 teaspoon vanilla extract – Measure with your heart.
- ½ cup all-purpose flour – Fluff it before scooping so you don’t end up with dense bricks.
- ¾ cup semisweet chocolate chips – Because the cocoa powder simply wasn’t enough chocolate.
For the Cookie Dough
- ½ cup room temperature unsalted butter – Actually room temperature this time, or your dough will be lumpy and sad.
- ½ cup granulated sugar – Standard sweet stuff.
- ¼ cup packed brown sugar – For that chewy cookie texture.
- 1 teaspoon vanilla extract – Again, precision is an illusion.
- 1 large egg – Room temp, ideally.
- ½ teaspoon salt – Don’t skip it.
- ½ teaspoon baking powder – Check the expiration date, I once used expired powder and made flat discs of despair.
- ¼ teaspoon baking soda – The other half of the rising team.
- 1 ⅓ cups all-purpose flour – Spoon and level if you have the patience.
- 1 cup semi-sweet chocolate chips – Plus a handful extra for the top, because we are adults and we can.
How To Make Brookies
Preheating the oven is the hardest part, the rest is just aggressive mixing.
- Prep the pan: Preheat the oven to 350°F and line a 9×13 baking dish with parchment or foil. If you forget to line it, that is between you and your scrubbing sponge, nobody else needs to know.
- Mix the brownie base: Combine the melted butter and cocoa powder in a large bowl, whisking until dissolved. Add both sugars and salt, whisking until moistened. Whisk in the eggs and vanilla and beat well for about 1 minute. Beating the eggs well is the actual secret to a shiny top, so take your aggression out on it.
- Add dry brownie ingredients: Mix in the flour until just a few streaks remain, then fold in the chocolate chips. Transfer this batter to your prepared pan and spread it into a thin layer. It will look too thin, but trust the process.
- Cream the cookie butter: In a separate bowl, beat the room temperature butter, granulated sugar, and brown sugar on high for 3 to 4 minutes until light and fluffy. If you get impatient and stop at 1 minute, your cookie brownie hybrid will be dense, so let the mixer run.
- Finish the dough: Mix in the vanilla and egg, then add the salt, baking soda, and baking powder. Pour in the flour and mix until almost combined, then fold in the chocolate chips by hand.
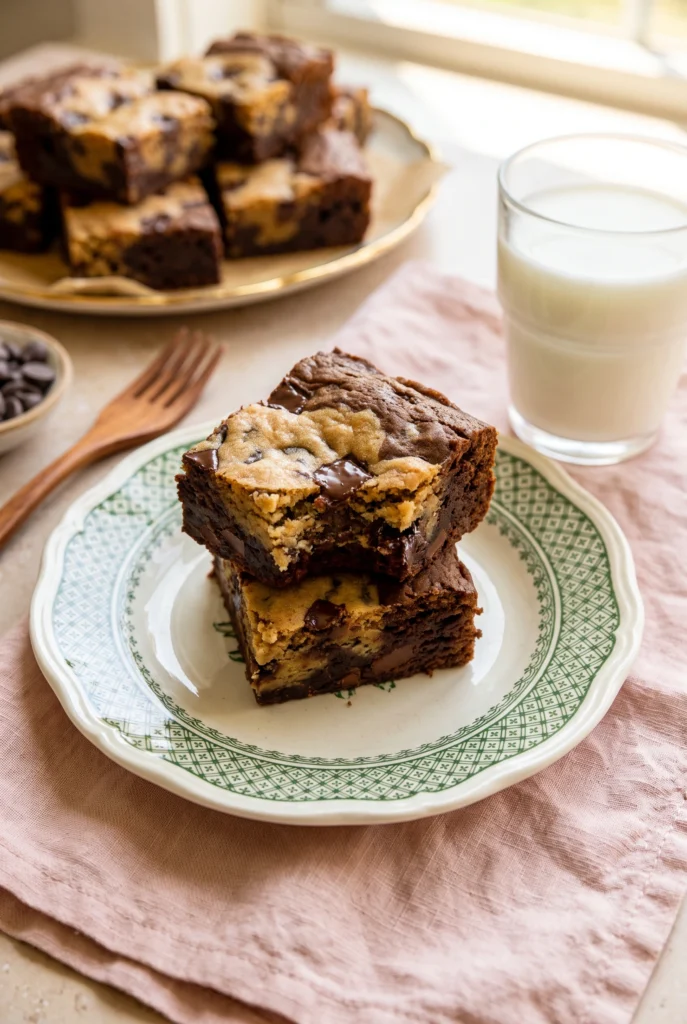
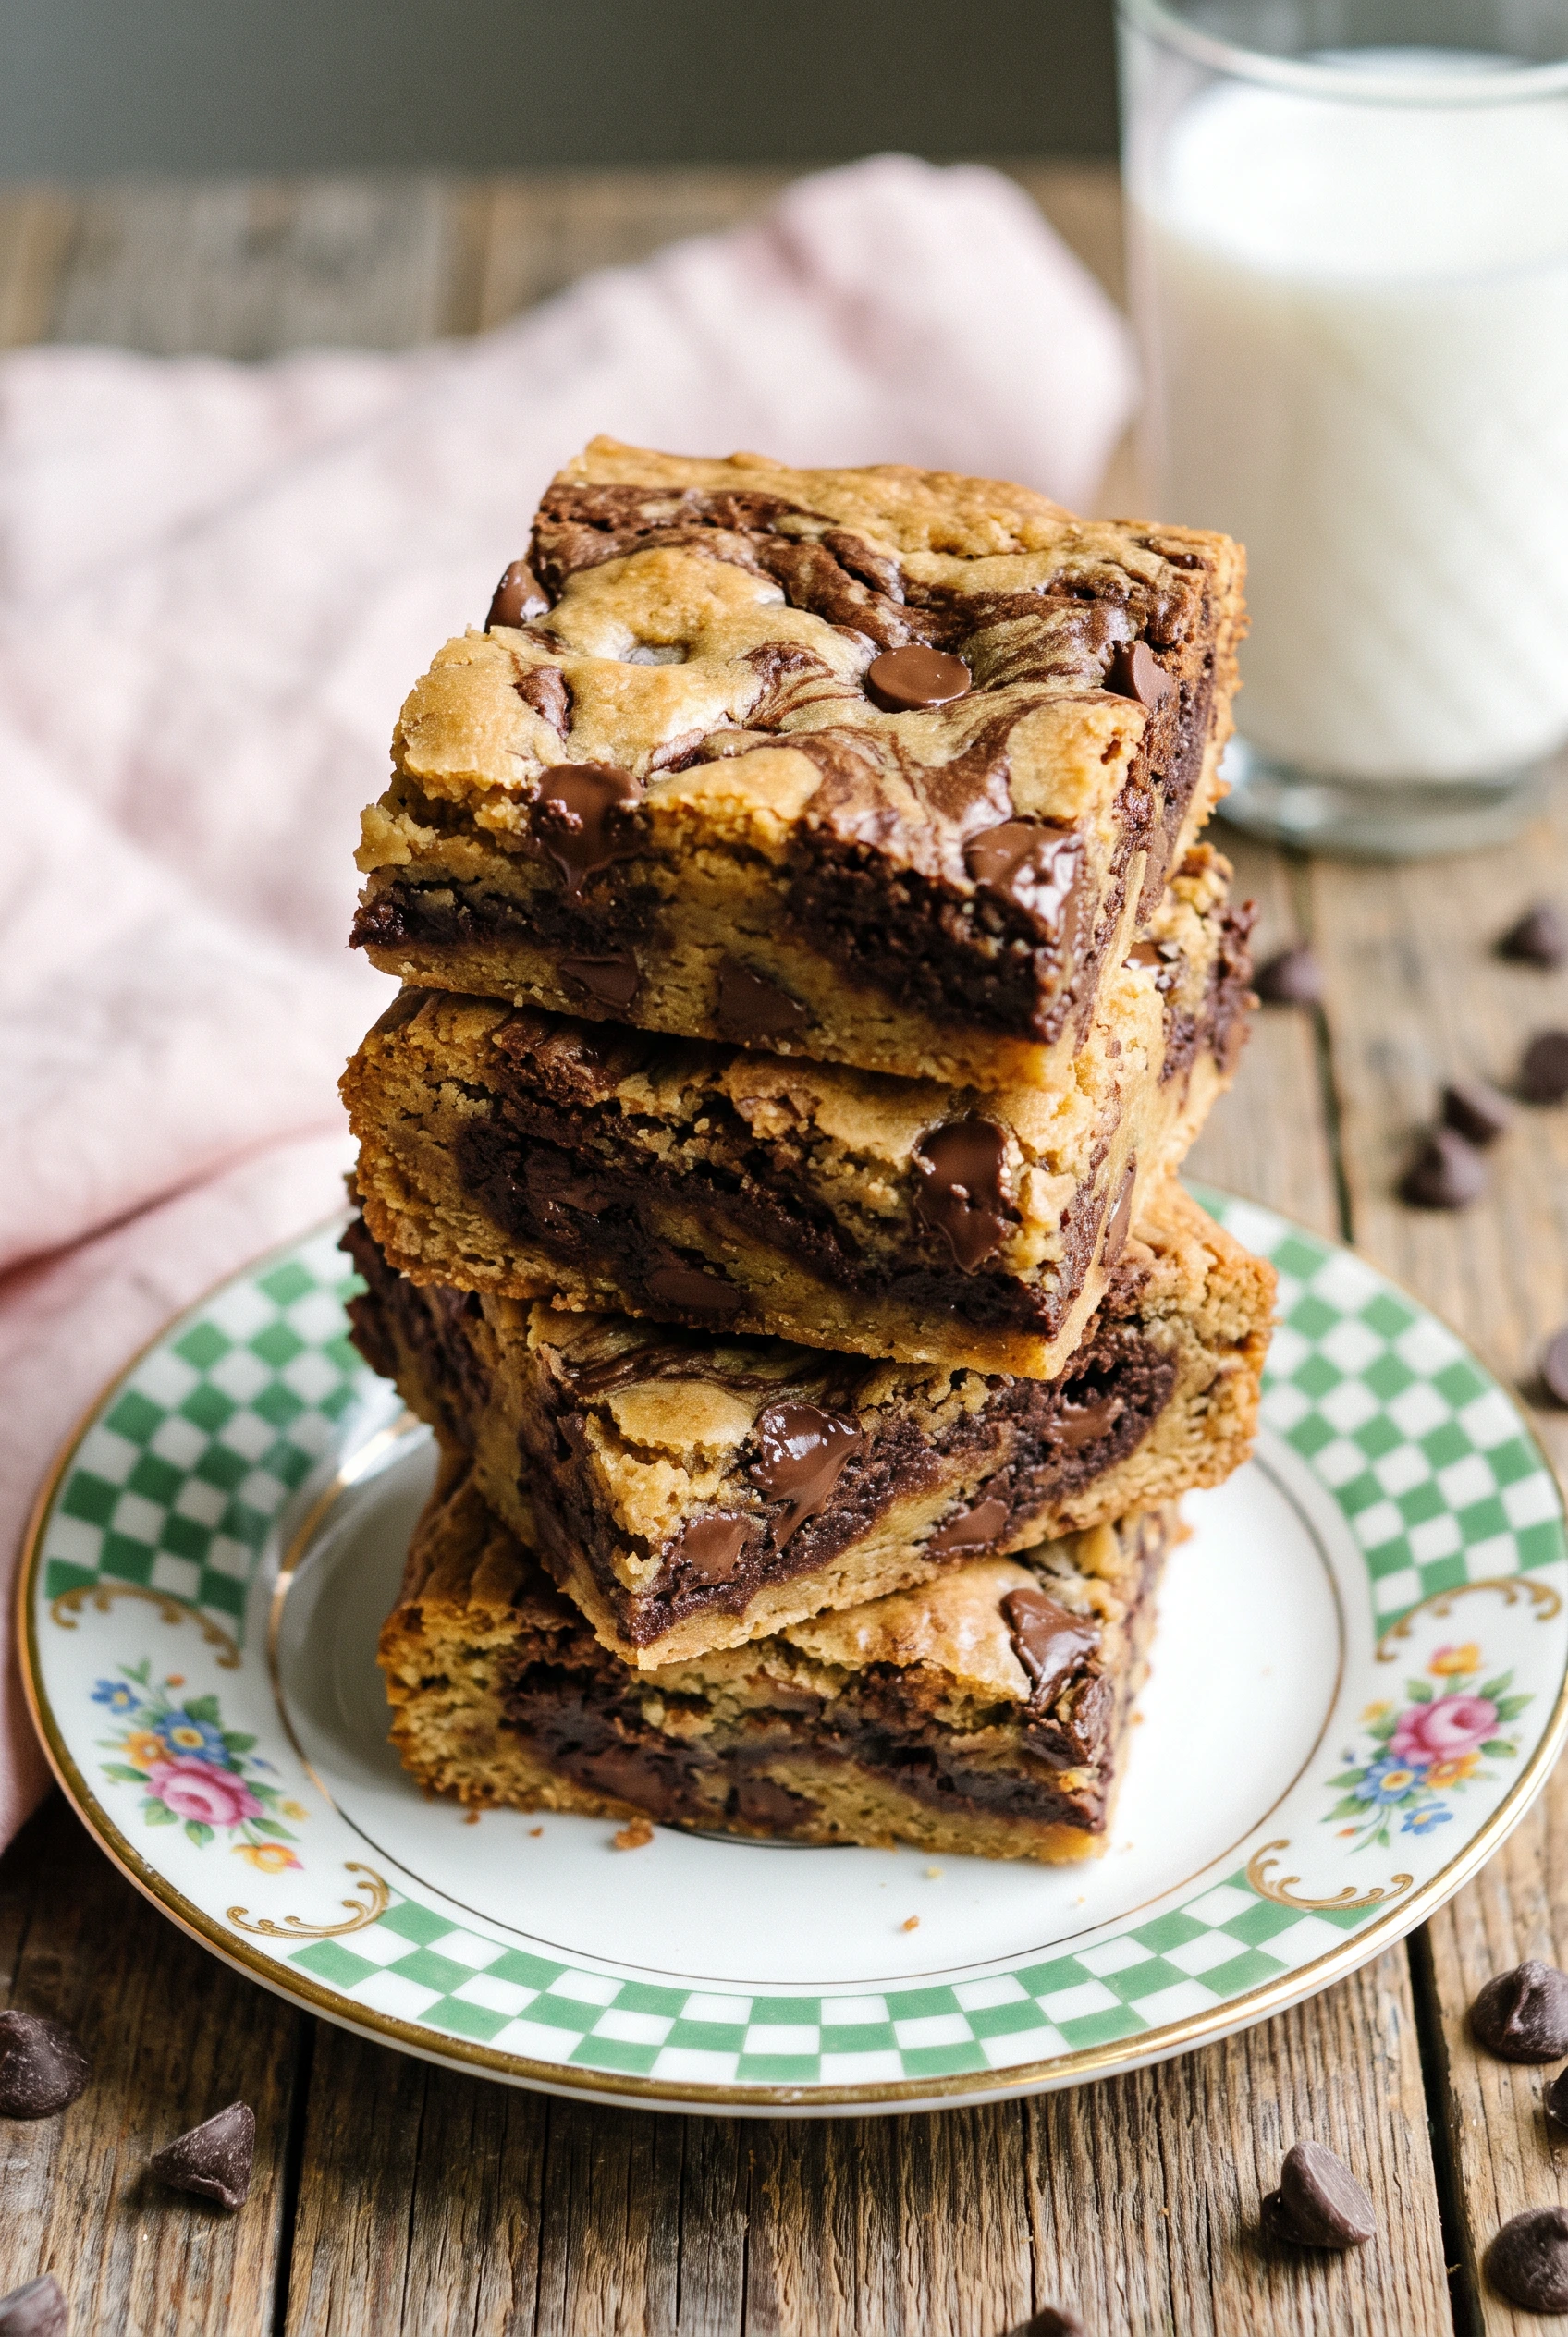
- Assemble the chaos: Drop spoonfuls of the cookie dough randomly over the brownie batter. You do not need full coverage; seeing the brownie peeking through is the whole point.
- Bake in phases: Cover the pan with foil and bake for 20 minutes. Carefully remove the foil (watch out for steam burns, I speak from experience) and bake for another 20 minutes uncovered. Let the brookie cool completely before cutting, unless you want to eat it with a spoon straight from the pan, which I fully support.
♥ The Misfit Tips!
- Respect the cooling time. Cutting these while still warm once caused the entire pan to collapse into a gooey, unrecognizable heap.
- Never skip the foil. The cookie dough burns before the brownie base finishes cooking through without that first covered stage.
- Handle the butter carefully. Melted butter spreads the cookie layer too thin and greasy, so chopping cold butter into small cubes speeds up softening without this problem.
Perfect Pairings
These brookie bars suit two specific pairings particularly well.
- A massive, ice-cold glass of whole milk – obviously.
- A scoop of cheap vanilla bean ice cream melting right over the top.
- Your couch, a blanket, and whatever reality TV show you are currently binge-watching on a Friday night.
- A thermos of black coffee to balance out the sweetness during a morning tailgating party.
Make it yours
- Peanut butter swirl version. You drop small spoonfuls of peanut butter over the brownie layer before adding the cookie dough.
- Nutty version. You fold chopped walnuts or pecans into the cookie dough for extra crunch.
How to Store Brookies
❤
- Fridge. Up to a week in an airtight container, and the chilled texture turns super dense and chewy.
- Freezer. Up to three months wrapped tightly in plastic wrap and stored in a zip-top bag.
- Reheat. Ten to fifteen seconds in the microwave brings back the gooey texture.
- Storage note. Keeping these away from anything mint-flavored in storage prevents any accidental flavor transfer.
Brookies Bars
Ingredients
Method
- Preheat the oven to 350°F. Line a 9×13 baking dish with parchment or foil.
- Combine the melted butter and cocoa powder together in a large mixing bowl, and whisk together until the cocoa is fully dissolved. Add granulated and brown sugars and the salt, and whisk until the sugar is all moistened. Then whisk in the eggs and vanilla and beat well for about 1 minute. (The secret to glossy brownies is to beat the eggs and sugar very well!)
- Add the flour and mix together with a spatula until a few streaks remain, then fold in the chocolate chips, scraping the bowl down and mixing in any errant flour.
- Transfer the brownie batter to your prepared pan and spread into a thin layer, then set aside.
- In a large mixing bowl with a hand mixer or a stand mixer fitted with the paddle attachment, beat the butter, granulated sugar, and brown sugar on high for 3 to 4 minutes or until light and fluffy, stopping and scraping the bowl down as needed.
- Mix in the vanilla and egg and scrape the bowl down once more.
- Add the salt, baking soda, and powder then mix until combined.
- Pour in the flour and mix until almost combined. Then fold in the chocolate chips by hand with your spatula, reserving a handful to sprinkle on top later.
- Drop spoonfuls of the cookie dough onto the brownie batter. You don’t need full coverage, it will be nice to see the brownie batter peaking through after baking.
- Cover the pan with foil and bake for 20 minutes. Carefully remove the foil, then bake for another 20 minutes uncovered. Allow the brookies to cool in the pan before removing them and cutting.