
If you love rich chocolate desserts, this Black Magic Cake deserves a place on your baking list. The cake has a deep chocolate flavor and a wonderfully moist, tender texture that makes every slice satisfying. Simple pantry ingredients come together to create a homemade dessert that feels special without being complicated.
Serve it with chocolate frosting, a dusting of powdered sugar, or your favorite topping for an extra sweet finish. It is a great choice for birthdays, family gatherings, or any time you are craving a classic chocolate cake.
Why You’ll Love This Recipe
- One bowl wonder. You can whisk this together by hand if you want to avoid washing heavy mixer attachments.
- Stays soft for days. Oil keeps the cake tender without the need to soften butter.
- Coffee magic. Hot coffee deepens the chocolate flavor without making the cake taste like coffee.
- Deceptively easy. The cake looks impressive enough for guests but stays simple enough for an emergency dessert.
Tools You’ll Need
Nothing fancy, I promise.
- 8-inch round cake pans You need two of these. If you use shiny ones, the edges won’t burn as fast, which is a mistake I make often.
- Parchment paper Do not skip this, or you will be eating cake directly out of the pan with a fork when it refuses to release.
- Wire cooling rack Essential so the bottoms of your cakes do not get soggy while they cool down.
Ingredients
For the Cake
- 1¾ cups all-purpose flour – Measure properly by spooning it into the cup so you do not end up with a brick.
- ¾ cup unsweetened cocoa powder – Use good quality unsweetened cocoa powder if you can, it makes a huge difference.
- 2 cups granulated sugar – Yes, it is a lot of sugar. No, do not try to cut it in half unless you want a sad cake.
- 2 teaspoons baking soda – Check the expiration date, please.
- 1 teaspoon baking powder – Same warning as above, old leaveners will betray you.
- 1 teaspoon salt – To balance out the insane amount of sweetness.
- 1 cup milk or buttermilk – Buttermilk makes this a moist chocolate layer cake, but regular milk works fine if you forgot to go to the store.
- 2 large eggs, room temperature – If you forgot, just put them in a bowl of warm water for ten minutes while you prep.
- 1 cup black coffee (or 2 shots of espresso with water added to make 1 cup) – This does not make it taste like coffee, it just makes the chocolate taste ridiculously deep and rich.
- 1 teaspoon vanilla extract – The cheap stuff is fine, I will not judge you.
- ½ cup vegetable oil – The absolute secret to keeping the crumb soft for days on end.
For the Ganache
- 12 ounces dark chocolate chips – Buy the good ones so your chocolate with ganache does not taste waxy.
- 1½ cups heavy whipping cream – Do not try to use milk here, it will be a watery disaster.
How To Make Black Magic Cake
Do not let the double-layer situation intimidate you; this batter is practically foolproof even if you are easily distracted.
- Prep the pans: Preheat the oven to 350°F. Line the bottom of two 8-inch round cake pans with parchment paper and spray the bottom and sides with non-stick cooking spray. If you skip the parchment paper, you will be eating cake directly out of the pan with a fork, I guarantee it.
- Mix the dry ingredients: Whisk together the flour, cocoa powder, sugar, baking soda, baking powder, and salt in the bowl of a standing mixer. You can totally use a hand whisk if you want to count this as an arm workout.
- Add the wet ingredients: Add the milk, eggs, coffee, vanilla, and oil into the bowl with the dry ingredients. This is where things start to smell amazing.
- Beat the batter: Turn the mixer on to medium speed and beat for 2 minutes, scraping down the sides and bottom of the bowl halfway through mixing. It will look alarmingly thin—do not panic, it is supposed to look like chocolate soup.
- Divide and conquer: Divide the batter between the two prepared cake pans. Try to eyeball it evenly so one layer isn’t significantly taller than the other.
- Bake: Bake for 35 minutes or until a toothpick inserted into the cakes comes out with just a few crumbs. Do not overbake this, or you lose the magic texture.
- Cool down: Cool the cakes for 10 to 15 minutes and then remove from pans to cool the rest of the way on a cooling rack. Resist the urge to dump them out immediately or they will crack right in half.
- Heat the cream: When the cake is cooled, prepare the ganache. Heat the heavy cream in a small saucepan or a microwave-safe container until steaming. Do not let it boil over, scrubbing burnt cream off a stove is the worst.
- Melt the chocolate: Pour the cream over the chocolate chips in a small bowl. Cover with a plate for 2 to 3 minutes to contain the heat and allow the chocolate chips to soften. If you whisk too early, it gets grainy and weird, so just walk away and practice patience.
- Whisk the ganache: Whisk until the mixture forms a smooth, glossy ganache. It should look like a dark chocolate mirror.
- Level the cakes: Level the tops of the cakes with a serrated knife. You get to eat the scraps you cut off, which is the undeniable best part of baking.
- Fill the center: Pour about ½ cup of the ganache over the top of one cake layer and spread just to the edges to form the filling. It does not have to be perfectly neat, it is just the middle.
- Stack it up: Stack the second cake layer, top-down, onto the ganache layer. If it slides a little, just gently push it back into place.
- Frost the outside: Pour the extra ganache over the top of the cake. Use an offset spatula to smooth the ganache down and around the sides. For the extra smooth ganache, allow the ganache to cool for about 15 minutes and then smooth out with the offset spatula. If it looks a little messy, just call it rustic.
♥ The Misfit Tips!
- Trust the thin batter. The liquid texture creates a tender cake, so do not add extra flour.
- Use hot coffee. Warm coffee develops the cocoa flavor better than cold coffee.
- Use buttermilk. Buttermilk creates a softer crumb, though whole milk with a little acid works in a pinch.
- Avoid overbaking. The cake should retain a few moist crumbs on the toothpick.
- Cool before frosting. Warm cake melts chocolate frosting and creates a slippery mess.
Troubleshooting Guide
Something went sideways? Been there. Here is how to fix it.
- Problem: Cake is domed and cracking on top
Why it happened: Your oven might run hot, or you used dark coated pans which absorb heat faster.
Fix it: Just hack off the dome with a serrated knife. The thick ganache will hide all your sins and nobody will ever know.
- Problem: Ganache is thin and runny
Why it happened: You either used milk instead of heavy cream, or your kitchen is just really warm.
Fix it: Stick the bowl of ganache in the fridge for 10 to 15 minutes and whisk it again until it thickens up to a spreadable consistency.
- Problem: He is stuck to the bottom of the pan
Why it happened: You skipped the parchment paper, didn’t you?
Fix it: Let it cool completely, gently pry it out in chunks, and literally glue it back together with ganache. Frosting covers a multitude of structural failures.
Perfect Pairings
This cake goes perfectly with a complete disregard for reasonable portion sizes.
- A cold glass of milk balances the intense cocoa flavor.
- Black coffee reinforces the rich chocolate notes.
- Vanilla ice cream creates a hot-and-cold dessert with every slice.
- A quiet night on the couch gives this cake the attention it deserves.
How to Store
- Fridge: Store the frosted cake in an airtight container for up to five days.
- Freezer: Freeze unfrosted cake layers or slices for up to three months.
- Reheat: Microwave an unfrosted slice for 5 to 10 seconds.
- Storage note: Keep the frosting covered because chocolate absorbs refrigerator odors.
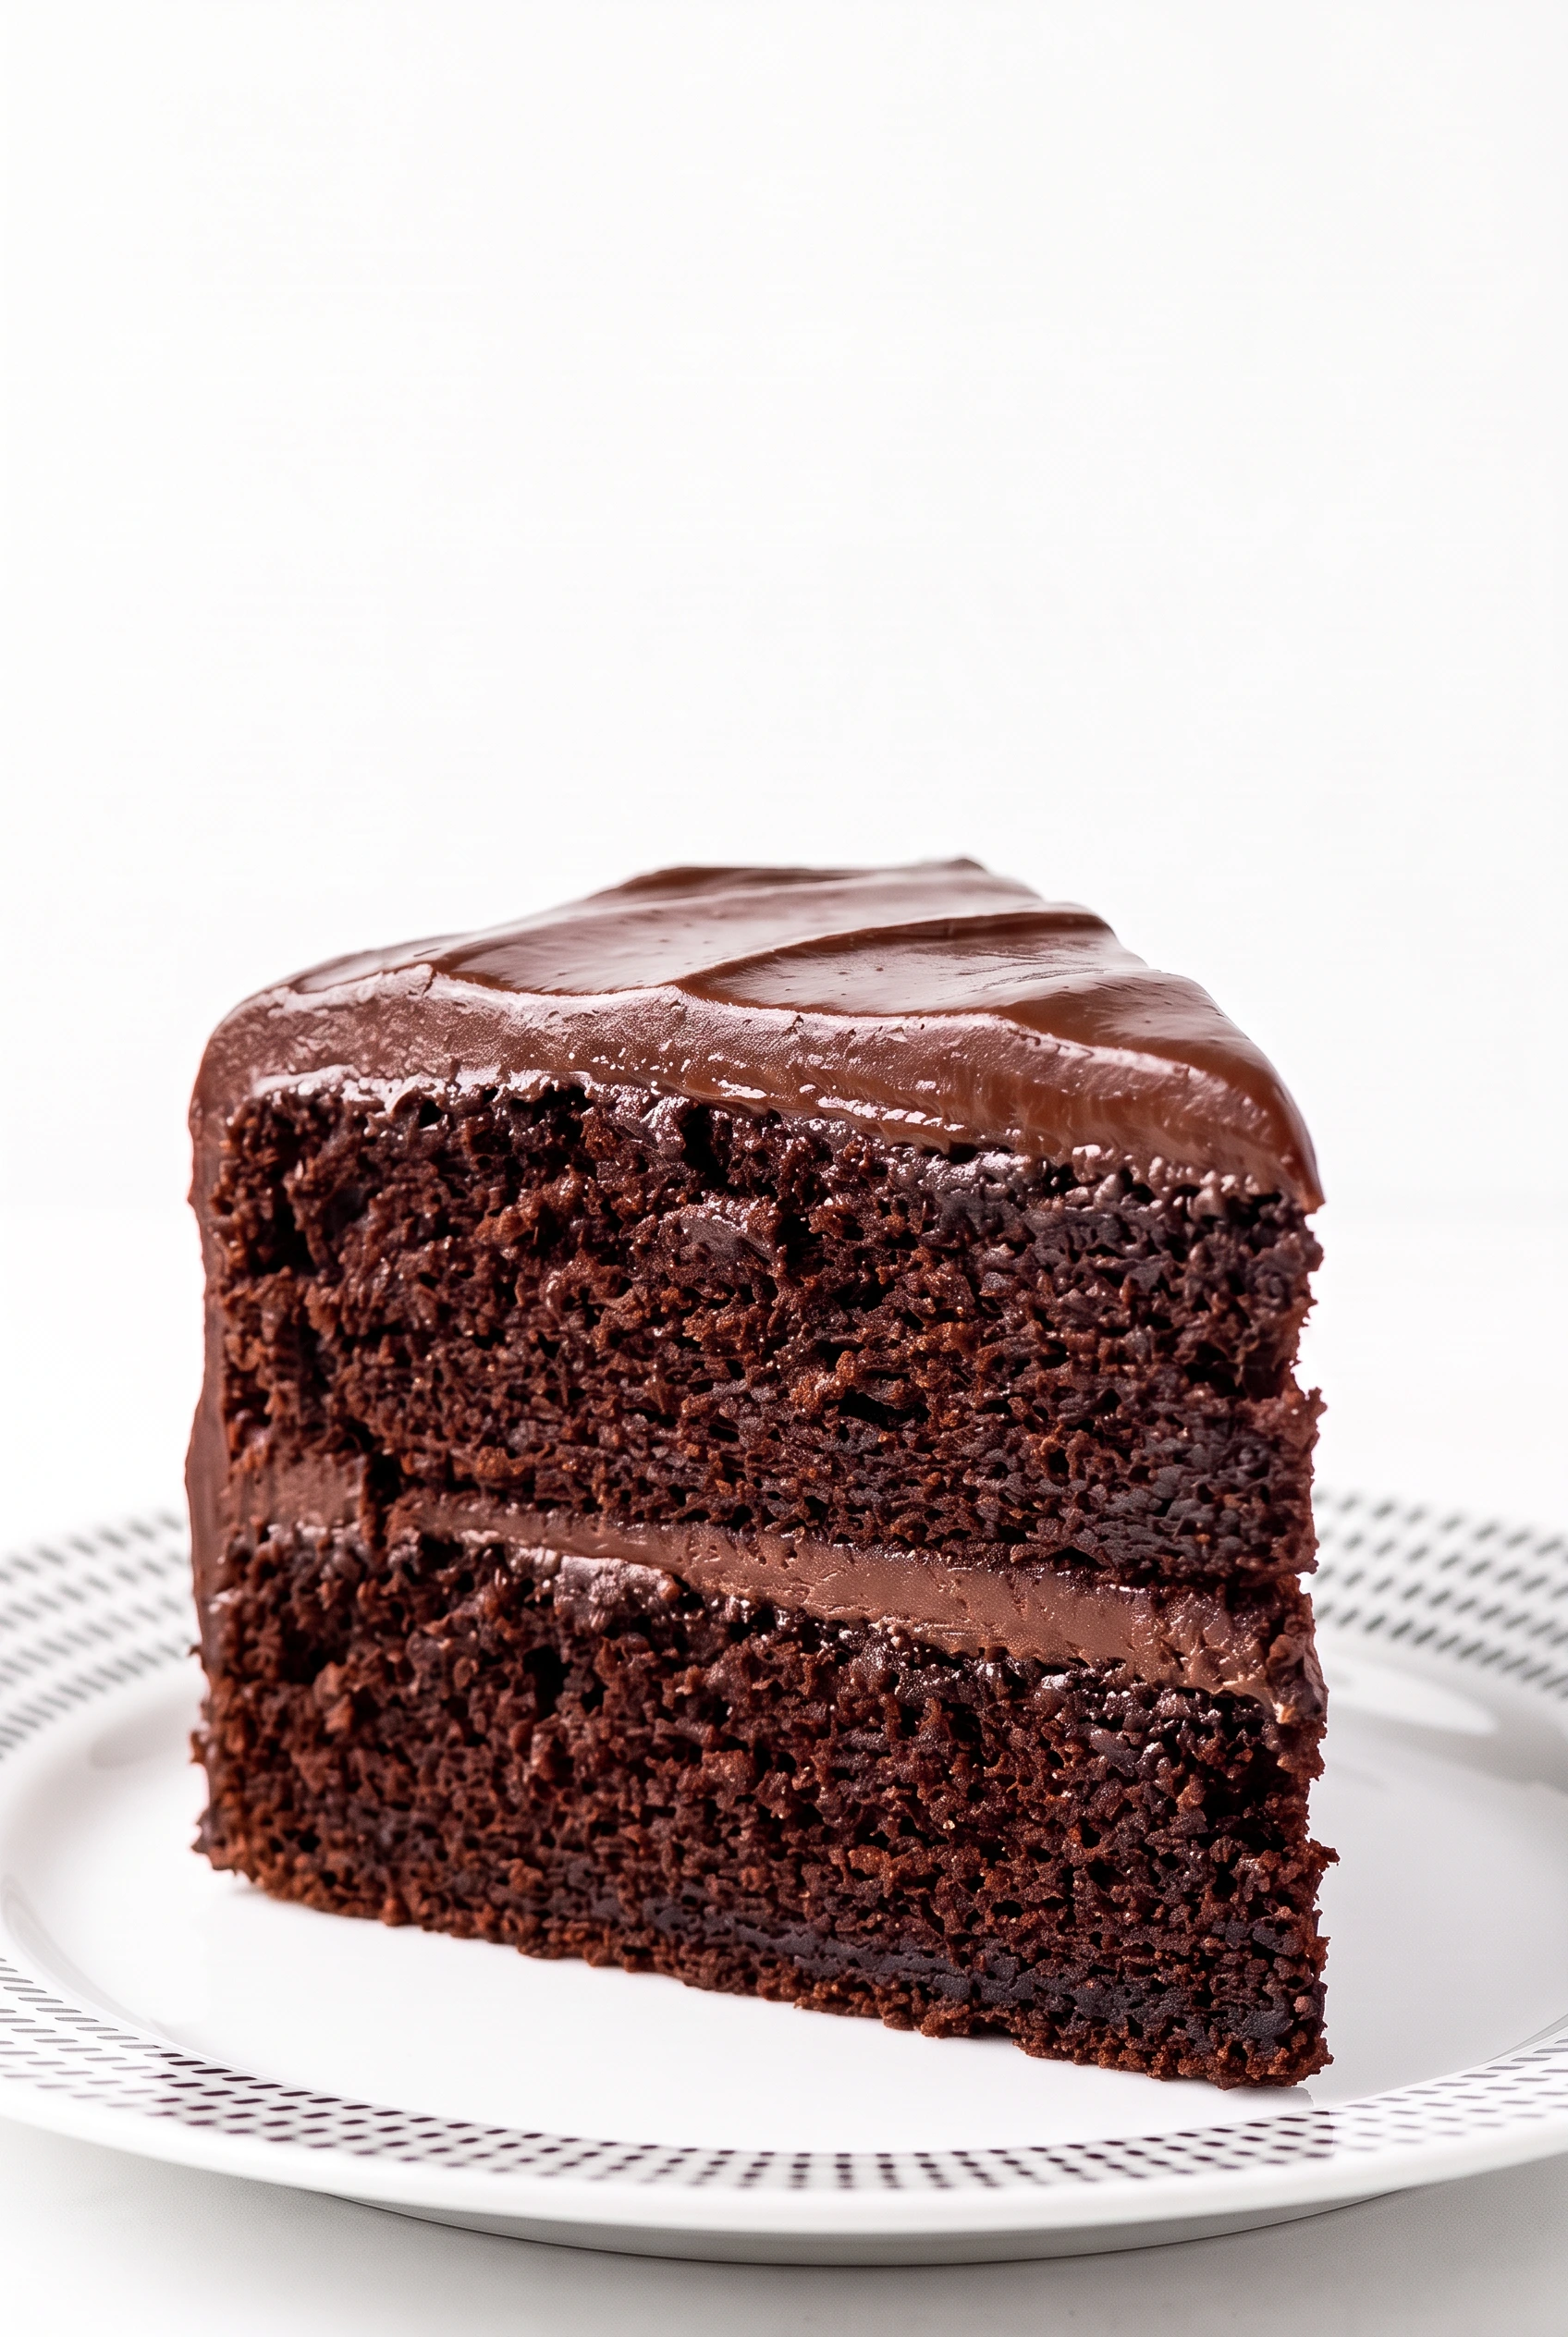
Black Magic Cake
Ingredients
Equipment
Method
- Preheat the oven to 350°F. Line the bottom of two 8-inch round cake pans with parchment paper and spray the bottom and sides with non-stick cooking spray.
- Whisk together the flour, cocoa powder, sugar, baking soda, baking powder, and salt in the bowl of a standing mixer.
- Add the milk, eggs, coffee, vanilla, and oil into the bowl with the dry ingredients.
- Turn the mixer on to medium speed and beat for 2 minutes, scraping down the sides and bottom of the bowl halfway through mixing.
- Divide the batter between the two prepared cake pans.
- Bake for 35 minutes or until a toothpick inserted into the cakes comes out with just a few crumbs.
- Cool the cakes for 10 to 15 minutes and then remove from pans to cool the rest of the way on a cooling rack.
- When the cake is cooled, prepare the ganache.
- Heat the heavy cream in a small saucepan or a microwave-safe container until steaming. Pour the cream over the chocolate chips in a small bowl. Cover with a plate for 2 to 3 minutes to contain the heat and allow the chocolate chips to soften.
- Whisk until the mixture forms a smooth, glossy ganache.
- Level the tops of the cakes with a serrated knife.
- Pour about ½ cup of the ganache over the top of one cake layer and spread just to the edges to form the filling. Stack the second cake layer, top-down, onto the ganache layer.
- Pour the extra ganache over the top of the cake. Use an offset spatula to smooth the ganache down and around the sides. For the extra smooth ganache, allow the ganache to cool for about 15 minutes and then smooth out with the offset spatula.