
There’s something so satisfying about making homemade bread without waiting for yeast to rise. This No Yeast Bread is simple, comforting, and perfect when you want fresh bread without a long preparation time. I love making it for those moments when I need something quick to serve alongside a meal or simply want a warm homemade loaf on the table.
With its delicious homemade flavor and easy preparation, this bread is a wonderful option for breakfast, lunch, or dinner. Slice it while warm and enjoy it with butter, your favorite spread, or alongside a comforting bowl of soup.
Why You’ll Love This Recipe
- Time-saver: You get fresh bread in under an hour without waiting for dough to rise.
- Zero planning required: This quick bread no yeast method supports spontaneous soup nights.
- Foolproof for beginners: This simple baking soda bread for beginners needs only mixing, shaping, scoring, and baking.
- Minimal grocery shopping: This easy no yeast bread recipe uses six main ingredients that you may already have.
- Flexible baking: A cast iron skillet creates a crisp bottom, while a baking sheet works too.
Tools You’ll Need
Nothing fancy, I promise.
- Large mixing bowl: Use a bowl large enough to whisk without coating the counter.
- Cast iron skillet: A skillet creates a beautifully crisp bottom.
- Sharp knife: A sharp knife scores the top so the center bakes properly.
- Wire rack: A rack lets steam escape while the loaf cools.
Ingredients
- 4 1/4 cups all-purpose flour – Plus extra for your hands, your counter, and inevitably your black shirt.
- 1 1/2 teaspoons salt – Do not skip this, unless you enjoy the taste of hot cardboard.
- 1 1/2 teaspoons baking soda – This is what makes it rise. Make sure it is not the baking powder you bought three years ago. (Check out the difference between baking soda and powder if you are confused, because they are definitely not the same thing).
- 4 Tablespoons unsalted butter – Melted, because it adds the richness we all desperately need.
- 2 Tablespoons honey – Or granulated sugar. Just a hint of sweetness to balance the tang.
- 1 3/4 cups buttermilk – The MVP. The acid reacts with the baking soda to give this quick homemade bread without yeast its lift.
- 1 Tablespoon whole oats – Optional, but it makes it look fancy so people think you worked harder than you did.
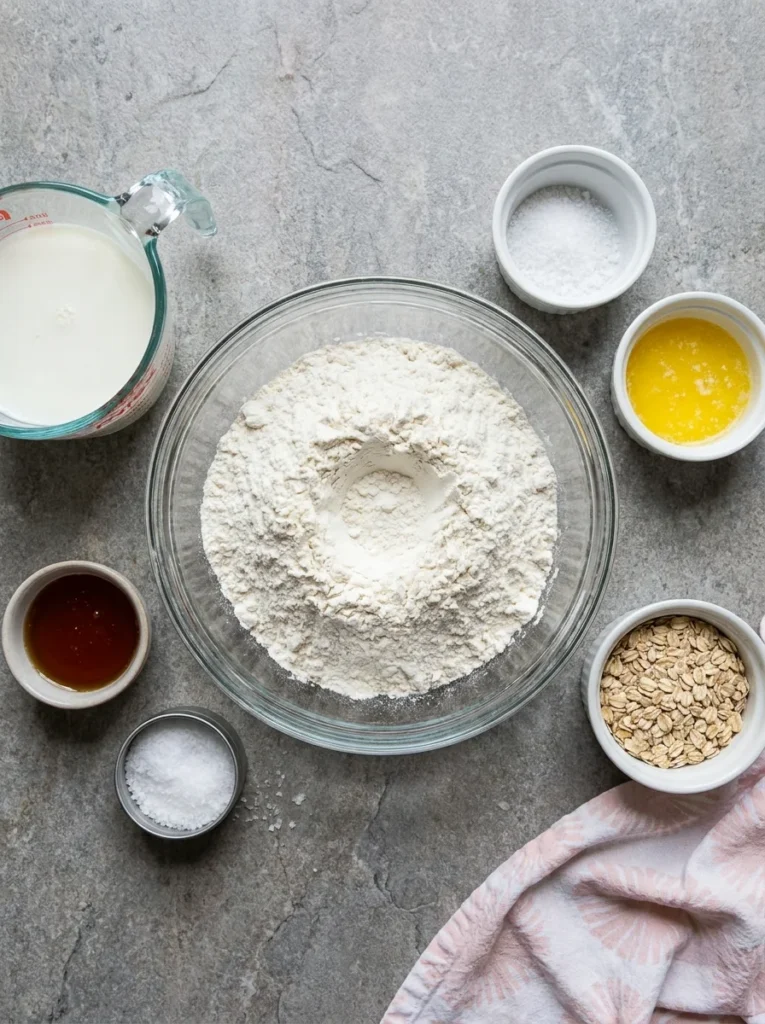
How To Make No Yeast Bread
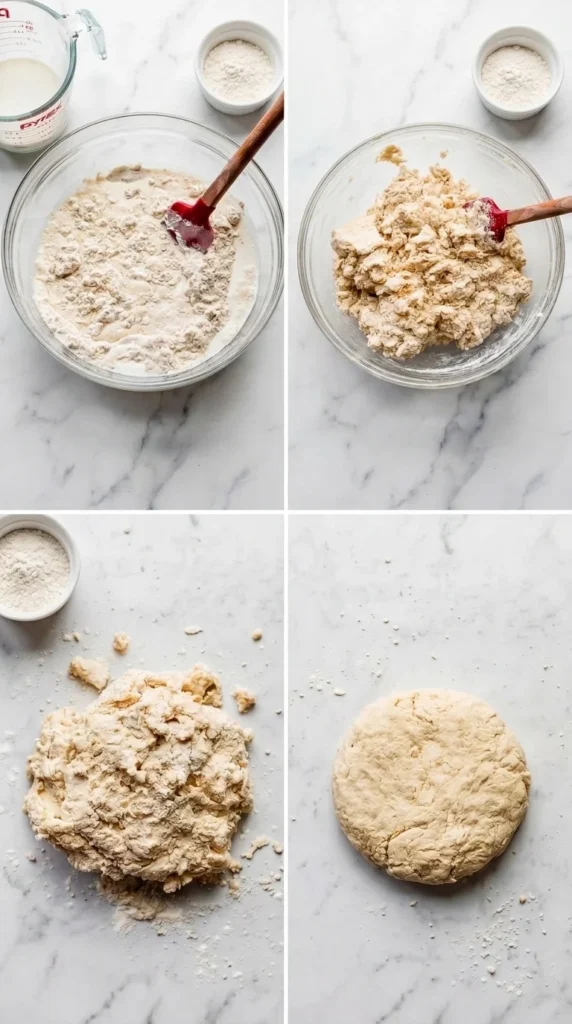
Do not overthink this dough; it is supposed to look a little messy and chaotic, much like my kitchen on any given Tuesday.
- Preheat and prep: Preheat your oven to 400°F (204°C) and grab a baking sheet, cast iron skillet, or cake pan. If you forget to preheat, just pretend you meant to give the dough a little extra resting time while the oven catches up.
- Mix the dry ingredients: Whisk the flour, salt, and baking soda together in a large bowl. Whisking dry ingredients feels tedious, but it prevents you from biting into a clump of pure baking soda later, which is a mistake you only make once.
- Add the wet ingredients: Whisk the melted butter and honey together, pour it into the flour, and toss. Then gently fold in the buttermilk until it just comes together. If there are little specks of butter in there, celebrate them; those are tiny pockets of joy.
- Shape the dough: Turn the shaggy dough out onto a floured surface and gently pat it into a 7-8 inch disc about 2 inches thick. If it looks like a raggedy mess that barely holds together, you are doing it perfectly.
- Score and top: Transfer the disc to your pan, brush with a little buttermilk, and score a deep X across the top. Scoring the X is crucial; I forgot once and the center was basically raw dough.
- Bake: Bake for about 45 minutes until golden brown and cooked through. Tenting with foil halfway through is your best friend if your oven runs hot and likes to burn crusts.
- Cool and slice: Let the bread cool for at least 30 minutes before cutting into it. I know waiting is absolute torture, but cutting it piping hot will turn the inside into a gummy mess.
- Store: Keep it covered at room temperature for a few days or in the fridge for a week. Honestly, it probably will not last three days anyway.
♥ The Misfit Tips!
- Do not over-knead: I once treated this dough like pizza dough and created a loaf tough enough to use as a doorstop.
- Make a buttermilk substitute: You can mix regular milk with lemon juice or white vinegar and let it sit for five minutes.
- Add cheese: Sharp cheddar and garlic powder create a savory version of this easy homemade bread.
- Score deeply: A three-quarter-inch X helps the center bake.
- Measure baking soda carefully: Too much soda creates a chemical flavor.
- Use a hot oven: A fully preheated oven helps the loaf set before the crust becomes too dark.
Make It Yours
You can fold sharp cheddar and garlic powder into the dry ingredients for a savory loaf. You can add chopped rosemary for a stronger herb flavor. You can replace honey with granulated sugar when needed.
This quick homemade bread without yeast works especially well with soups, stews, chili, and roasted vegetables.
Perfect Pairings
These pair perfectly with cozy meals and aggressive amounts of butter.
- A large bowl of loaded baked potato soup on a cold evening.
- Salted honey butter while the bread remains warm.
- Hearty beef stew on game day.
- Morning coffee with dark toast and strawberry jam.
- Sharp cheddar and garlic butter for a savory variation.
How to Store
❤
- Fridge: Store the tightly wrapped bread in the refrigerator for up to one week.
- Freezer: Slice the loaf and freeze it for up to three months.
- Thaw: Toast frozen slices directly from the freezer.
- Reheat: Use a toaster to restore crisp edges.
- Microwave note: Avoid the microwave because it makes the bread rubbery.
- Freshness note: This bread lacks preservatives and yeast, so it stales faster than packaged bread.
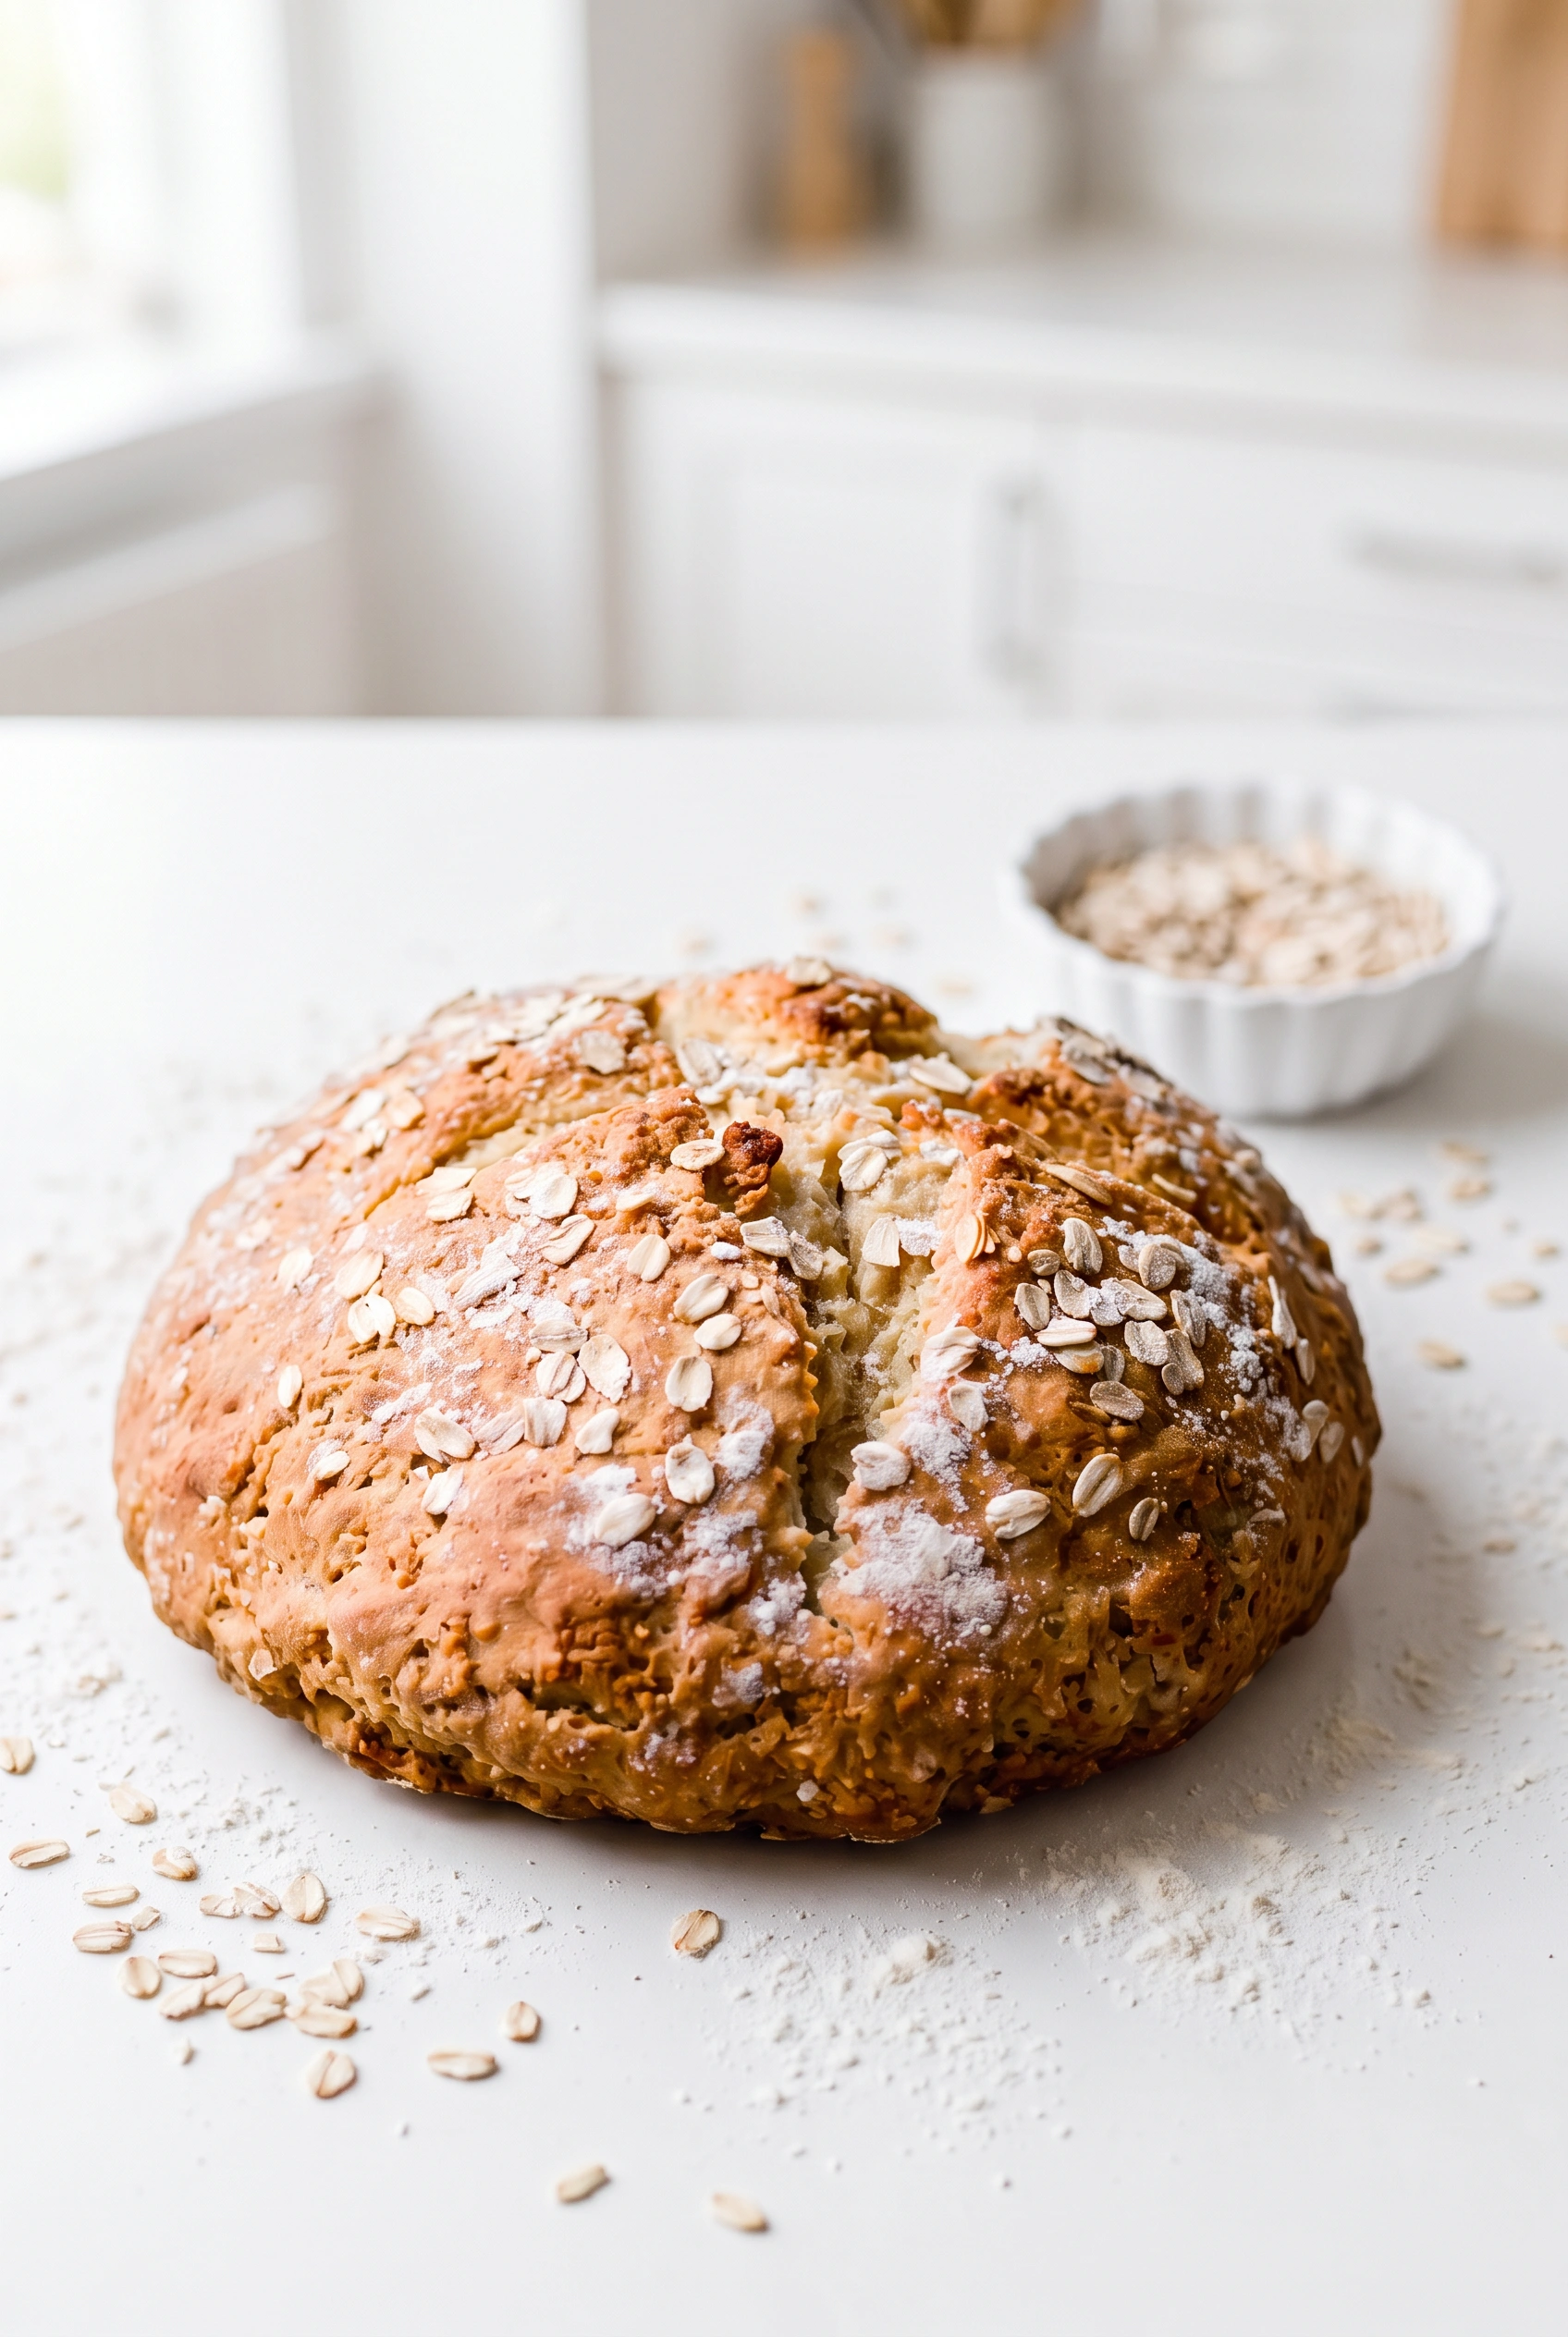
No Yeast Bread
Ingredients
Equipment
Method
- Preheat oven to 400°F (204°C). There are options for the baking pan. Line a baking sheet with parchment paper or a silicone baking mat, use a seasoned 10-12 inch cast iron skillet, or grease a 9-10 inch cake pan or pie dish. Set aside. Feel free to pre-heat the skillet in the oven too, though that’s not necessary.
- Whisk the flour, salt, and baking soda together in a large bowl. Set aside.
- Whisk the melted butter and honey/sugar together. Pour into the flour mixture and toss to combine. (The mixture won’t fully combine yet since there’s so little wet ingredients and so much flour.) In 2-3 additions, pour in the buttermilk mixing for 15-20 seconds after each addition. After all of the buttermilk has been added, mix gently to form a shaggy, stiff, and slightly moist dough. If you used honey, there could be little specks of honey/butter in spots. That’s ok! Those will be extra flavorful specks in your bread.
- Pour the shaggy dough and any flour crumbles that haven’t been incorporated onto a lightly floured work surface. With floured hands, work the dough into a ball and flatten into a (approximately) 7-8 inch disc as best you can (make it about 2 inches tall). If the dough is too sticky, add a little more flour.
- Transfer the disc to the prepared skillet/pan. Brush the whole loaf with 1 Tablespoon buttermilk. Using a very sharp knife, score a 3/4 inch deep X into the top. (Without scoring, the bread can’t bake properly in the center.) Sprinkle optional oats and/or coarse sea salt or flaky sea salt on top of the loaf.
- Bake until the bread is golden brown and center appears cooked through, about 45 minutes. Loosely cover the bread with aluminum foil halfway through bake time to protect the crust from over-browning before the center has a chance to cook.
- Remove from the oven and allow bread to cool for 5 minutes before slicing. For best taste, though, let the bread cool for at least 30 minutes before slicing and serving. If you made a plain loaf, the slices are delicious spread with honey butter or your desired spreads. Slices taste wonderful toasted, too!
- Cover and store bread at room temperature for 3 days or in the refrigerator for up to 1 week.