
In July, with a broken AC unit and three blocks of cream cheese sitting on the counter, turning on the oven felt like a genuine act of self-destruction, and that is how this no bake cheesecake became a permanent fixture in my dessert rotation.
This no bake cheesecake recipe skips the water bath, the springform pan leaks, and every crack-related anxiety that comes with traditional baked cheesecake.
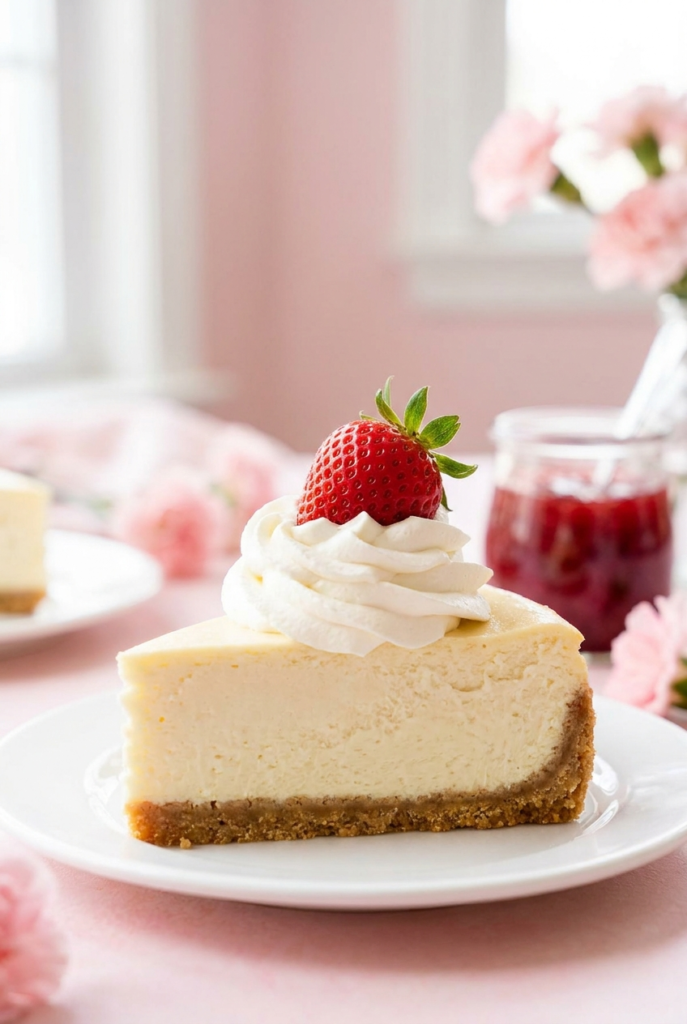
Full-fat Philadelphia cream cheese, cold heavy cream whipped to stiff peaks, and a pressed graham cracker crust produce a filling so light and creamy that my husband ate three slices standing in front of the open refrigerator. Here is exactly how I do it.
Why You’ll Love This Recipe
- Zero oven time. The kitchen stays cool and the stress stays at zero, which makes this the ideal summer dessert.
- Genuinely foolproof. A water bath doesn’t exist in this recipe, which eliminates the single most anxiety-inducing step in traditional cheesecake making.
- Make-ahead by design. This no bake cheesecake recipe requires overnight chilling, which means you finish it the evening before and walk into your event with dessert already done.
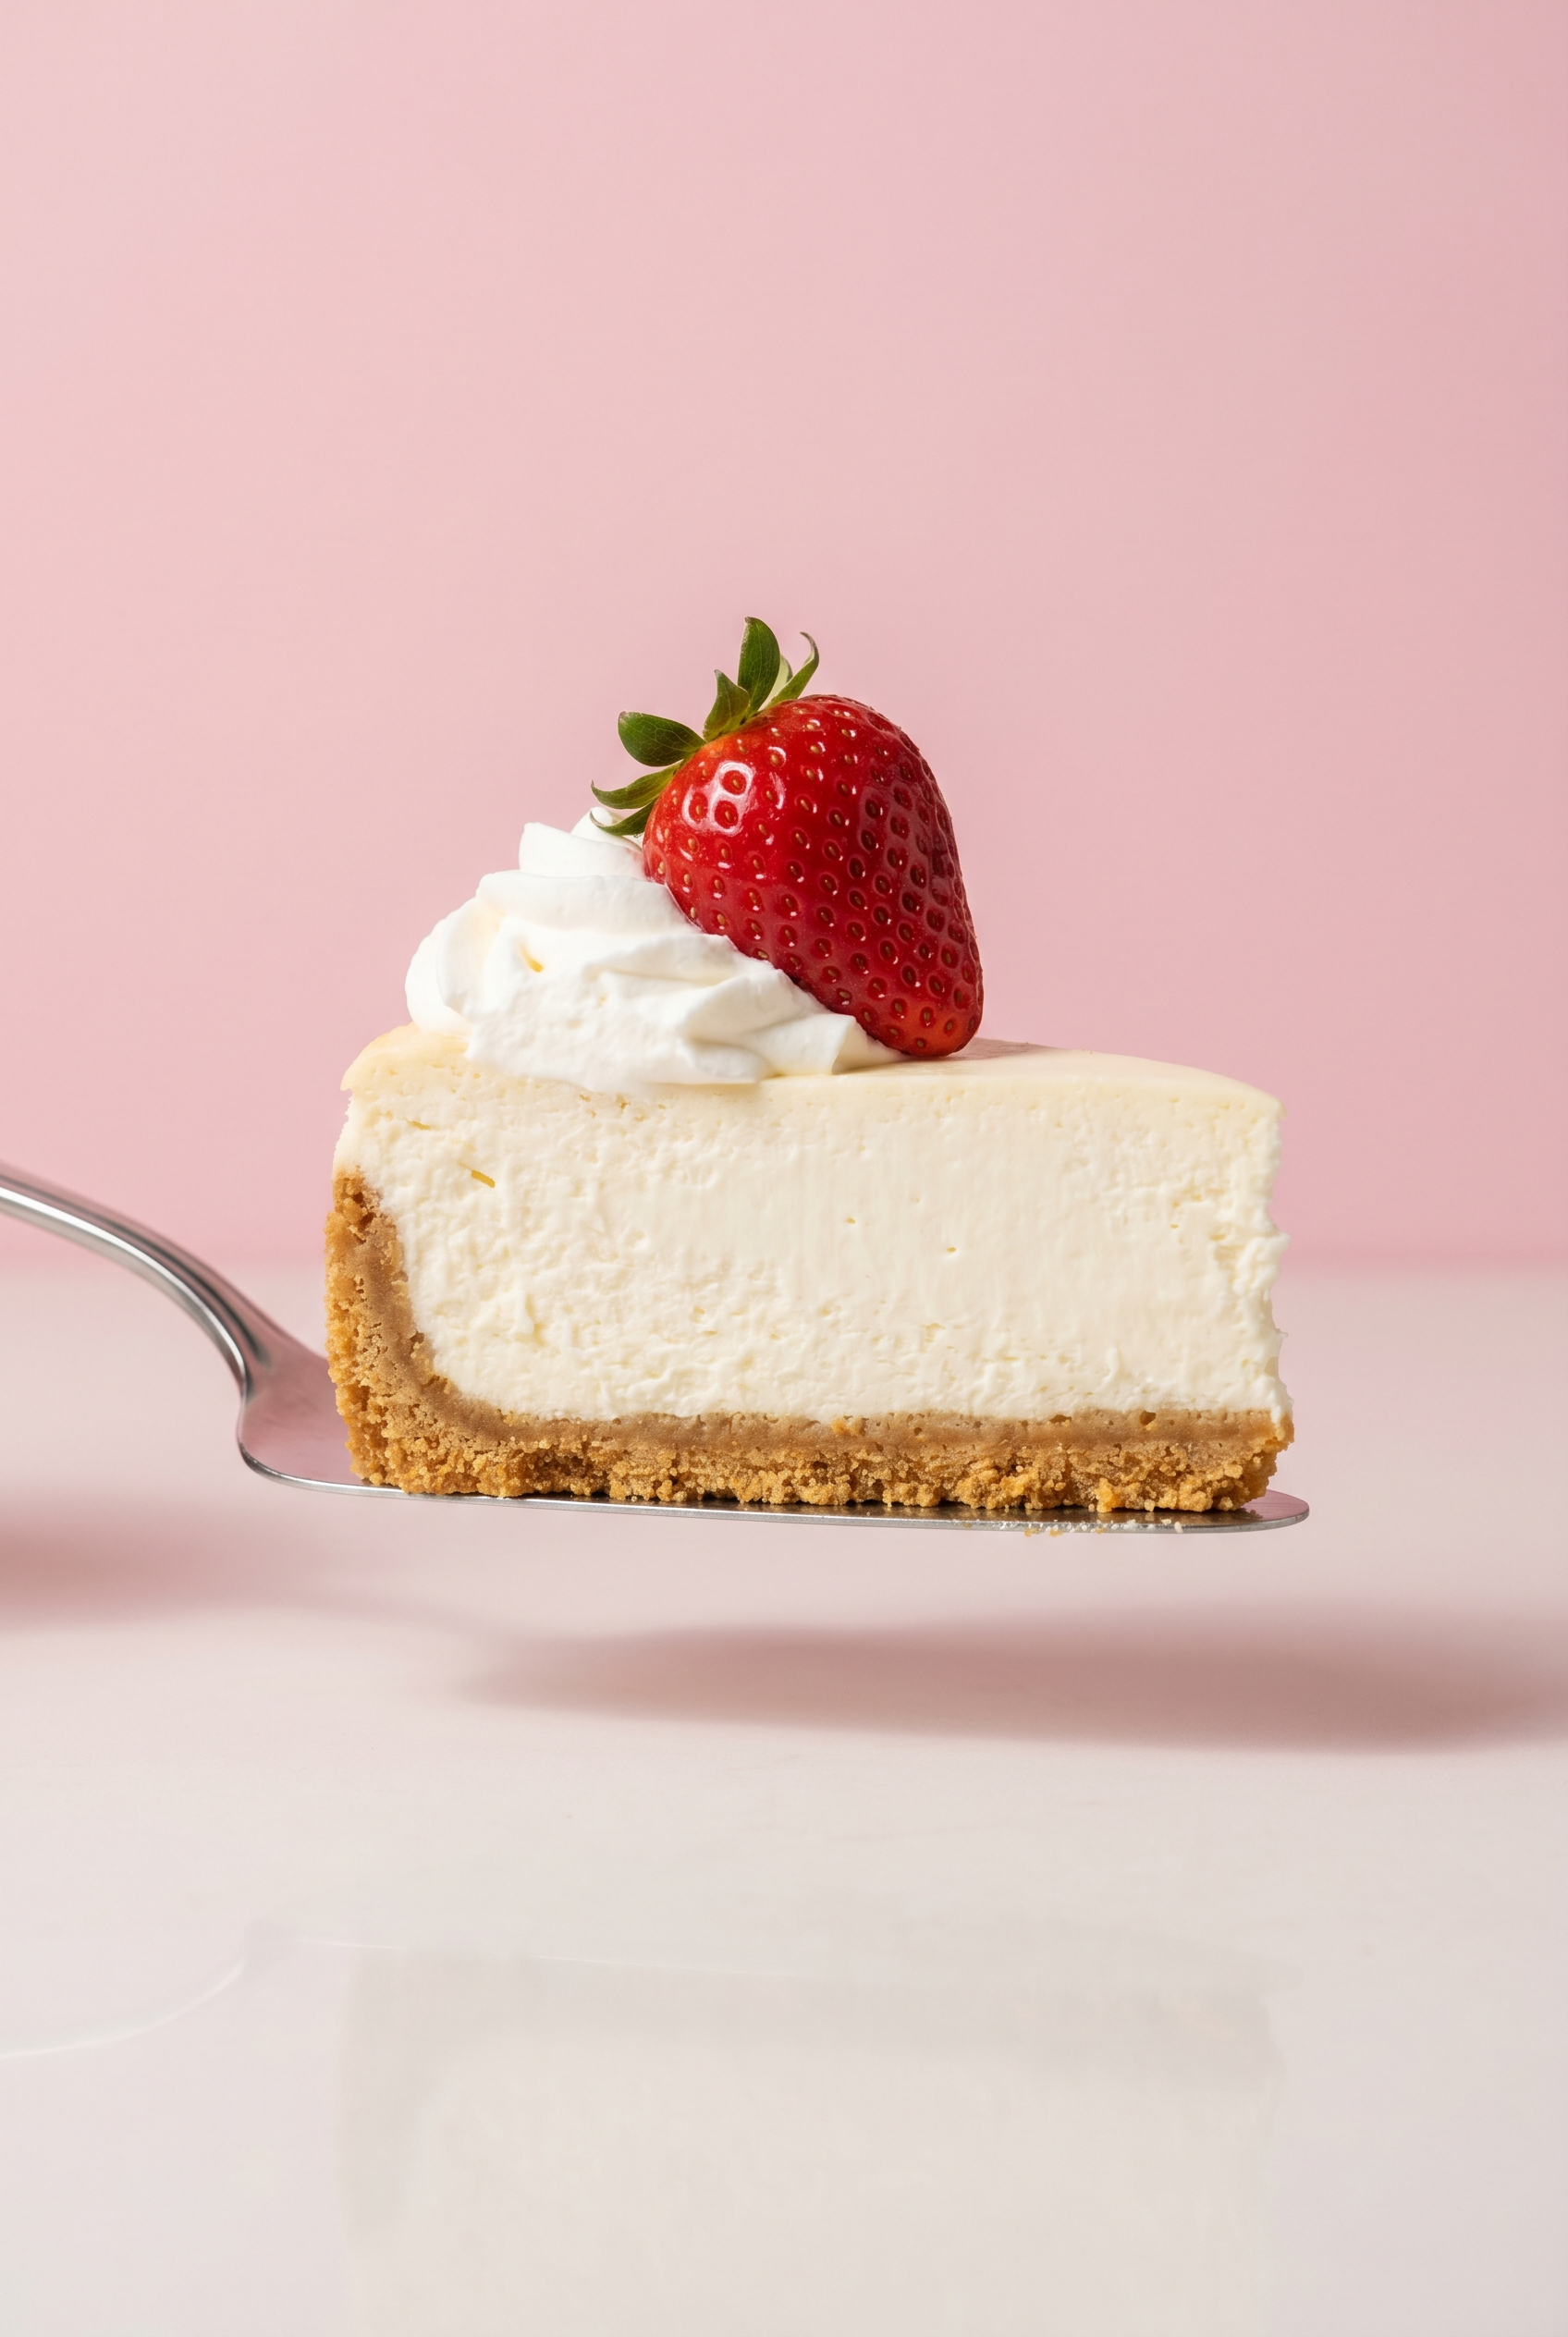
- Light, mousse-like texture. The whipped cream folded into the filling produces a slice that feels airy rather than dense, which makes going back for seconds feel completely justified.
Tools You’ll Need
Nothing fancy, I promise.
- 9-inch springform pan. The removable sides release the finished cheesecake cleanly. A standard cake pan requires scooping rather than slicing, which works but looks significantly less impressive.
- Electric hand mixer or stand mixer. Whipping 1¼ cups of heavy cream to stiff peaks by hand takes about ten minutes and produces unreliable results. A mixer handles it in four.
- Silicone spatula. The only tool that folds whipped cream into cream cheese without deflating the air you just spent five minutes building.
Ingredients
For the Crust
- 2 cups graham cracker crumbs – Buy the pre-crushed boxes if you hate doing dishes, or crush your own if you have pent-up aggression.
- 1/3 cup brown sugar – The extra moisture in brown sugar helps glue the crust together.
- 1/2 cup melted unsalted butter – The actual glue holding your dessert dreams together.
For the Filling
- 1 1/4 cups heavy cream – Must be cold, or it will never whip properly.
- 24 ounces full-fat brick cream cheese – Do not use the tub spread or you will end up with a puddle. Must be room temperature!
- 1/2 cup granulated sugar – Just enough to sweeten it without overpowering the tang.
- 2 Tablespoons confectioners’ sugar – Contains a little cornstarch which acts as an insurance policy to help thicken the filling.
- 1/4 cup sour cream – Needs to be room temperature, gives it that classic tangy flavor.
- 2 teaspoons lemon juice – You won’t taste the lemon, it just makes everything taste brighter.
- 1 teaspoon pure vanilla extract – Because we put vanilla in everything.
Instructions
Put the mixer on the counter, take a deep breath, and appreciate the fact that you won’t be scrubbing baked-on cheese off a pan later.
- Make the crust: Stir the graham cracker crumbs, brown sugar, and melted butter together. Press it very tightly into the bottom and up the sides of a 9-inch springform pan. Use the flat bottom of a measuring cup to pack it down – if it is loose now, it will crumble into dust when you try to slice it later.
- Chill the crust: Pop the pan into the freezer for 10 to 20 minutes while you make the filling. This is a great time to realize you forgot to take the cream cheese out of the fridge.
- Whip the cream: Using a mixer, whip the cold heavy cream on medium-high speed until stiff peaks form, which takes about 4 to 5 minutes. Do not walk away during this step, or you will accidentally make butter, and butter does not belong in cheesecake filling.
- Beat the cream cheese: In a separate large bowl, beat the room temperature cream cheese and granulated sugar together on medium speed until perfectly smooth. If your cream cheese was cold, you will have lumps, and nobody wants a lumpy dessert.
- Add the flavorings: Add the confectioners’ sugar, sour cream, lemon juice, and vanilla extract to the cream cheese mixture. Beat for 2 to 3 minutes on medium-high speed until it is completely smooth and combined.
- Fold it all together: Using a silicone spatula, very gently fold the whipped cream into the cream cheese mixture. Take your time here – if you stir too aggressively, you will deflate the whipped cream and your cheesecake will be dense and sad.
- Chill and set: Spread the filling into your chilled crust and smooth the top. Cover tightly and refrigerate for at least 6 to 8 hours, but honestly, overnight is much better. Cutting into it too early is a guaranteed way to serve cheesecake soup.
♥ The Misfit Tips!
- Give the cheesecake the full overnight chill, not six hours. A six-hour cheesecake releases from the pan cleanly and holds its shape adequately. A twelve-hour cheesecake slices into clean, firm pieces that hold their structure on the plate without any slumping at the edge.
- Room temperature means two hours on the counter, not ten minutes. Cold cream cheese produces lumps that the mixer cannot fully break down regardless of how long it runs. Leave all three blocks out for at least two hours before starting.
- Never freeze to set. Freezing ruins the texture by forming ice crystals in the moisture, which produces a grainy, icy filling on thawing rather than the smooth, creamy result the recipe promises.
Easy Variations to Try
Crush Lotus Biscoff cookies into the graham cracker crust and swirl cookie butter through the filling before chilling for a no bake Biscoff cheesecake that tastes like a spiced caramel dream in every slice. A Biscoff no bake cheesecake topped with a thin melted-spread glaze poured over the set surface disappears at any party before the host finishes the first piece.
Fold macerated fresh strawberries through the cream cheese batter just before spreading it into the crust for a no bake strawberry cheesecake with fruit streaked through every layer. Spoon the same filling into a muffin tin lined with paper cups and chill for four hours to produce no bake mini cheesecakes that travel to potlucks without a serving knife or a springform pan.
Cooks who want the fastest possible route blend full-fat brick cream cheese, one container of whipped topping, and powdered sugar into a 3 ingredient no bake cheesecake that trades a little of the tangy complexity for serious speed. The classic Philadelphia recipe page builds on the same full-fat brick cream cheese this recipe uses, and the technique transfers directly to any of these variations without modification.
Perfect Pairings
These go perfectly with whatever you have hiding in your fridge.
- This no bake cheesecake stands alone beautifully, but two toppings make it exceptional:
- Fresh summer berries, sliced and arranged across the top right before serving
- A heavy drizzle of salted caramel sauce alongside a strong cup of black coffee
How to Store no bake cheesecake
❤
- Fridge. Up to 5 days covered tightly. The crust softens slightly by day three but the filling stays creamy and fully stable.
- Freezer. Up to 3 months, wrapped in two layers of plastic wrap followed by one layer of foil. Thaw overnight in the refrigerator. Counter thawing causes moisture to condense on the surface.
- Storage note. Keep the cheesecake away from strong-smelling foods in the refrigerator. Cream cheese absorbs surrounding odors quickly, and a garlic-adjacent cheesecake is a mistake worth avoiding entirely.
No-Bake Cheesecake
Ingredients
Equipment
Method
- Make the crustStir the graham cracker crumbs, brown sugar, and melted butter together in a bowl until every crumb feels damp. Transfer to a 9-inch springform pan and press firmly into the bottom and about one inch up the sides using the flat base of a measuring cup. Pack it hard. A loosely pressed crust crumbles when sliced.
- Chill the crustPlace the pan in the freezer for 10 to 20 minutes while you prepare the filling. A briefly frozen crust holds its shape when the filling goes in and stays intact through the overnight chill.
- Whip the cold heavy creamBeat the cold heavy cream with a mixer on medium-high speed until stiff peaks form, about 4 to 5 minutes. Stop the moment the cream holds a firm, upright peak. Overwhipping turns it grainy and eventually produces butter.
- Beat the cream cheeseIn a separate large bowl, beat the room-temperature cream cheese and granulated sugar on medium speed until completely smooth, about 3 minutes. Cold cream cheese produces lumps that never fully incorporate.
- Add the remaining filling ingredientsAdd the confectioners' sugar, sour cream, lemon juice, and vanilla extract to the cream cheese mixture. Beat on medium-high speed for 2 to 3 minutes until the filling looks completely uniform and smooth.
- Fold in the whipped creamAdd the whipped cream to the cream cheese mixture and fold gently with a silicone spatula using slow, sweeping strokes from the bottom of the bowl upward. Aggressive stirring deflates the whipped cream and produces a dense, heavy filling. Take your time.
- Fill and chillSpread the filling into the frozen crust and smooth the surface with an offset spatula or the back of a spoon. Cover tightly with plastic wrap pressed directly onto the filling surface and refrigerate for at least 6 to 8 hours. Overnight produces a significantly firmer, cleaner-slicing result.