
A bag of hazelnut flour sitting silently in the pantry for three months, judging every cabinet reach for something else, is exactly what finally produced this hazelnut coffee cake on a random Sunday morning. Caving out of pure guilt turned into a cake so good the three months of neglect got forgotten almost instantly.
Nutty, not too sweet, and topped with a coffee buttercream that tastes like something worth eight dollars at a bakery, this recipe uses no eggs at all, which still feels surprising every single time a slice comes out clean. Here is exactly how I do it.
Why You’ll Love This Recipe
- No eggs, no drama. This eggless coffee cake works great for anyone baking egg-free, and one less ingredient means one less thing to run out of at 9pm.
- Make-ahead friendly. The cake and buttercream both hold up well, so the work splits easily across two days.
- Genuinely impressive-looking. A springform pan plus a swirl of coffee buttercream frosting makes this look far more advanced than it actually is.
- Flexible nut situation. Hazelnut is the star of this hazelnut cake, but almonds work in a pinch if that is what the grocery store actually has in stock.
Tools You’ll Need
Nothing fancy, I promise.
- 8-inch springform pan. This makes unmolding the cake stress-free compared to a regular round pan.
- Stand mixer or electric whisk. This handles the coffee buttercream far more easily than a hand whisk.
- Food processor. Only needed for toasting and grinding hazelnuts from scratch, since store-bought hazelnut flour works as a completely valid shortcut.
Ingredients
For the Cake
- 240 ml milk – Dairy or a plant-based milk like almond or oat both work fine here.
- 2 tsp white vinegar – This curdles the milk into a quick buttermilk substitute. Lemon juice works the same way.
- 145 g light brown sugar – Adds moisture and a faint caramel note.
- 50 g cane sugar – Regular granulated sugar is fine if that is what you have.
- 2 tsp vanilla extract
- 80 ml vegetable oil – Any neutral oil works.
- 195 g all-purpose flour
- 190 g toasted hazelnut flour – The whole point of this cake. Store-bought or homemade, see the toasting notes below.
- 2 tsp instant coffee granules – It is subtle, not a coffee-flavored cake, just enough to make the hazelnut taste deeper.
- 3 tsp baking powder – Doing a lot of heavy lifting here since there are no eggs. Make sure yours is not expired.
- ¼ tsp salt
For the Coffee Buttercream
- 150 g butter, softened – Dairy-free butter works if needed.
- 150 g powdered sugar
- 60 ml whipping cream
- 3 tsp instant coffee granules
How To Make Hazelnut Coffee Cake
None of this is complicated, it just has a few steps that happen in order. Read through once before you start so nothing surprises you.
- Toast your own hazelnut flour (optional): Preheat the oven to 350°F (175°C) and toast whole hazelnuts for 7-8 minutes until fragrant. While still warm, rub them in a kitchen towel to knock most of the skins off, then pulse in a food processor with a tablespoon of sugar until finely ground. Stop before it turns into hazelnut butter – that happens faster than you think.
- Preheat and prep: Set the oven to 350°F (175°C) and grease your 8-inch springform pan.
- Curdle the milk: Whisk the milk and vinegar together and let it sit for 5 minutes until slightly curdled. It will look a little wrong. That is correct.
- Build the wet mix: Add the brown sugar, cane sugar, vanilla, and oil to the curdled milk and whisk until the sugar has dissolved.
- Add the dry ingredients: Mix in the flour, hazelnut flour, instant coffee, baking powder, and salt until the batter is smooth. Do not overmix, or the cake gets a little tough.
- Bake: Pour the batter into the prepared pan and bake for 45-50 minutes, until a toothpick inserted in the center comes out clean. If it is still gooey at 45 minutes, give it more time rather than pulling it early to hit some arbitrary deadline.
- Cool completely: Let the cake cool in the pan for 1 hour on a wire rack, then move it to a serving dish. This part requires actual patience, which I do not have, but I do it anyway because a warm cake melts buttercream instantly.
- Make the buttercream: Beat the softened butter until light and fluffy. Add the powdered sugar in two additions, beating until smooth each time. In a small bowl, dissolve the instant coffee in the whipping cream, then add that to the butter mixture and beat for 2-3 minutes until fluffy.
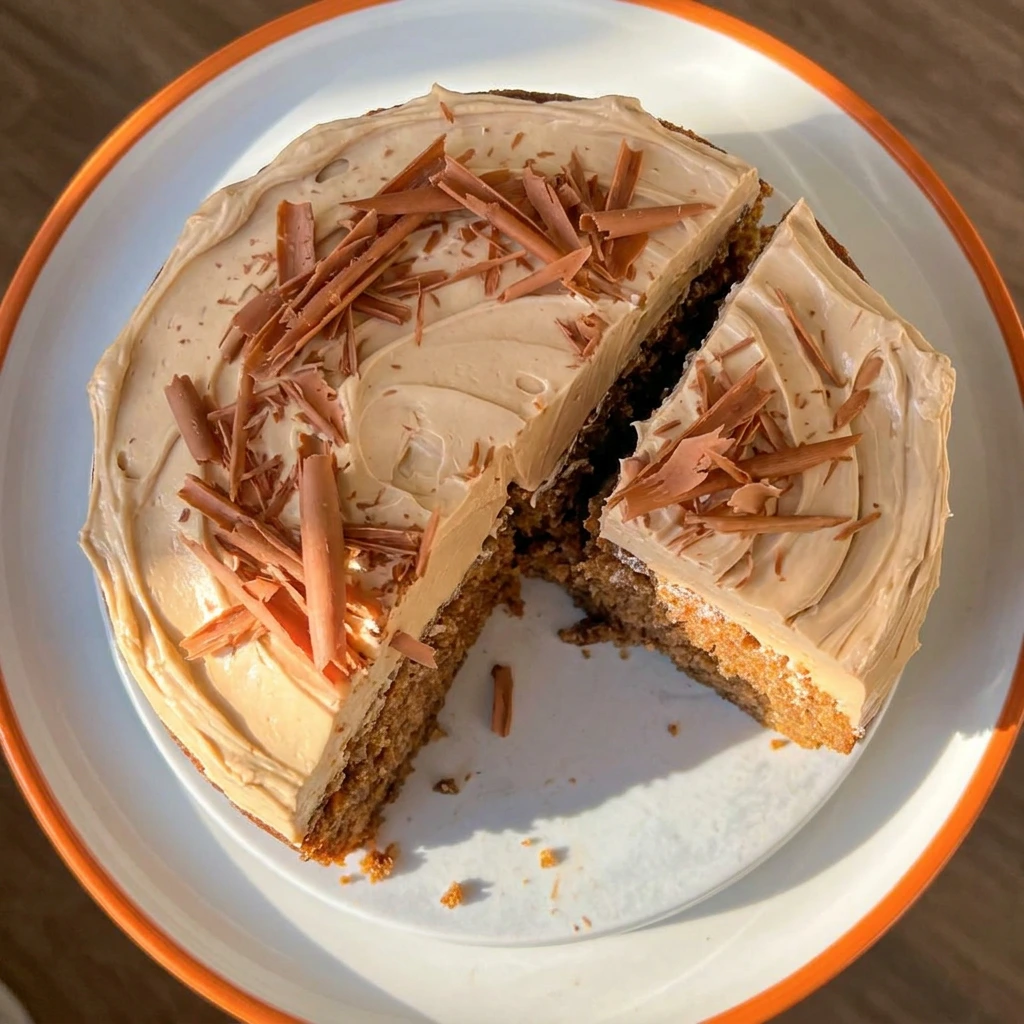
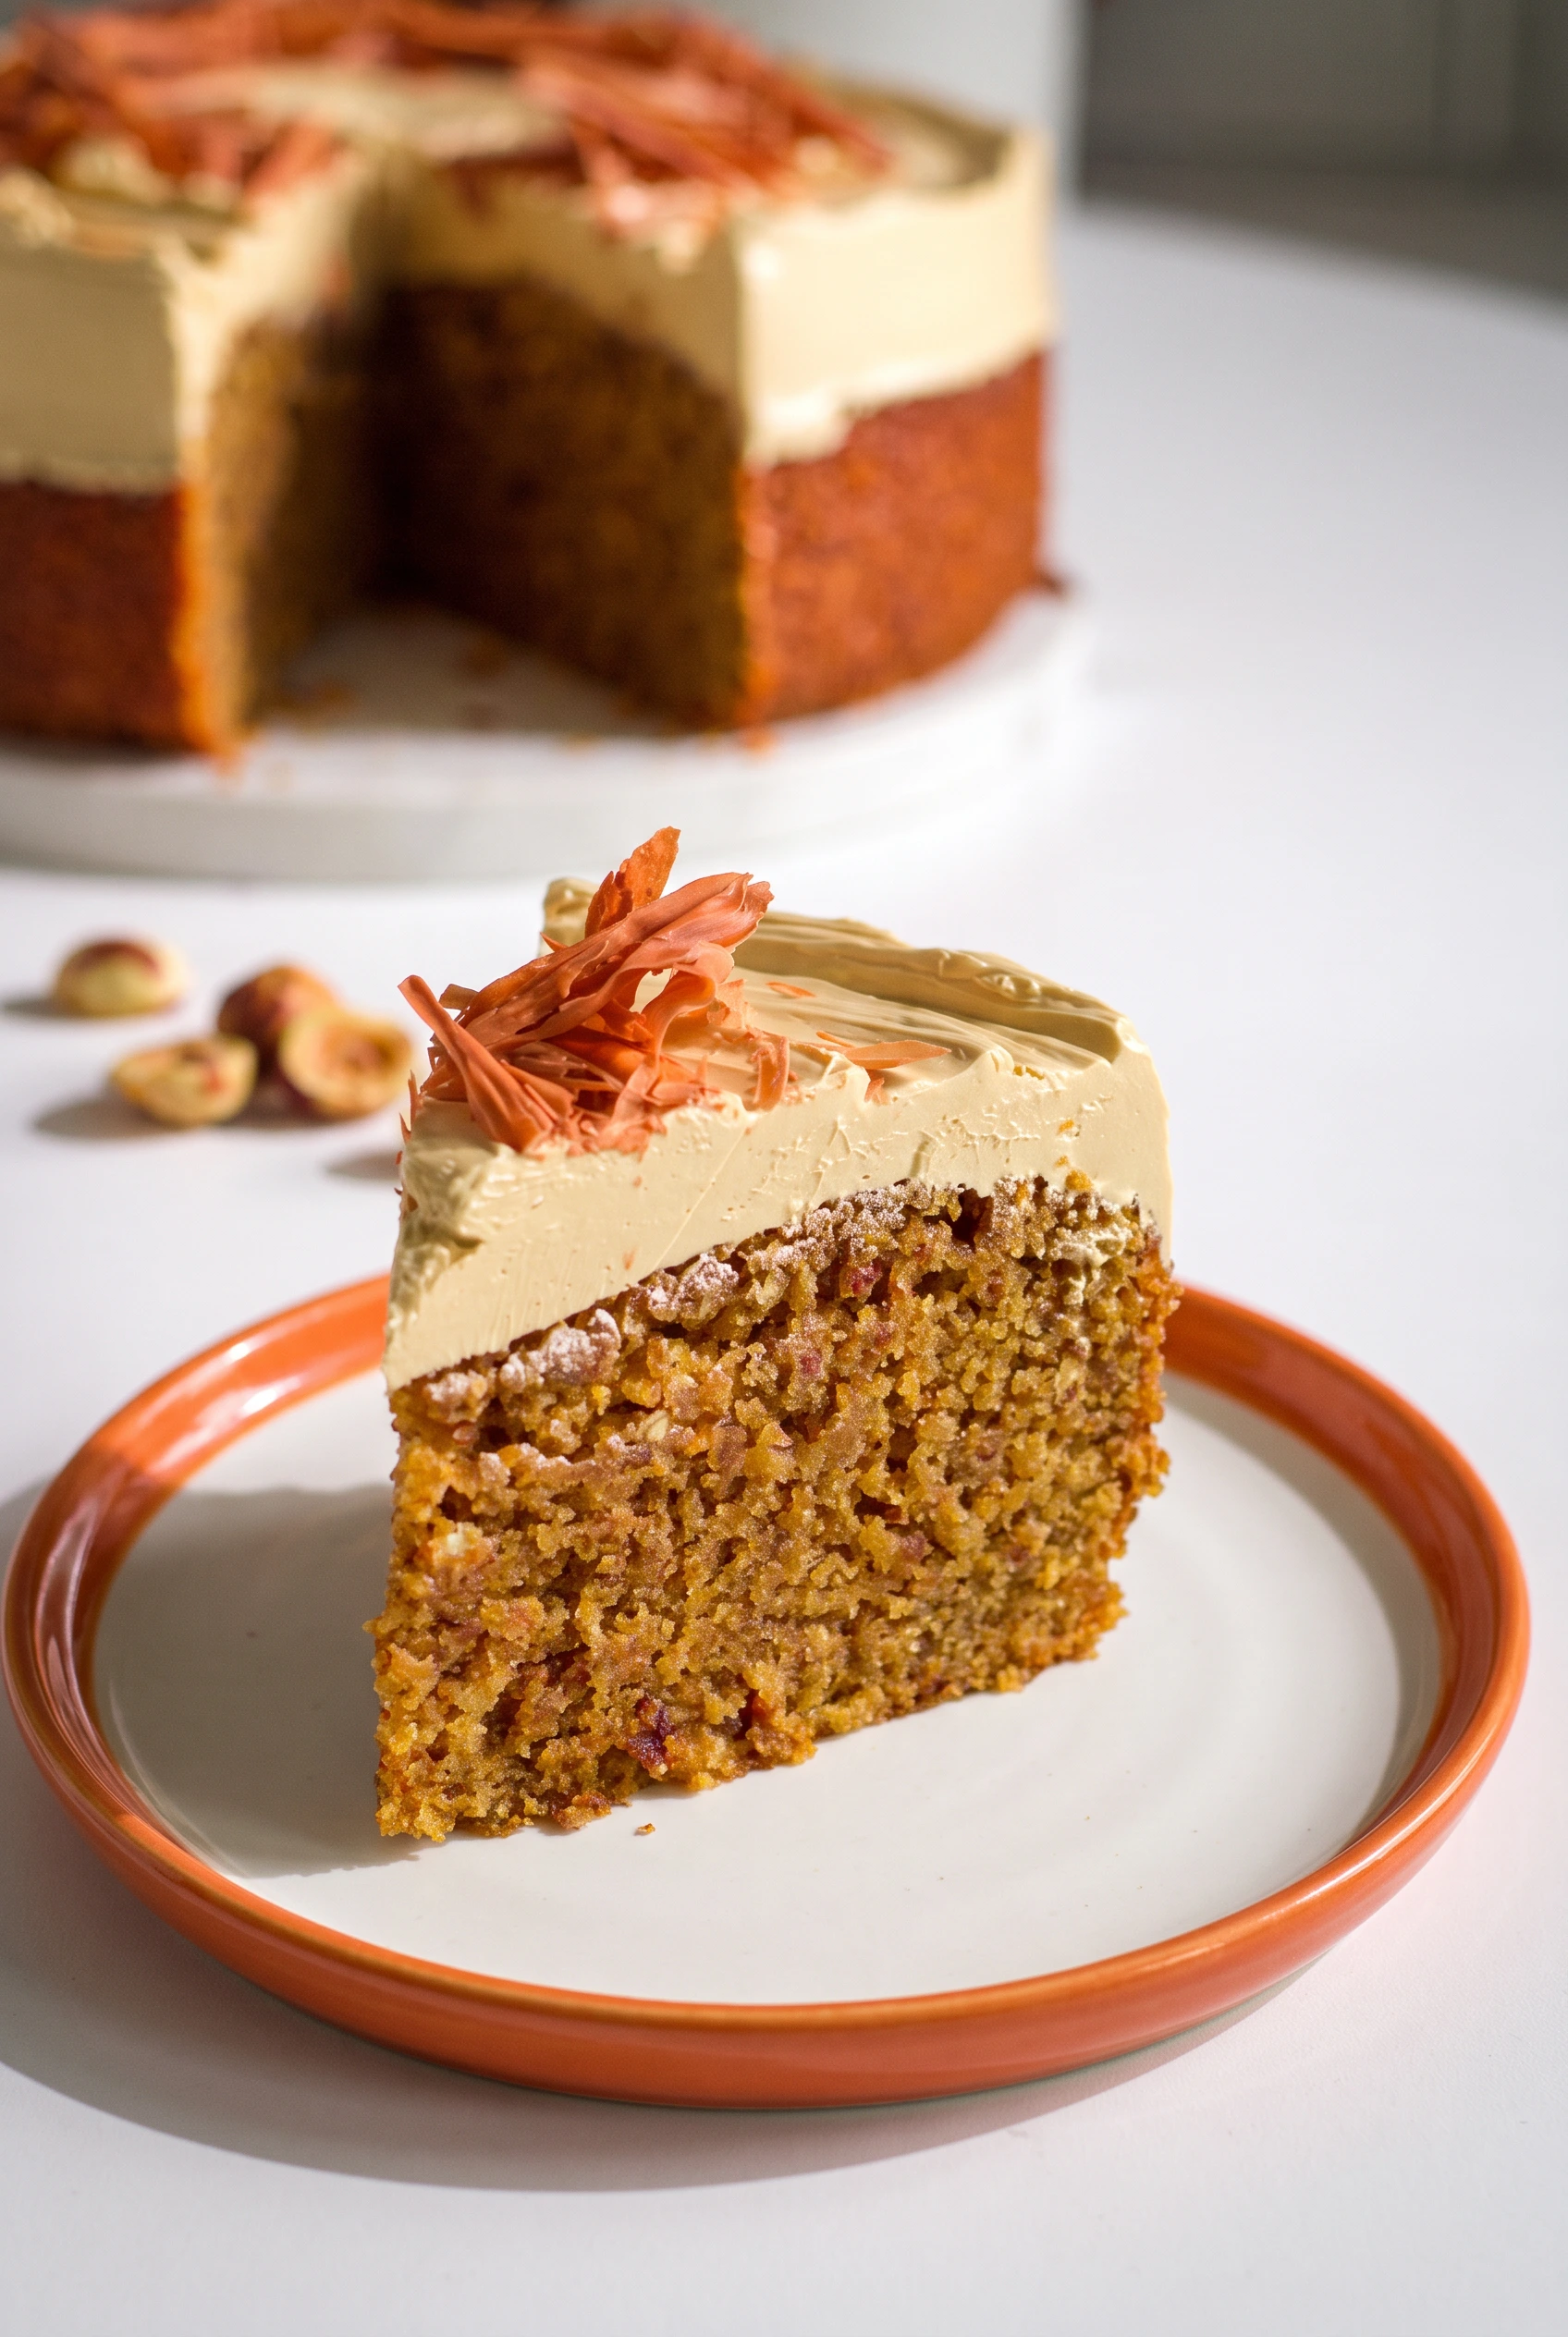
- Assemble: Spread the coffee buttercream over the cooled cake with an offset spatula, or the back of a spoon if that is what is clean. Top with chocolate shavings, chopped hazelnuts, or a dusting of cocoa powder.
♥ The Misfit Tips!
- Never rush the cooling. Spreading buttercream on a cake that felt “basically cool” once caused it to slide right off the sides.
- Weigh the flour when possible. A kitchen scale removes the guesswork that cups introduce when flour gets packed down.
- Buy the hazelnut flour when short on time. Store-bought works as a completely respectable shortcut, and nobody at brunch notices the difference.
Make it yours
- Nutella swirl version. You swirl a few spoonfuls of Nutella into the batter before baking for a true Nutella coffee cake twist.
- Pecan version. You fold chopped pecans into the streusel for extra crunch alongside the caramel.
- Chopped hazelnut crumb version. You sprinkle toasted chopped hazelnuts over the buttercream for a hazelnut crumb cake finish with extra crunch.
Perfect Pairings
This hazelnut coffee cake for Sunday breakfast suits two specific pairings particularly well.
- Fresh berries on the side let anyone pretend this counts as a balanced breakfast.
- A brunch spread with something savory nearby, like eggs or bacon, keeps nobody questioning why cake showed up at 10am.
How to Store Hazelnut Coffee Cake
❤
- Fridge. Up to seven days in an airtight container, though letting a slice sit out briefly softens the chilled buttercream.
- Freezer. Up to two months for the un-frosted cake wrapped tightly.
- Reheat. Serving at room temperature works best, since warming melts the buttercream.
- Storage note. Room temperature storage works fine for up to three days, though the buttercream softens noticeably in a warm kitchen.
Hazelnut Coffee Cake
Ingredients
Equipment
Method
- Toast your own hazelnut flour (optional): Preheat the oven to 350°F (175°C) and toast whole hazelnuts for 7-8 minutes until fragrant. While still warm, rub them in a kitchen towel to knock most of the skins off, then pulse in a food processor with a tablespoon of sugar until finely ground. Stop before it turns into hazelnut butter – that happens faster than you think.
- Preheat and prep: Set the oven to 350°F (175°C) and grease your 8-inch springform pan.
- Curdle the milk: Whisk the milk and vinegar together and let it sit for 5 minutes until slightly curdled. It will look a little wrong. That is correct.
- Build the wet mix: Add the brown sugar, cane sugar, vanilla, and oil to the curdled milk and whisk until the sugar has dissolved.
- Add the dry ingredients: Mix in the flour, hazelnut flour, instant coffee, baking powder, and salt until the batter is smooth. Do not overmix, or the cake gets a little tough.
- Bake: Pour the batter into the prepared pan and bake for 45-50 minutes, until a toothpick inserted in the center comes out clean. If it is still gooey at 45 minutes, give it more time rather than pulling it early to hit some arbitrary deadline.
- Cool completely: Let the cake cool in the pan for 1 hour on a wire rack, then move it to a serving dish. This part requires actual patience, which I do not have, but I do it anyway because a warm cake melts buttercream instantly.
- Make the buttercream: Beat the softened butter until light and fluffy. Add the powdered sugar in two additions, beating until smooth each time. In a small bowl, dissolve the instant coffee in the whipping cream, then add that to the butter mixture and beat for 2-3 minutes until fluffy.
- Assemble: Spread the coffee buttercream over the cooled cake with an offset spatula, or the back of a spoon if that is what is clean. Top with chocolate shavings, chopped hazelnuts, or a dusting of cocoa powder.