
I threw these Halloween chocolate chip cookies together last October after realizing my kid’s school party started in twelve hours and I had promised a festive treat. I usually forget bake sales until the last minute, which sends me toward stale cupcakes and a grocery-store panic. Melted butter makes this dough quick because you skip the softening wait.
One bowl holds the dough, while orange and black sprinkles add color and candy eyes create a simple monster finish. You pre-scoop the dough before chilling, then bake the cookies until the edges set and the centers remain soft. Here is exactly how I do it.
Why You’ll Love This Recipe
- Zero waiting for butter: Melted butter lets you start mixing immediately.
- One-bowl cleanup: You wash one bowl after making the dough.
- Highly forgiving: Lopsided cookies still look festive when sprinkles and candy eyes cover the surface.
- Pantry-friendly: You probably have everything except the decorations.
- Freezer-friendly: You can freeze pre-scooped dough balls for up to two months.
Tools You’ll Need
Nothing fancy, I promise.
- Mixing bowl: One large bowl handles the entire dough.
- Ice cream scoop: A scoop creates uniform cookies, although spoons create charmingly rustic shapes.
- Baking sheet: A standard rimmed half-sheet pan works well.
- Parchment paper: Parchment prevents melted chocolate from sticking.
- Wire rack: A rack cools the cookies without trapping steam.
Ingredients
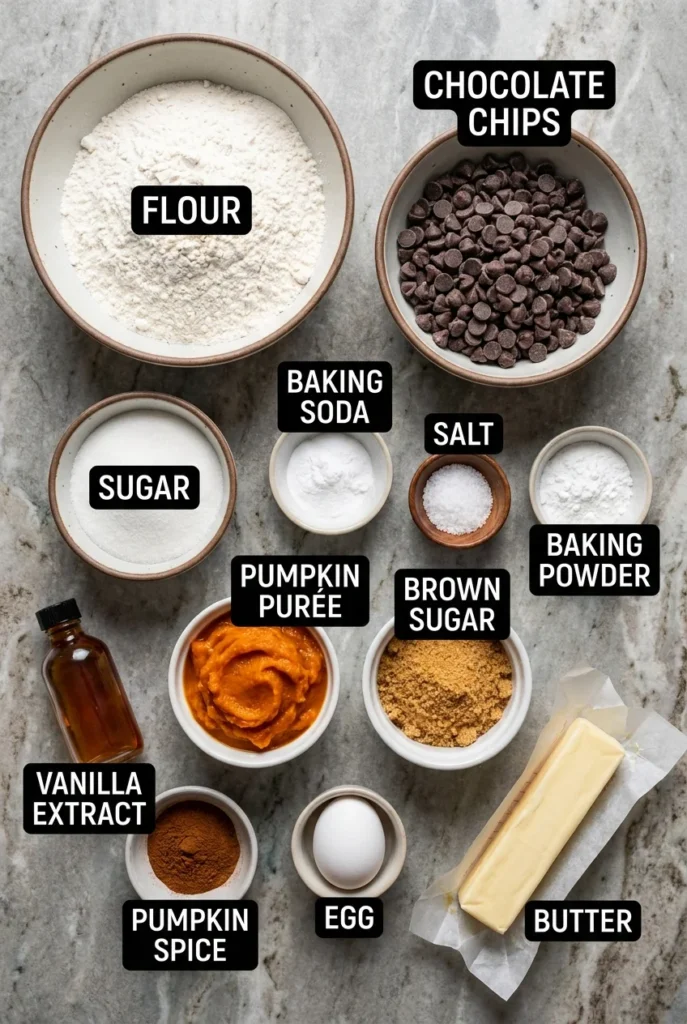
- 1/2 cup unsalted butter – Melted! I cannot stress enough how much I love not waiting for butter to soften.
- 1/3 cup granulated sugar – Gives the cookies those nice crispy edges.
- 1/2 cup packed light brown sugar – Keeps the center chewy. Dark brown works fine if that is all you have.
- 1 large egg – Binds everything together. Try to let it sit on the counter for a few minutes first if you remember.
- 1 teaspoon vanilla extract – The baseline flavor for any good cookie.
- 1/2 teaspoon salt – Balances out all the sugar so they are not overly sweet.
- 1/2 teaspoon baking soda – Gives them just enough lift in the oven.
- 1 1/2 cups all-purpose flour – Spoon it into your measuring cup and level it off so you do not accidentally pack it down.
- 1 1/2 cups chocolate chips – You can use semi-sweet, milk, or dark chocolate chips depending on what is hiding in your pantry.
- 1/2-3/4 cup halloween sprinkles – Orange and black jimmies work great, but use whatever festive mix you like.
- candy eyes – Optional, but highly recommended for that slightly unhinged monster look.
How To Make Halloween Chocolate Chip Cookies
Set a timer for the chilling step, and use that time to clean the one bowl you dirtied.
- Mix the butter and sugars: Add the melted butter, brown sugar, and granulated sugar to a bowl and mix until smooth. The melted butter makes this so easy, you could do it half-asleep.
- Add the wet ingredients: Mix in the vanilla and egg until fully combined. Make sure your melted butter is not boiling hot when you do this, or you will accidentally scramble the egg.
- Stir in the dry ingredients: Add the flour, salt, and baking soda, mixing until just combined. If a few flour streaks survive, that is between you and the mixing bowl, nobody else needs to know.
- Fold in the fun stuff: Gently fold in the sprinkles and chocolate chips with a spatula. Measure the sprinkles with your heart if you want them extra festive.
- Pre-scoop the dough: Place 2 tablespoon balls of dough on a parchment-lined baking sheet. Scooping them now saves you from trying to chisel rock-hard dough out of the bowl later.
- Chill the dough: Cover with plastic wrap and place in the fridge for 1.5 to 2 hours. Do not skip this step or you will end up with one giant, flat mega-cookie.
- Bake the cookies: Preheat the oven to 350℉, space the chilled dough balls 2 inches apart on a baking sheet, and bake for 11-13 minutes. They will look a little underdone in the middle, but trust the process, they firm up as they cool.
- Add the candy eyes: Immediately press the candy eyes into the cookies while they are still hot from the oven. If you wait until they cool, the eyes will just roll right off and you will have blind cookies.

♥ The Misfit Tips!
- Do not rush the chill: I once tried to skip the chilling step because I was impatient. The dough looked fine going in, but it spread into a massive, crispy puddle. Give it the full hour and a half.
- Flour measuring matters: If you scoop your measuring cup directly into the flour bag, you will pack it down and end up with dry, crumbly dough. Always spoon it into the cup and level it off.
- Press eyes in fast: Have your candy eyes unwrapped and ready in a little bowl before the cookies come out of the oven. You only have a minute or two before the surface sets.
Perfect Pairings
These pair perfectly with:
- Cold glass of milk, obviously.
- Thermos of hot apple cider at a chilly neighborhood party.
- A scary movie marathon on the couch.
- Last-minute school potluck.
- Hot chocolate for an extra festive snack.
How to Store
❤
- Fridge: Store the cookies in an airtight container for up to five days.
- Freezer: Freeze unbaked, pre-scooped dough balls for up to two months.
- Bake from frozen: Add one to two minutes to the baking time.
- Reheat: Microwave a baked cookie for five to eight seconds.
- Stacking: Place parchment between layers.
- Storage note: Candy eyes may absorb moisture and develop a bloodshot appearance in the refrigerator.

Halloween Chocolate Chip Cookies
Ingredients
Equipment
Method
- Make the Cookie DoughAdd the melted butter, brown sugar, and granulated sugar to a large mixing bowl. Mix until smooth and well combined. Add the vanilla and egg, then continue mixing until fully incorporated.
- Add the Dry IngredientsAdd the flour, salt, and baking soda. Mix on low speed until the ingredients begin to come together, then increase the speed and mix for another 15–30 seconds, scraping down the sides of the bowl as needed. Stop mixing as soon as the dough is combined to avoid overmixing.
- Fold in the Mix-InsUsing a spatula or large spoon, gently fold in the sprinkles and chocolate chips until evenly distributed throughout the dough.
- Shape and Chill the DoughScoop about 2 tablespoons of dough for each cookie and place the dough balls on a parchment-lined baking sheet. They do not need to be spaced apart at this stage because the dough will be chilled rather than baked. Cover the baking sheet with plastic wrap and refrigerate for 1½–2 hours, or up to 24 hours.
- Preheat the OvenWhen ready to bake, preheat the oven to 350°F (175°C). Line a baking sheet with parchment paper or a silicone baking mat.
- Bake the CookiesArrange the chilled dough balls on the prepared baking sheet, spacing them about 2 inches apart. Bake for 11–13 minutes, or until the edges are lightly golden and the centers are set.
- Add the Candy EyesRemove the cookies from the oven and immediately press the candy eyes into the warm cookies, if using. The residual heat will help the candy eyes stick to the surface.
- Cool and ServeLet the cookies cool on the baking sheet before serving. Once cooled, they are ready to enjoy.