
Some days end with you standing in the kitchen at 9:30 PM, staring into a mostly empty pantry, needing chocolate in a way that feels almost medical. This gooey chocolate pudding cake was made for exactly that moment. It requires no stand mixer, no multiple bowls, and no patience for complicated layering just one baking dish, a handful of pantry staples, and about 40 minutes between you and a warm, deeply chocolatey dessert with its own built-in hot fudge sauce pooling underneath.
The magic of this self-saucing chocolate pudding cake is that it defies all logic: you pour hot water directly over unbaked batter, slide it into the oven, and somehow it transforms into a pillowy chocolate sponge sitting on top of a rich, molten fudge sauce. It is the most rewarding dessert you will ever make without actually trying.
Why You’ll Love This Recipe
- One pan wonder – You mix and bake in the exact same dish, which means exactly one pan to wash, and that is my love language.
- Pantry staples – You probably have all the ingredients hiding in your cupboards right now, waiting for a chocolate emergency.
- Built-in sauce – It magically creates its own rich hot fudge sauce underneath the sponge while it bakes.
- Under an hour – It satisfies a severe dessert craving in about 40 minutes with zero advance planning required.
Tools You’ll Need
Nothing fancy, I promise.
- 2 quart casserole dish – Because we are mixing and baking in the exact same vessel to save our sanity.
- Whisk – To furiously mix the dry ingredients until they look somewhat combined.
- Kettle or coffee maker – To get that water dangerously hot before pouring it over the top of the batter.
Key Ingredients for Chocolate Pudding Cake
For the Cake Batter
- 3/4 cup all-purpose flour – Just regular flour, no need for the fancy cake stuff here.
- 1/2 cup granulated sugar – To sweeten the deal.
- 1/2 cup unsweetened cocoa powder – Use standard baking cocoa, not the hot chocolate mix with the tiny marshmallows. If you are curious about the difference, cocoa powder is just the dry solids without the cocoa butter.
- 1 1/2 teaspoons baking powder – Check your expiration dates, folks; flat cake is sad cake.
- 2/3 cup milk – I use whole milk, but whatever you have in the fridge will do the job.
- 2 tablespoons vegetable oil – This keeps things moist without needing to melt butter.
- 1 teaspoon vanilla extract – The cheap stuff works, but the real stuff smells better.
For the Topping
- 2/3 cup packed brown sugar – Light or dark, whatever you have on hand.
- 1/4 cup unsweetened cocoa powder – More chocolate, because obviously.
- 1/4 cup miniature semisweet chocolate chips – If you only have regular sized, just toss them in and hope for the best.
- 1 1/4 cups very hot water – Tap water is fine, just make sure it is steaming hot.
Instructions
Dump, stir, and firmly resist the urge to mix the topping.
- Preheat the oven: Preheat oven to 350°F. Do this first, because waiting for an oven to preheat when you want chocolate immediately is a unique kind of torture.
- Mix the dry base: In a 2 qt casserole dish, combine flour, white sugar, cocoa powder, and baking powder. Mix it right in the dish to save yourself from washing a mixing bowl later.
- Add the wet ingredients: Add milk and oil, and vanilla. Stir until well mixed. It will look like a very thick, somewhat lumpy batter – do not panic, this is exactly what we want.
- Add topping and water: In a small bowl, combine brown sugar, cocoa powder and chocolate chips. Sprinkle over cake batter. DO NOT STIR. Pour hot water over top. I repeat, do not stir the water in! It looks completely wrong and soupy, but trust the chaotic process.
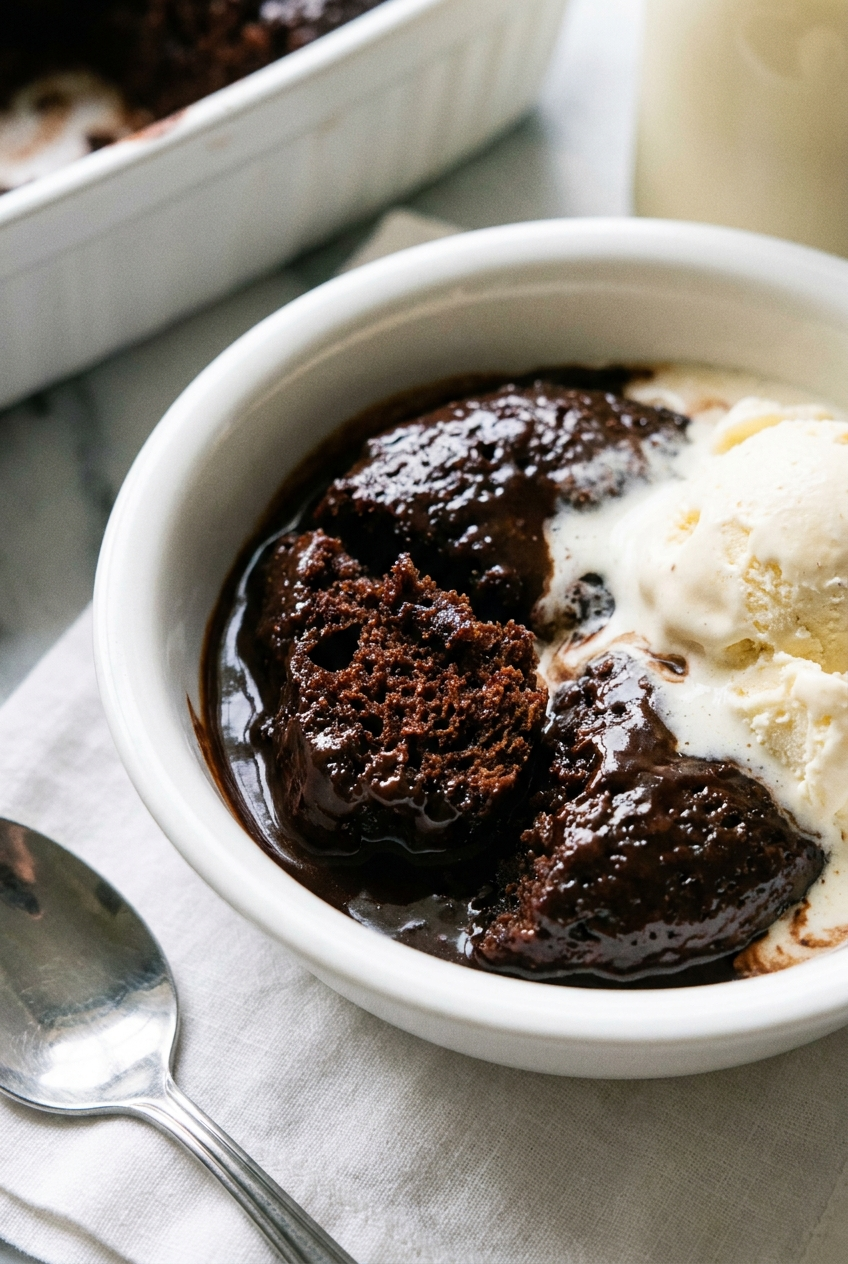
- Bake and serve: Bake for 30-35 minutes or until the top looks cooked. Serve warm (with ice cream if desired). The cake will rise to the top and the pudding hides underneath, waiting to surprise you.
♥ The Misfit Tips!
- Trust the “do not stir” instruction completely: I once ignored it because pouring water over raw batter felt deeply wrong. I stirred it in. I ended up with a rubbery chocolate sponge with no sauce. The DO NOT STIR rule exists for a reason: the unmixed layers are what create the sauce separation during baking.
- The mug cake hack: Divide the batter into large microwave-safe mugs, top each with the sugar and cocoa mixture, add a splash of hot water, and microwave for about 90 seconds. Individual microwave chocolate pudding cake in under 2 minutes. Use this knowledge responsibly.
- Wait 10 minutes before scooping: The pudding layer directly out of the oven is essentially liquid lava. It will burn your mouth before you even taste it. Set a timer.
Troubleshooting Guide
Something went sideways? Been there. Here is how to fix it.
- Problem: Why is my cake swimming in water?
Why it happened: You probably didn’t let it bake quite long enough, or your water wasn’t hot enough when you poured it on.
Fix it: Pop it back in the oven for 5 more minutes. If it is still soupy, just call it a chocolate soup and eat it with a spoon. It’s fixable, I promise.
- Problem: The top of my cake is burned but the bottom is raw.
Why it happened: Your oven runs hotter than the sun, or your casserole dish is too shallow.
Fix it: Tent it with foil next time, and for now, just scoop out the gooey middle and leave the burnt edges behind.
- Problem: My pudding layer disappeared.
Why it happened: You either stirred the topping into the batter (I warned you!), or you overbaked it until the sauce absorbed into the cake.
Fix it: It is just a regular chocolate cake now. Drench it in store-bought hot fudge and pretend it was intentional.
Perfect Pairings
These go perfectly with…
- A massive scoop of vanilla ice cream – obviously.
- A tall glass of cold milk to wash down the intense chocolate situation.
- A quiet Friday night on the couch in your most comfortable sweatpants.
- Fresh raspberries if you want to pretend it is a balanced, fruit-forward meal.
How to Store Chocolate Pudding Cake
❤
- Fridge: Store leftovers in an airtight container for up to 3 days. The sponge will absorb more of the pudding sauce as it sits, making it denser but still very edible.
- Freezer: Do not freeze this. The pudding layer separates on thawing and becomes a grainy, unpleasant slush. This one doesn’t survive the freezer.
- Reheat: Microwave individual scoops for 15–20 seconds. Do not reheat the entire pan in the oven you will bake out all the remaining moisture and lose the gooey texture entirely.
Gooey Chocolate Pudding Cake
Ingredients
Method
- Preheat the oven Preheat to 350°F (175°C). Do this first waiting for the oven while you have a finished batter sitting in front of you is a unique kind of psychological torture.
- Mix the dry baseDirectly in your 2-quart casserole dish, combine the flour, granulated sugar, cocoa powder, and baking powder. Stir with a whisk right in the dish one less bowl to wash.
- Add the wet ingredients Add the milk, vegetable oil, and vanilla extract to the dry mixture in the dish. Stir until well combined. The batter will be thick, slightly lumpy, and dense-looking. This is exactly correct.
- Add the topping and water In a small bowl, stir together the brown sugar, cocoa powder, and chocolate chips. Sprinkle the entire mixture evenly over the batter. Do not stir it in. Then pour the hot water slowly over the entire surface. Do not stir the water either. It will look completely wrong oupy, chaotic, structurally unsound. Trust the process entirely.
- Bake and serveBake for 30–35 minutes, or until the top looks set and cake-like. The sponge rises to the top during baking while the brown sugar and cocoa topping sinks below and transforms into a rich, glossy hot fudge pudding cake sauce underneath. Let it rest for 10 minutes before serving the sauce layer is dangerously hot straight from the oven. Serve warm, directly from the dish, with vanilla ice cream if you have it.