
A gluten-intolerant sister texting about a chocolate crisis at nine on a Tuesday night is exactly what led to this batch of gluten free brownies. Zero boxed mixes sat in the pantry, forcing an actual from-scratch attempt instead of the usual shortcut.
A previous attempt at a complicated flourless chocolate cake had already ended in a smoking puddle of despair, so a reliable, dump-it-all-in-a-bowl method felt like an actual lifesaver. This gluten free brownie recipe comes together in one bowl and bakes up chewy, fudgy, and completely convincing. Here is exactly how I do it.
reader review
“Fudgy Fudgy and Fudgy. I pulled these out while the center still looked slightly underdone exactly like the recipe says and they set up perfectly after an hour. My sister who is gluten intolerant could not even tell the difference from a regular brownie. Thank you Thank you Thank you!!!!!” – Marisol D.
Loved this too? Add your reviewWhy You’ll Love This Recipe
- Fewer dishes. One bowl handles everything, which is the only metric that matters on a weeknight.
- Zero fuss. Skipping the double boiler saves anyone from the inevitable steam burn while melting chocolate.
- Secretly allergy-friendly. A chewy, fudgy texture hides the fact that this is a gluten free brownie recipe entirely.
- Fast baking time. These bake in under thirty minutes, moving from craving to couch-eating in record time.
Tools You’ll Need
Nothing fancy, I promise.
- Mixing bowl. One large bowl handles the entire batter without any extra dishes piling up.
- 9×13 baking pan – Metal works best for chewy edges, but use whatever you have that resembles a rectangle.
- Whisk. A whisk blends the batter smoothly without requiring any electric mixer.
Ingredients
- 1 cup + 2 tablespoons Gluten-Free Measure for Measure Flour – Do not swap this for almond flour unless you want a flat, oily brick.
- 3/4 cup cocoa powder – I recommend reading up on Dutch-process chocolate if you want to get nerdy, but honestly, whatever is in your pantry works.
- 2 cups sugar – Yes, it looks like a lot. No, you should not reduce it unless you hate joy.
- 1/2 cup butter – Melted. If you microwave it, put a paper towel over the bowl to avoid the dreaded butter explosion.
- 1/2 cup vegetable oil – This is the secret to keeping them moist, something a boxed gluten free brownie mix usually lacks.
- 4 large eggs – Room temperature if you have the patience, straight from the fridge if you are me.
- 1 tablespoon vanilla extract – Measure with your heart.
Instructions
Mix everything in a bowl and shove it in the oven.
- Prep the pan: Preheat your oven to 350°F and grease your baking pan. If you skip the greasing step, you will be eating these with a chisel, so please use parchment paper or cooking spray.
- Mix the wets: Whisk the melted butter, oil, and sugar together in a large bowl. It will look grainy and weird, but trust the process.
- Add the eggs: Crack the eggs in one at a time and aggressively whisk until the batter looks smooth.
- Add the dry ingredients: Dump in the gluten-free flour, cocoa powder, and vanilla, then stir just until the dry streaks disappear. If a few tiny lumps survive, that is between you and the mixing bowl, nobody else needs to know.
- Bake it: Pour the batter into your prepared pan and bake for 28 to 32 minutes. The center should look slightly underdone when you pull it out—it will firm up as it cools, I promise.
♥ The Misfit Tips!
- Never trust the toothpick test completely. Waiting for a fully clean toothpick once produced chocolate-flavored croutons instead of brownies. Moist crumbs clinging to the toothpick signal the right doneness.
- Let the pan cool fully. Cutting into a hot pan produces a crumbly, lava-like mess instead of clean squares. A full hour of cooling sets the texture properly.
- Consider the mix shortcut on a truly exhausted day. A king arthur gluten free brownie mix works in a pinch, though this from-scratch version only takes about three extra minutes to put together.
Troubleshooting Guide
Something went sideways? Been there. Here is how to fix it.
- Problem: My brownies came out hard and dry.
Why it happened: You either left them in the oven too long or measured the flour like a bodybuilder scooping protein powder.
Fix it: Crumble the dry brownies over ice cream. Next time, spoon the flour into your measuring cup and level it off.
- Problem: The middle is completely raw.
Why it happened: Your oven runs cold, or you used a glass pan which takes longer to bake.
Fix it: Tent the pan with foil and bake for another 5-10 minutes. It is fixable, I promise.
- Problem: They taste grainy.
Why it happened: The sugar didn’t dissolve enough into the fat and eggs.
Fix it: Whisk the warm melted butter and sugar together longer next time. For now, call it rustic texture and eat them anyway.
Make it yours
- Chocolate chip addition. You fold in a handful of chocolate chips before baking for extra pockets of melted chocolate throughout.
- Espresso boost. You stir a teaspoon of instant espresso powder into the dry ingredients to deepen the chocolate flavor without adding a coffee taste.
- Nut topping. You sprinkle chopped walnuts or pecans over the batter before baking for a bit of crunch against the fudgy center.
Perfect Pairings
These gluten free brownies suit two specific pairings particularly well.
- A cold glass of milk – obviously.
- A massive scoop of vanilla bean ice cream right in the center of the warm pan.
- A Tuesday night Netflix binge when you need something sweet but refuse to leave the house.
- Strong black coffee the next morning, because breakfast brownies are a valid life choice.
How to Store Gluten Free Brownies
❤
- Fridge. You store these for up to a week in an airtight container, and the texture turns even denser and fudgier once chilled.
- Freezer. You freeze these for up to three months, wrapping each piece individually in plastic wrap before thawing on the counter.
- Reheat. Ten seconds in the microwave warms a single piece without overheating the chocolate.
- Storage note. You keep these away from humidity, since gluten-free baked goods turn gummy in a damp environment.
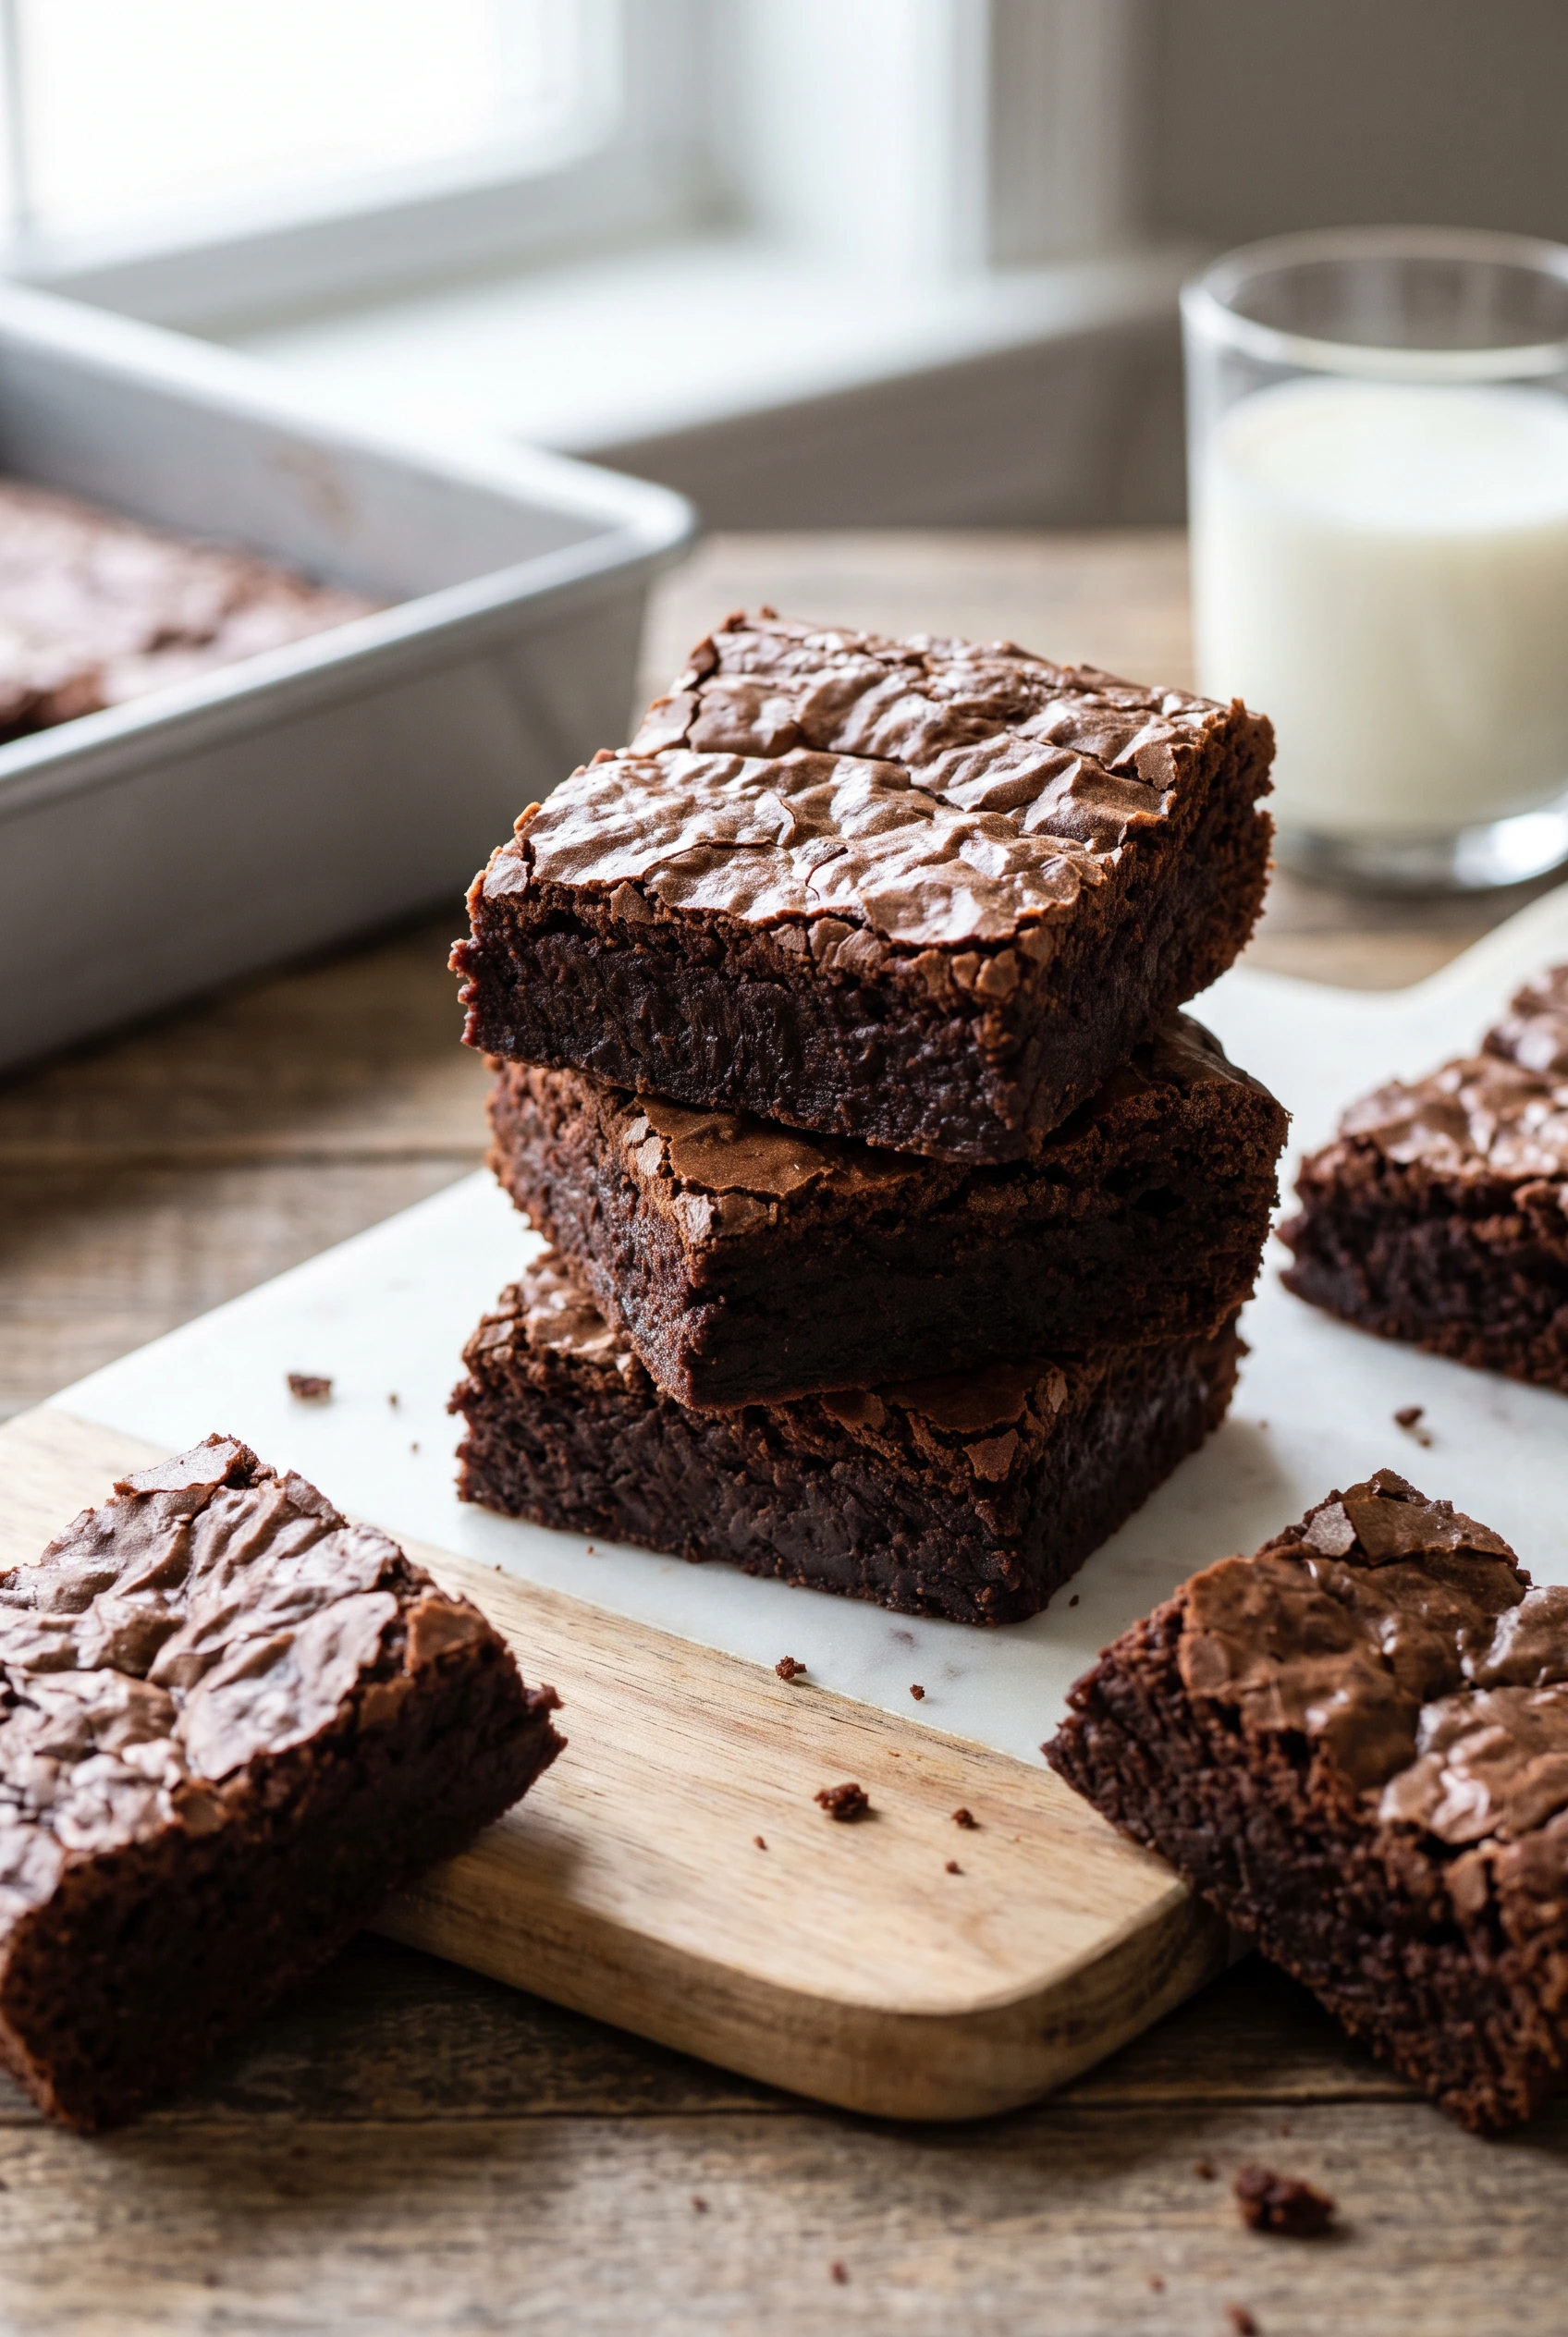
Gluten-Free Quick and Easy Brownies
Ingredients
Equipment
Method
- Prep the panYou preheat the oven to 350°F and grease the baking pan with parchment paper or cooking spray.
- Mix the wetsYou whisk the melted butter, oil, and sugar together in a large bowl until the mixture looks grainy.
- Add the eggsYou crack the eggs in one at a time, whisking aggressively until the batter turns smooth.
- Add the dry ingredientsYou add the gluten-free flour, cocoa powder, and vanilla, stirring just until the dry streaks disappear.
- Bake itYou pour the batter into the prepared pan and bake for 28 to 32 minutes, pulling it out while the center still looks slightly underdone.