
I made these homemade pretzels at 2 PM on a Tuesday because the nearest mall is forty minutes away and my craving for a warm, salty carb knot had reached a critical, embarrassing level. I usually avoid working with yeast because my kitchen is drafty and I have the patience of a toddler, but this soft pretzel recipe actually cooperates.
I once tried a fancy overnight dough that smelled like a brewery and tasted like a brick, so finding dough that needs only ten minutes of rest felt like a personal victory. You do not need to become a bread wizard to make these easy soft pretzels. Here is exactly how I do it.
Why You’ll Love This Recipe
- Almost zero waiting: The dough rests for ten minutes, which gives me exactly enough time to clean up the flour I spilled everywhere.
- Mall-level satisfaction: You get that classic soft pretzel recipe with salt feeling without entering a crowded food court.
- Very forgiving dough: Even questionable rolling skills produce amazing homemade pretzels.
- Budget-friendly: Flour and yeast turn into a premium snack for a few pennies.
- Buttery texture: Melted butter gives each buttery soft pretzel a tender center.
Tools You’ll Need
Nothing fancy, I promise.
- Stand mixer: It handles the kneading, although your hands work fine when you need to get some aggression out.
- Large pot: A wide pot gives the pretzels room during the baking soda bath.
- Slotted spatula: It lifts the slippery dough from the boiling water without burning your fingers.
- Silicone baking mats: They prevent the pretzels from sticking to the baking sheets.
Ingredients
For the Dough
- 1 packet (2 1/4 tsp) active dry yeast – Check the expiration date. Dead yeast equals flat, sad pretzels.
- 1 Tablespoon brown sugar – Feeds the yeast and helps the dough wake up.
- 1 1/2 cups warm water – Around 100°F. If it feels hot like a bath, it will murder your yeast. Aim for baby bottle warm.
- 1 Tablespoon unsalted butter – Melted and slightly cooled. This is what gives you a buttery soft pretzel.
- 1 teaspoon salt – For the actual dough flavor.
- 4 cups all-purpose flour – Have a little extra on hand in case the dough is feeling overly sticky today.
- Coarse salt – For topping. Do not use table salt unless you want a chemical burn on your tongue.
For the Baking Soda Bath
- 1/2 cup baking soda – This creates the alkaline environment that gives pretzels their signature dark brown crust.
- 9 cups water – Just regular tap water to boil the baking soda in.
How To Make Soft Pretzel
Do not let the boiling step scare you, it is literally just dropping dough into hot water for a few seconds.
- Wake up the yeast: Whisk the yeast and sugar into warm water and let it sit for a minute. If it does not bubble, your yeast is dead and you need to start over—sorry, I do not make the rules.
- Mix the dough: Whisk in the melted butter and salt, then start adding the flour until the dough pulls away from the bowl. If it looks a little shaggy, that is totally fine.
- Knead it out: Knead for about 3 to 5 minutes until it bounces back when you poke it. If you are using a mixer, just stare at it while it does all the hard work.
- Let it rest: Shape it into a ball and cover it with a towel for 10 to 30 minutes. This is a very easy homemade soft pretzels recipe from scratch, so we are not waiting hours.
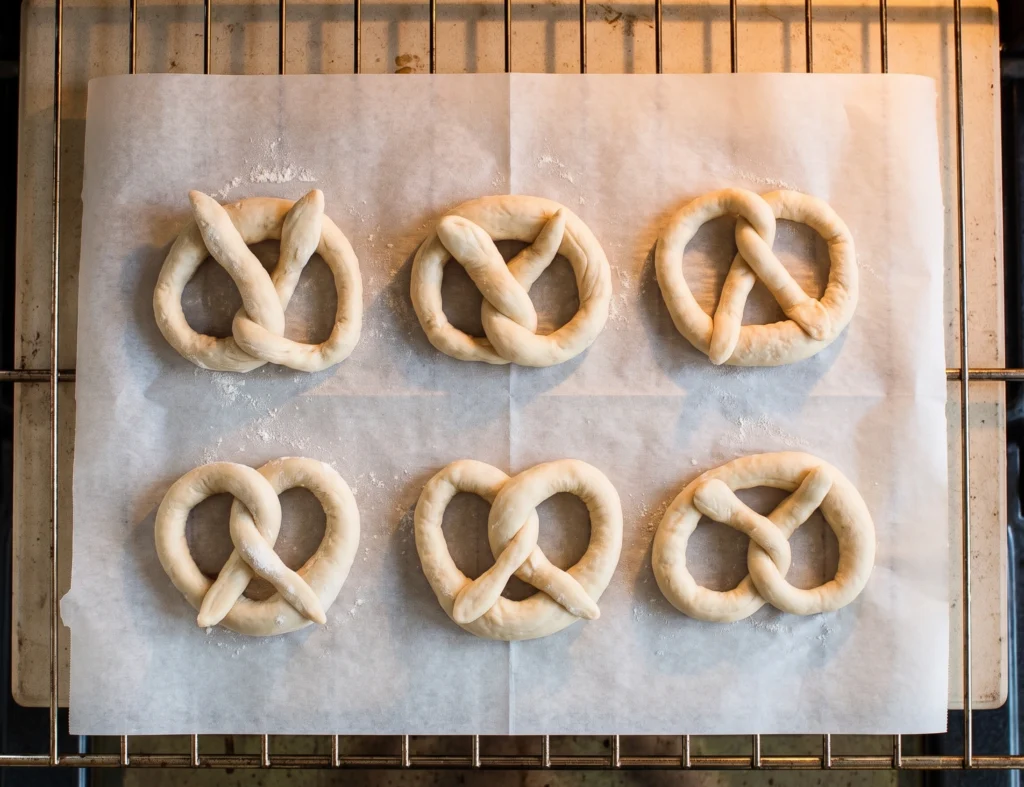
- Prep your station: Preheat the oven to 400°F and line two baking sheets with silicone mats or greased parchment paper. Un-greased parchment will fuse to your pretzels and ruin your day.
- Divide and conquer: Cut the dough into 12 equal pieces. If some are bigger than others, just call them rustic.
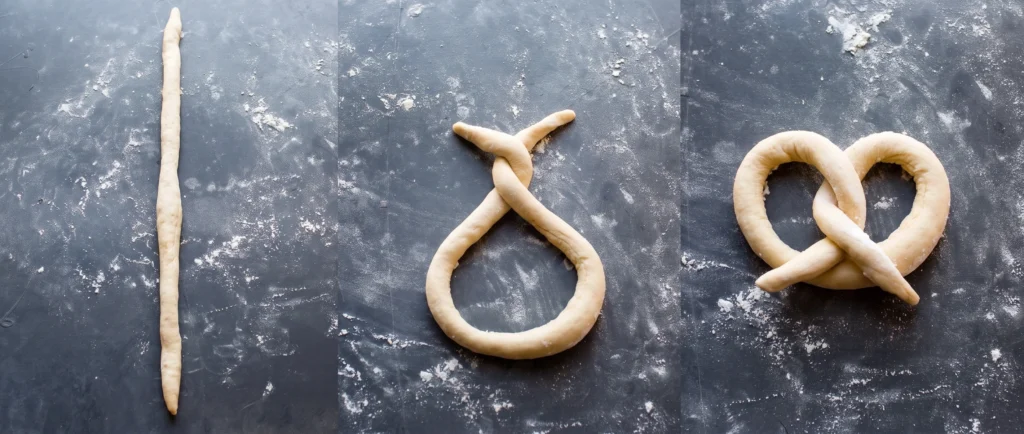
- Shape them: Roll each piece into a 20-inch rope, make a U-shape, twist the ends, and fold them down. Even a messy knot tastes delicious.
- The baking soda bath: Boil the water and baking soda, then drop the pretzels in for 20-30 seconds each. Do not walk away during this step, or they will taste like loose change.
- Bake: Sprinkle heavily with coarse salt and bake for 12-15 minutes until dark golden brown.
♥ The Misfit Tips!
- Do not skip the boil: I once skipped the water bath to save time. The pretzels tasted like weird, dense bread rolls. The quick boil creates the chewy crust.
- Flour your hands: Lightly floured hands make the long ropes easier to roll.
- Use silicone mats: I have permanently glued pretzels to cheap parchment paper. If you use parchment, grease it heavily.
- Keep the bath under 30 seconds: A short dip creates the right crust without a metallic taste.
- Add salt before baking: Coarse salt sticks best to the wet dough.
Make It Yours
You can brush the baked pretzels with melted butter for a richer finish. You can serve them with beer cheese or mustard for a savory snack. You can also replace the coarse salt with cinnamon sugar for a sweet version.
You should not use a buttery baked soft pretzels no boiling method if you want the traditional dark crust. The baking soda bath creates the signature pretzel surface.
Perfect Pairings
These go perfectly with whatever dip you can scrounge up from the back of the fridge.
- Spicy nacho cheese, obviously.
- Spicy brown mustard for authentic street cart energy.
- A cold beer on game day, because carbs and hops belong together.
- Cinnamon sugar and melted butter when you want to abandon the savory route.
How to Store
❤
- Fridge: Do not refrigerate the pretzels. The fridge turns them into chewy, stale rocks.
- Freezer: Freeze baked, unsalted pretzels in an airtight bag for up to three months.
- Thaw: Let the pretzels thaw on the counter.
- Reheat: Brush them with a little water, add salt, and bake them at 350°F for about five minutes.
- Note: Coarse salt pulls moisture from the pretzel and creates a soggy surface by day two. Freeze the pretzels unsalted if you plan to store them.
Soft Pretzels
Ingredients
Equipment
Method
- Whisk the yeast and sugar into warm water. Cover and allow to sit for 1 minute.
- Whisk in the melted butter and salt. Add 3 cups (375g) of flour. Mix with a wooden spoon (or dough hook attachment if using a stand mixer) until combined.
- Add 3/4 cup (94g) more flour until the dough is slightly tacky and pulls away from the sides of the bowl. If it is still sticky, add up to 1/4 cup more (31g) flour, 1 Tablespoon at a time, as needed. Poke the dough with your finger if it bounces back, it is ready to knead.
- Keep the dough in the mixer and beat for an additional 3 to 5 full minutes, or knead by hand on a lightly floured surface for 3 to 5 minutes. (If you’re new to bread-baking, my How to Knead Dough video tutorial can help here.) If the dough becomes too sticky during the kneading process, sprinkle 1 teaspoon of flour at a time on the dough or on the work surface/in the bowl to make a soft, slightly tacky dough. Do not add more flour than you need because you do not want a dry dough.
- After kneading, the dough should still feel a little soft. Poke it with your finger if it slowly bounces back, your dough is ready to rise. You can also do a “windowpane test” to see if your dough has been kneaded long enough: tear off a small (roughly golfball-size) piece of dough and gently stretch it out until it’s thin enough for light to pass through it. Hold it up to a window or light. Does light pass through the stretched dough without the dough tearing first? If so, your dough has been kneaded long enough and is ready to rise. If not, keep kneading until it passes the windowpane test.
- Shape the kneaded dough into a ball. Cover lightly with a towel and allow to rest for 10 to 30 minutes. (Meanwhile, I like to get the water + baking soda boiling as instructed in step 8.)
- Preheat oven to 400°F (204°C). Line 2 baking sheets with parchment paper or silicone baking mats. Silicone baking mats are highly recommended over parchment paper. If using parchment paper, lightly spray with nonstick spray or grease with butter. Set aside.
- With a sharp knife or pizza cutter, cut dough into 75g sections, which is about 1/3 cup of dough each.
- Roll the dough into a 20–22-inch rope. Form a circle with the dough by bringing the 2 ends together at the top of the circle. Twist the ends together. Bring the twisted ends back down towards yourself and press them down to form a pretzel shape.
- Bring baking soda and 9 cups of water to a boil in a large pot. Drop 1–2 pretzels into the boiling water for 20–30 seconds. Any longer than that and your pretzels will have a metallic taste. Using a slotted spatula, lift the pretzel out of the water and allow as much of the excess water to drip off. Place pretzel onto prepared baking sheet. Repeat with remaining pretzels. If desired, cover the boiled, unbaked pretzels with lightly oiled plastic wrap and refrigerate for up to 24 hours before baking (step 9).
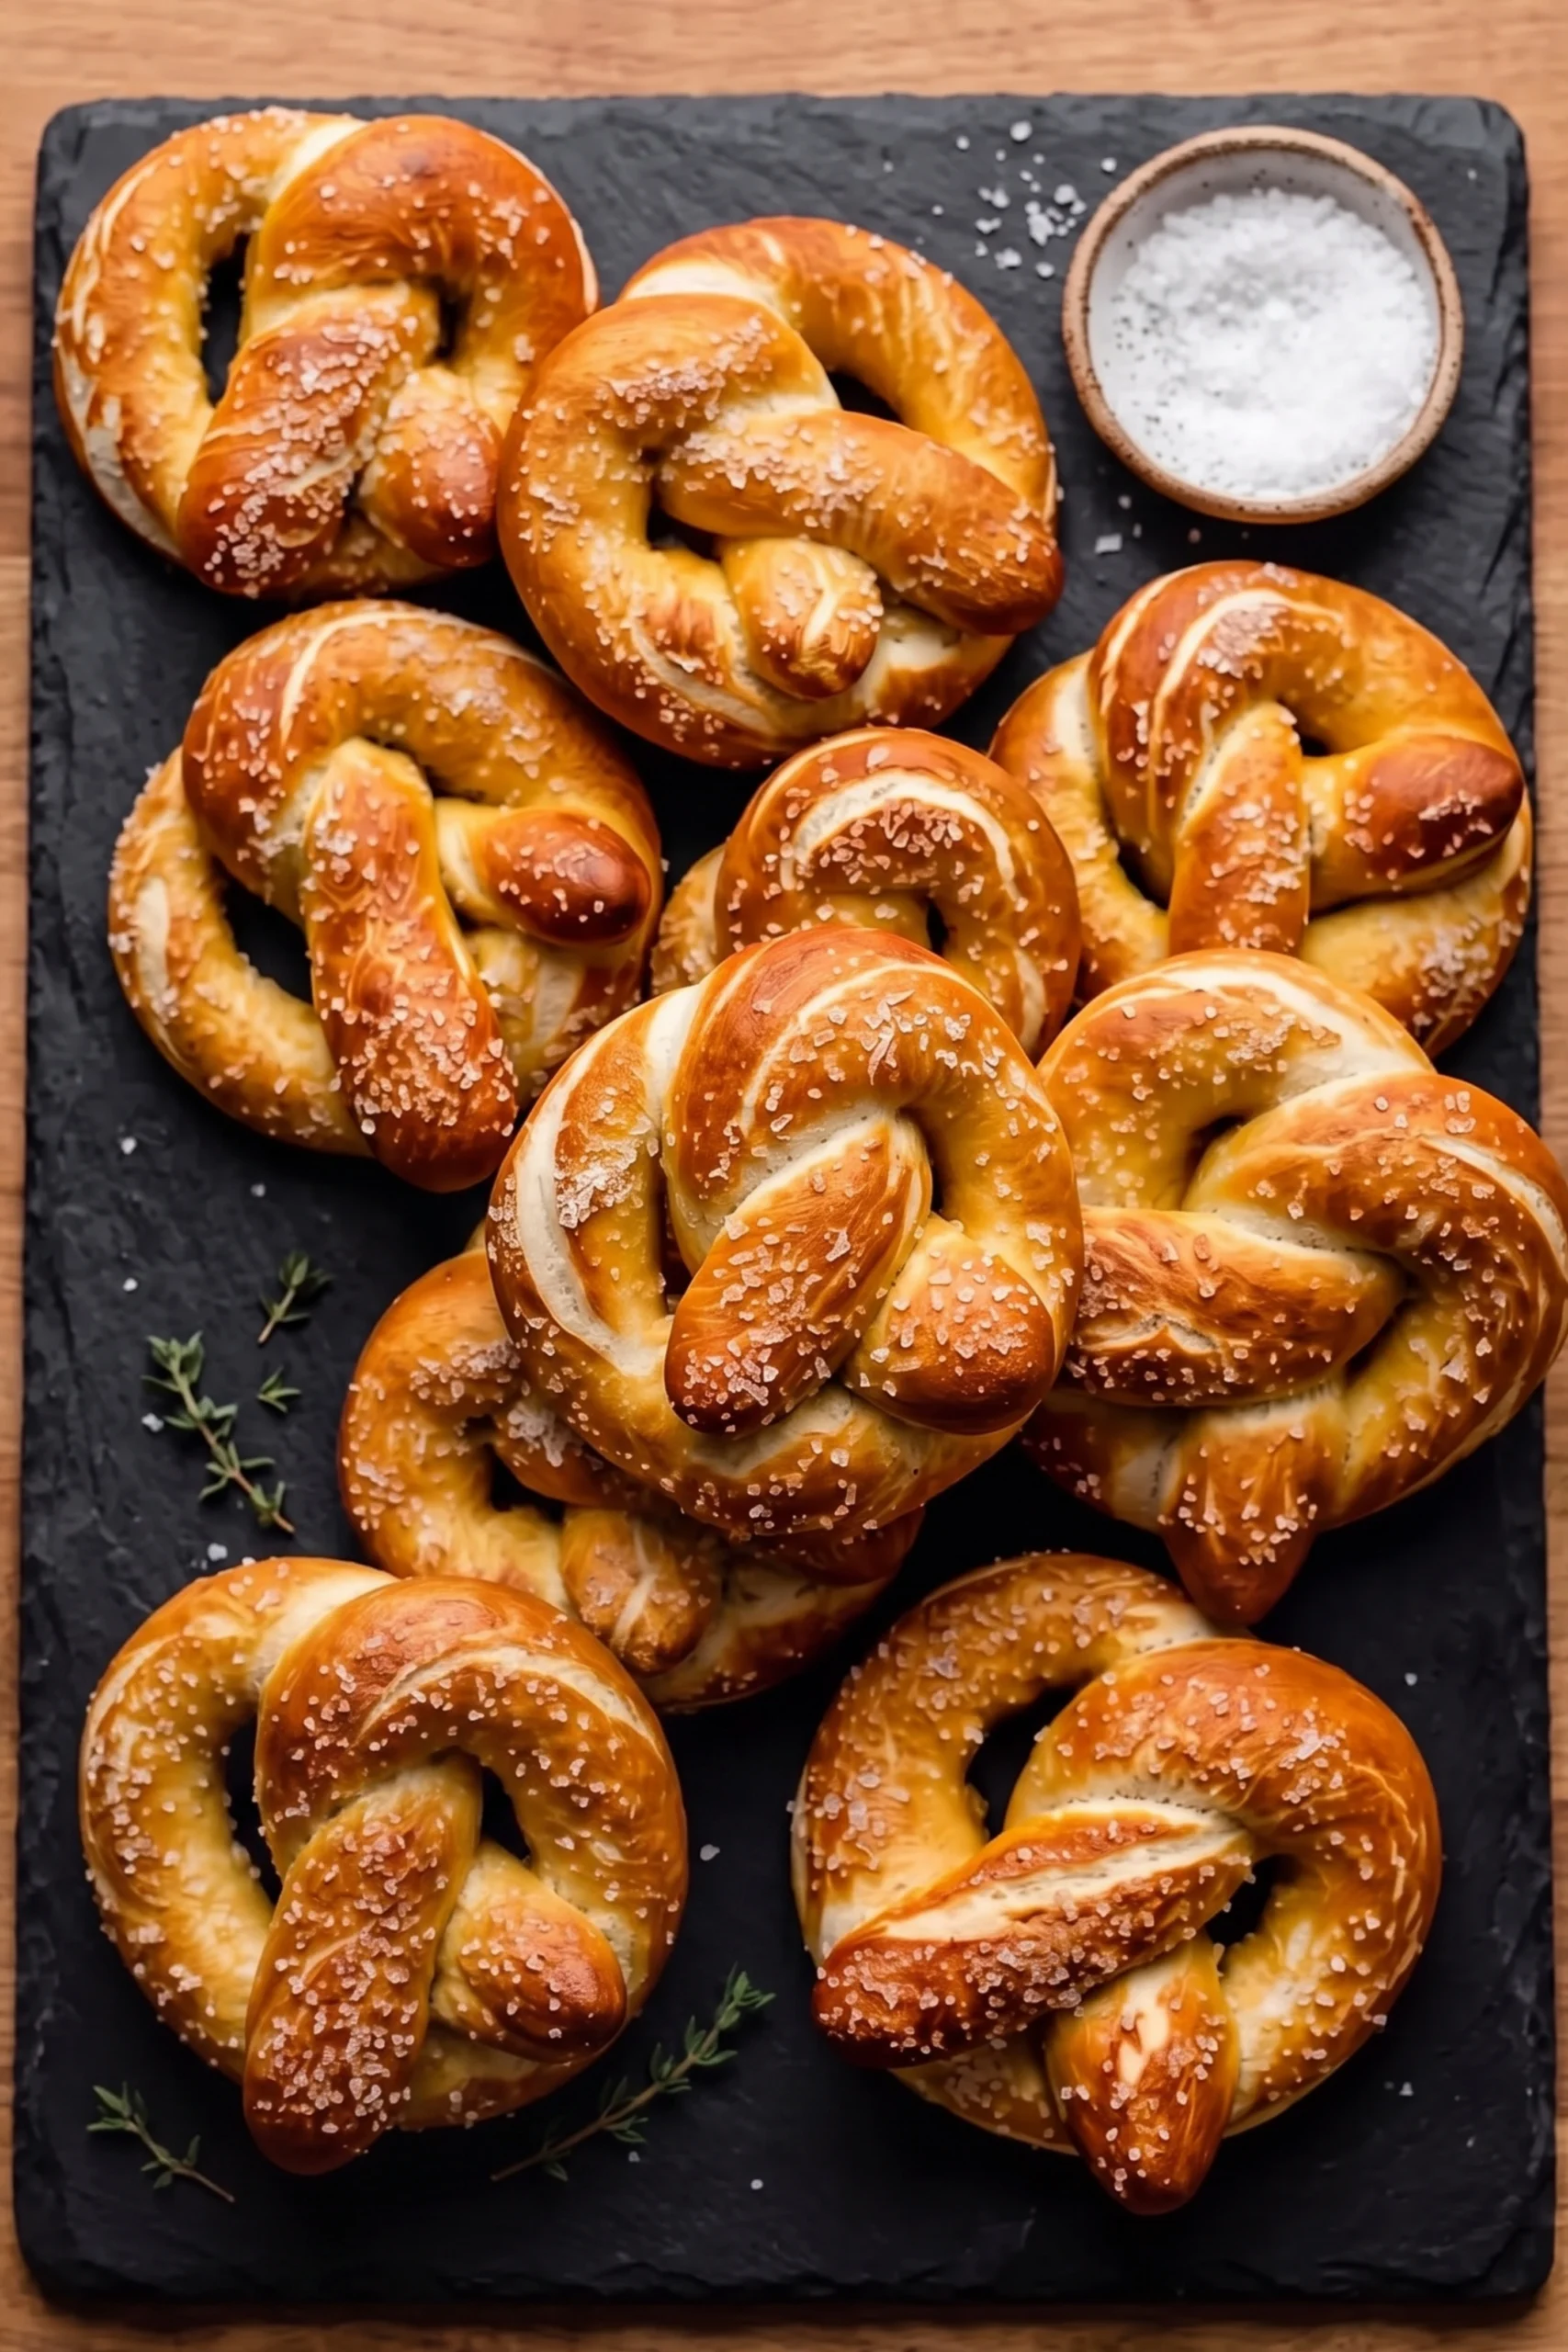
- Sprinkle the tops of the pretzels with coarse salt. Bake for 12–15 minutes or until dark golden brown.
- Remove from the oven and, if desired, serve warm with spicy nacho cheese sauce.
- Cover and store leftover pretzels at room temperature for up to 3 days. See Make Ahead & Freezing Instructions in recipe Notes below for more storage info. To reheat, microwave for a few seconds, or bake at 350°F (177°C) for 5 minutes.