
A chocolate craving hitting hard at ten on a random Tuesday night, strong enough to consider eating chips straight from the bag, is exactly what led to these brownies from scratch. No boxed mix sat in the pantry, which usually spells panic, but figuring out how to make brownies from scratch using two-year-old cocoa powder turned that panic into a genuine win.
Most brownie recipes from scratch feel intimidating, though this one stays remarkably forgiving even through a measuring mistake. An accidental extra splash of vanilla, poured in without the right spoon on hand, turned out to be the best mistake made in that kitchen all week. Here is exactly how I do it.
Why You’ll Love This Recipe
- One bowl wonder. Making brownies from scratch takes exactly one bowl, which means fewer dishes to stare at afterward.
- Pantry friendly. Every ingredient probably already sits in the cupboard right now.
- Budget saver. This brownie recipe from scratch costs far less than any fancy bakery square.
- Intensely chocolatey. A huge chocolate hit comes through without melting down expensive chocolate bars.
Tools You’ll Need
Nothing fancy, I promise.
- 8×8 inch baking pan – Metal works best, but if you use glass, just keep an eye on the baking time.
- Parchment paper. Skipping this step means chiseling baked goods out of the pan with a butter knife.
- A sturdy whisk. Eggs mix in properly with this, no heavy mixer required.
Ingredients
- 10 tablespoons unsalted butter – Melted and warm. If you use salted butter, just skip the extra salt later so you do not accidentally make a salt lick.
- 1 1/4 cups granulated sugar – Yes, it seems like a lot, but cocoa powder is bitter and needs the balance.
- 3/4 cup cocoa powder – Unsweetened. I use the cheap stuff and it works totally fine.
- 1/4 teaspoon salt – Do not skip this, or your brownies will taste flat and boring.
- 1 teaspoon vanilla extract – Measure with your heart, honestly.
- 2 large eggs – Cold from the fridge is actually fine here.
- 1/2 cup all-purpose flour – Just a little bit holds the whole thing together.
How To Make Brownies From Scratch
Melt the butter, dump everything else in, and try not to eat the batter raw.
- Prep the pan: Preheat your oven to 325 degrees Fahrenheit and line your pan with parchment paper. If you skip the parchment paper, that is between you and the scrubbing sponge later.
- Combine the base: In a medium microwave-safe bowl, melt the butter. Whisk in the sugar, cocoa powder, and salt until it looks like gritty dark sand. It will look weird and you will think you messed up, but you did not.
- Add the wet ingredients: Whisk in the vanilla, then add the eggs one at a time, whisking vigorously after each one. The batter will suddenly transform from gritty sand to a thick, shiny batter.
- Fold in the flour: Add the flour and stir it with a spatula just until you can no longer see white streaks. If a few tiny lumps survive, nobody else needs to know.
- Bake: Pour the batter into your prepared pan and bake for 25 to 30 minutes. A toothpick inserted in the center should come out with moist crumbs, not wet batter. Better to underbake than overbake.
♥ The Misfit Tips!
- Respect the chilling step. Cutting these straight out of the oven once produced a molten lava mess that completely fell apart.
- Sift the cocoa if needed. Skipping this step once led to biting into a dry, bitter pocket of powder.
- Look for melted butter recipes. A reliable brownie recipe from scratch built around melted butter rather than creamed butter almost always turns out fudgier.
Make it yours
- Espresso version. You stir a teaspoon of instant espresso powder into the cocoa mixture for a deeper chocolate flavor.
- Nutty version. You fold in chopped walnuts or pecans along with the flour for extra texture.
Perfect Pairings
These homemade brownies from scratch suit two specific pairings particularly well.
- A cold glass of milk – obviously.
- A giant scoop of cheap vanilla ice cream melting aggressively over the top.
- Eating standing over the kitchen sink at midnight on a weeknight.
- A strong cup of black coffee to balance out the sugar rush.
How to Store Brownies From Scratch
❤
- Fridge. Up to five days in an airtight container, and the chilled texture turns incredibly dense and fudgy.
- Freezer. Up to three months wrapped tightly in plastic wrap and stored in a zip-top bag.
- Reheat. Ten to fifteen seconds in the microwave brings back a soft, fresh-baked bite.
- Storage note. Leaving these uncovered on the counter turns them into chocolate bricks by the next morning.
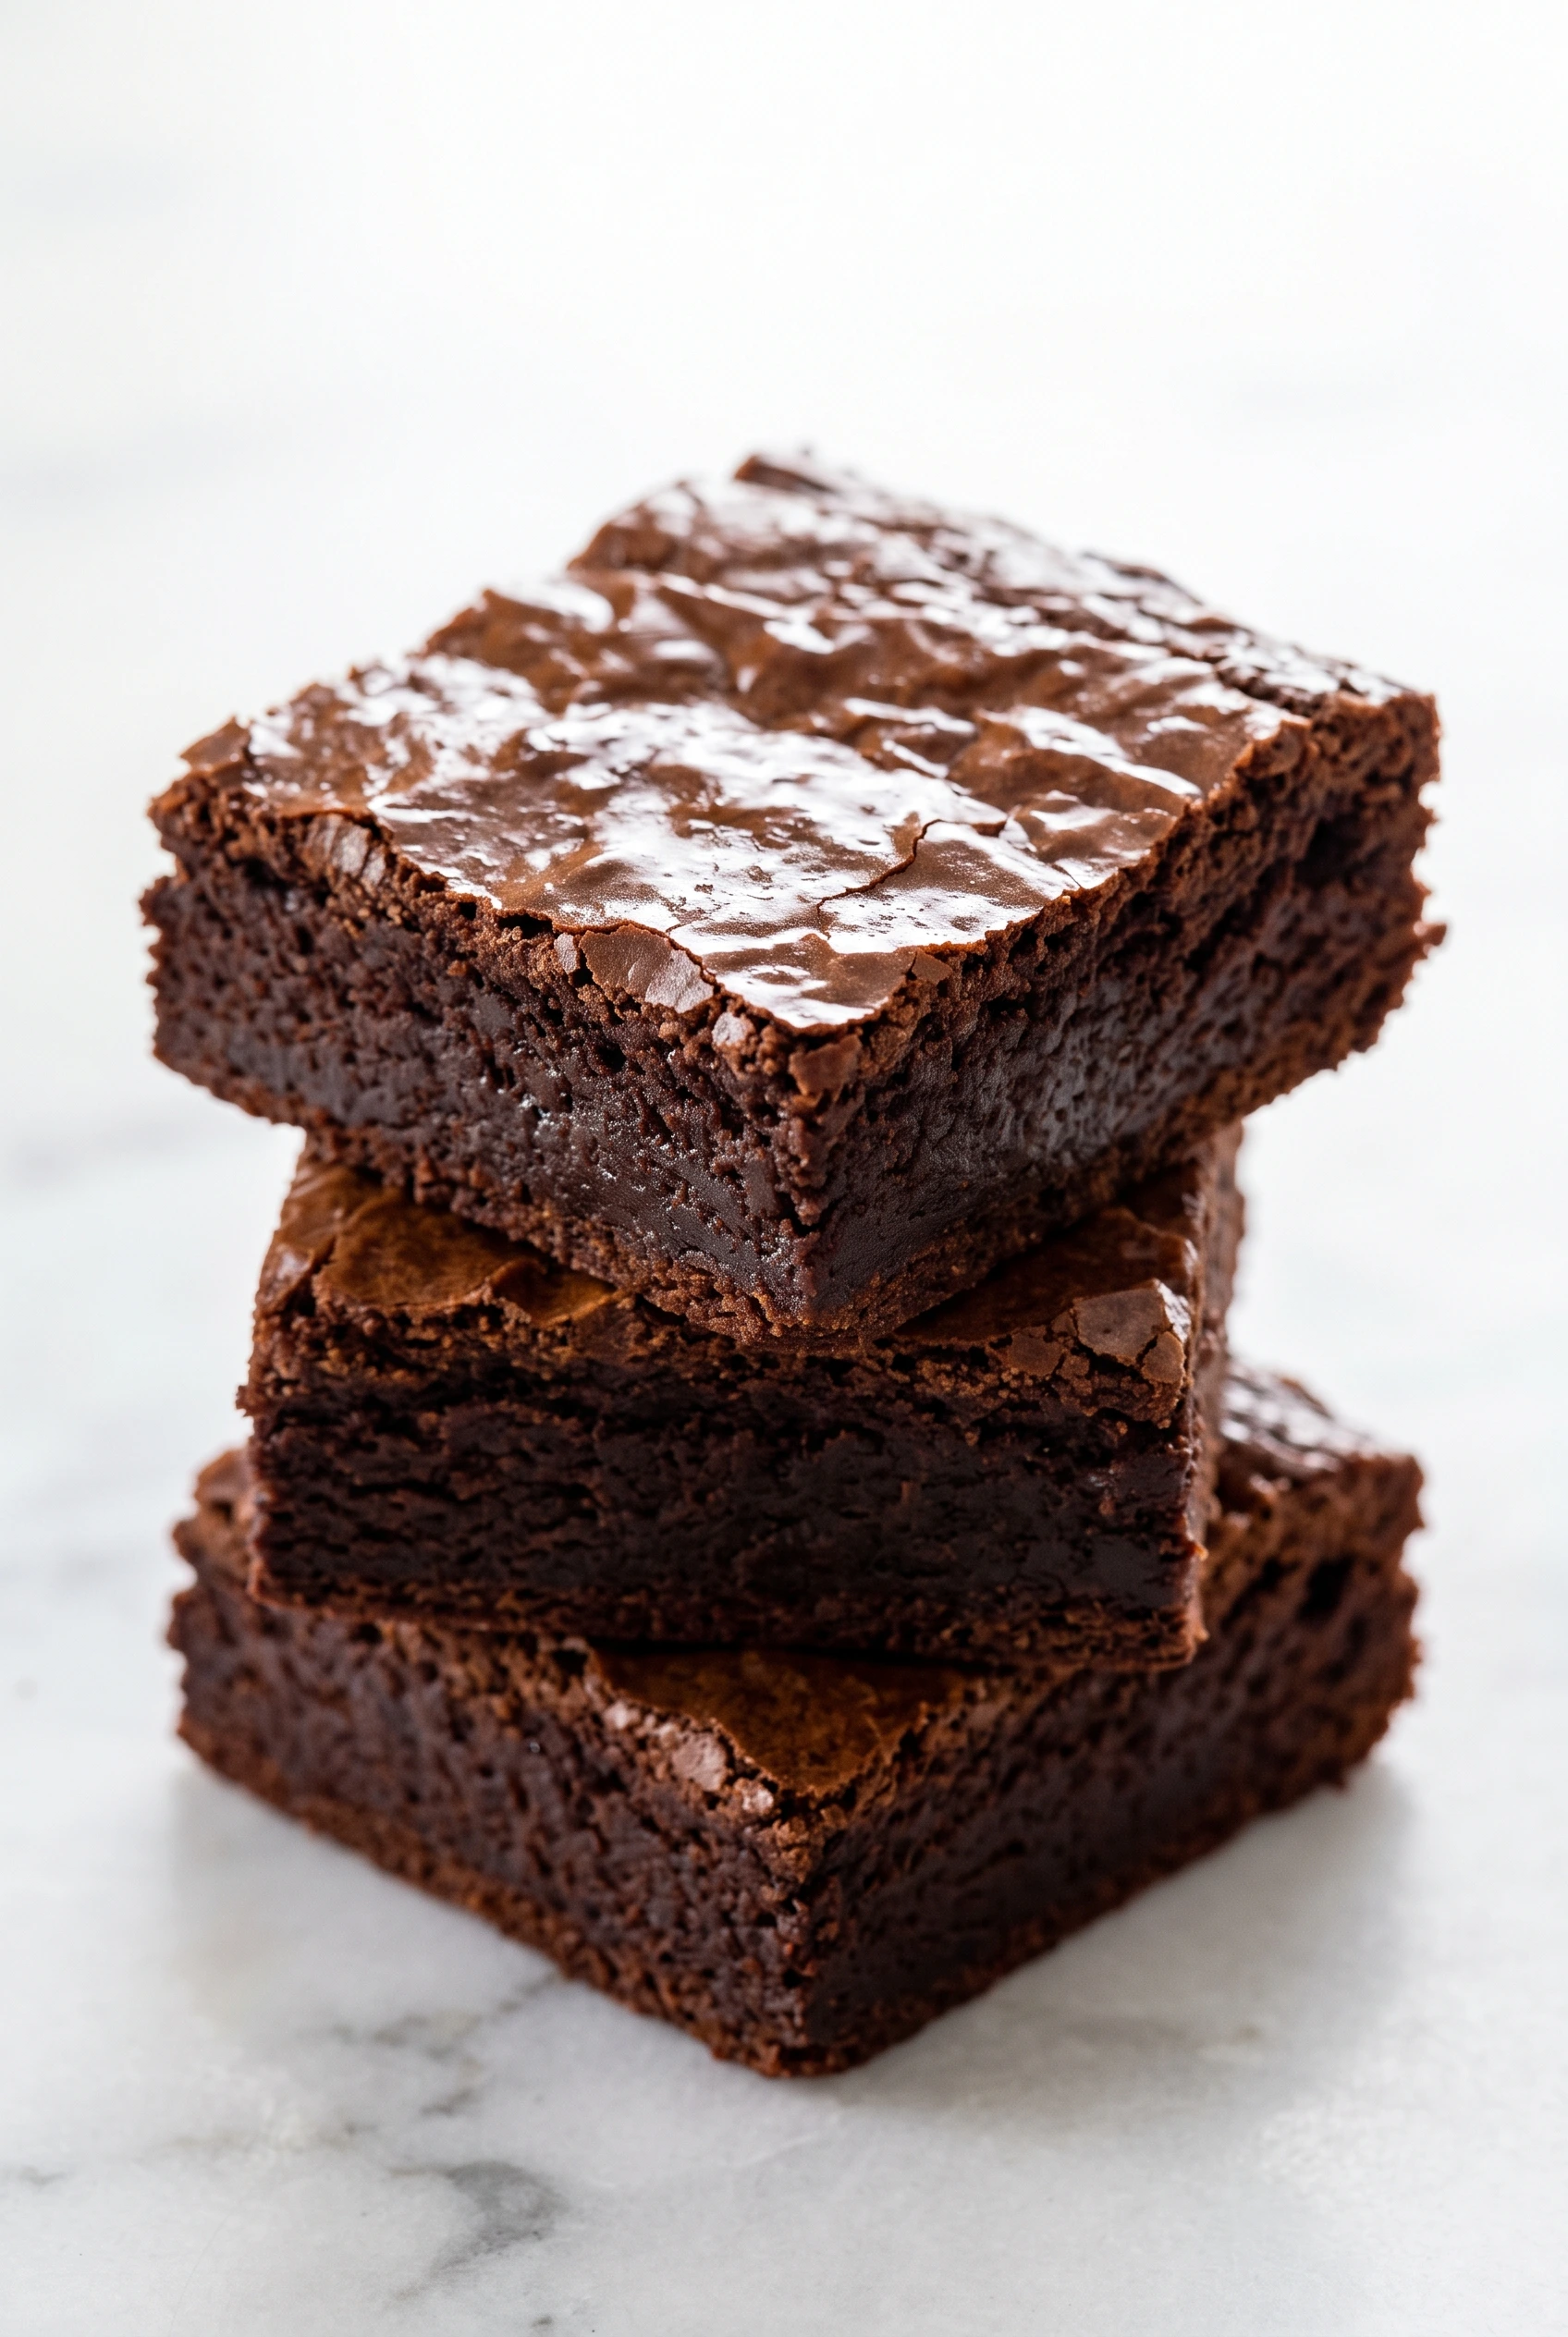
Brownies From Scratch
Ingredients
Equipment
Method
- Prep the panYou preheat the oven to 325°F and line the pan with parchment paper.
- Combine the baseYou melt the butter in a medium microwave-safe bowl, then whisk in the sugar, cocoa powder, and salt until the mixture looks like gritty dark sand.
- Add the wet ingredientsYou whisk in the vanilla, then add the eggs one at a time, whisking vigorously after each addition until the batter turns thick and shiny.
- Fold in the flourYou add the flour and stir with a spatula just until the white streaks disappear.
- Bake and coolYou pour the batter into the pan and bake for 25 to 30 minutes, until a toothpick comes out with moist crumbs, then let the pan cool completely.