
Realizing I had eaten a salad for dinner and my body actively rejecting the health choices I forced upon it is exactly what led to this rice krispie treats recipe at 9:30 on a Tuesday night. Standing in the kitchen in a faded college t-shirt and aggressively ripping open a bag of mini marshmallows felt like the only reasonable response to that particular culinary regret.
Ruining fancy cakes and burning more cookies than I care to admit has happened plenty, yet this is the one thing I literally cannot mess up. You do not need a mixer, you do not need an oven, and you barely need patience. Here is exactly how I do it.
Why You’ll Love This Recipe
- Ridiculously fast. Going from a bag of dry cereal to a pan of gooey perfection in under ten minutes becomes entirely possible.
- Virtually foolproof. Knowing how to push the start button on a microwave provides all the skills required.
- Always a winner. A classic homemade rice krispie treats recipe never gets rejected at a potluck or bake sale.
- Budget-friendly. Three cheap pantry staples plus vanilla keeps anyone completely in business.
Tools You’ll Need
Nothing fancy, I promise.
- Large microwave-safe bowl. The bigger the better, unless you enjoy cleaning sticky marshmallow off your microwave turntable.
- 9×13 baking pan Metal or glass, it does not matter at all.
- Rubber spatula. This scrapes out every last bit of the sticky goodness before it sets.
Ingredients
- 1/4 cup butter – Use real butter, not margarine. I learned that the hard way when they turned out tasting like plastic.
- 1 bag mini marshmallows – Check the expiration date. Stale marshmallows make sad, hard bricks.
- 1 tablespoon vanilla – This adds that bakery-level flavor to these easy 4 ingredient marshmallow cereal treats.
- 6 cups Rice Krispies – The star of the show. Store-brand crispy rice cereal works perfectly fine too.
How To Make Rice Krispie Treats
Let’s melt some stuff and pretend we are master pastry chefs.
- Melt the base: In a microwave-safe bowl, melt marshmallows and butter for 1 minute. Keep an eye on it so it does not inflate like a sugary balloon and explode everywhere.
- Flavor it up: Remove from microwave and pour in vanilla. Stir until the mixture is completely smooth. If it smells absolutely amazing right now, you are doing it right.
- Mix in the crunch: Add 6 cups of Rice Krispies and stir until the cereal is well coated. It will sound like a tiny construction zone in your bowl, just keep folding it gently.
- Transfer to pan: Line a 9×13 baking pan with parchment paper and pour the cereal mixture into the pan. Place a piece of parchment paper over the top and press the crispies down into an even layer. Do NOT press them down like you are paving a driveway, or they will turn into rocks.
- Let them rest: Let sit on the counter for an hour or in the fridge for 30 minutes until set. Waiting is the hardest part, but eating them warm will result in a sticky mess on your chin.
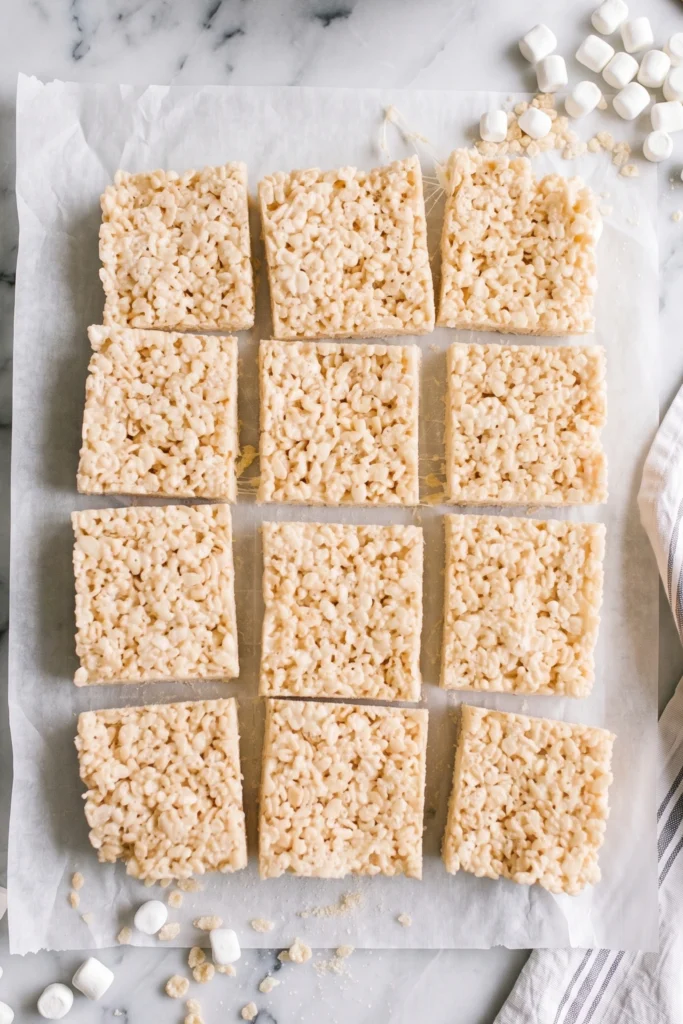
- Slice and serve: Lift the treats from the pan and slice into 12 pieces. Or cut them into 4 giant pieces, I am not the portion police.
♥ The Misfit Tips!
- Do not smoosh them. Packing these down too hard once nearly broke a tooth, so gentle pats work best.
- Stale marshmallows are the enemy. Using a bag open since last Christmas once produced classic marshmallow cereal bars that functioned as weapons.
- Grease your hands. Running your hands under water or spraying them with cooking spray prevents becoming one with the cereal if you lack parchment paper.
Make it yours
- Chocolate drizzle version. You melt semi-sweet chocolate and drizzle it over the cooled bars for a richer twist on this no bake kids dessert.
- Sprinkle crunch version. You press colorful sprinkles into the top before the treats set for a festive look.
Perfect Pairings
These go perfectly with whatever you have lying around.
- A giant cup of black coffee balances out the intense sugar rush.
- Sneaking into the kitchen at midnight to eat them straight from the pan in the dark rounds out the whole experience.
How to Store Rice Krispie Treats
❤
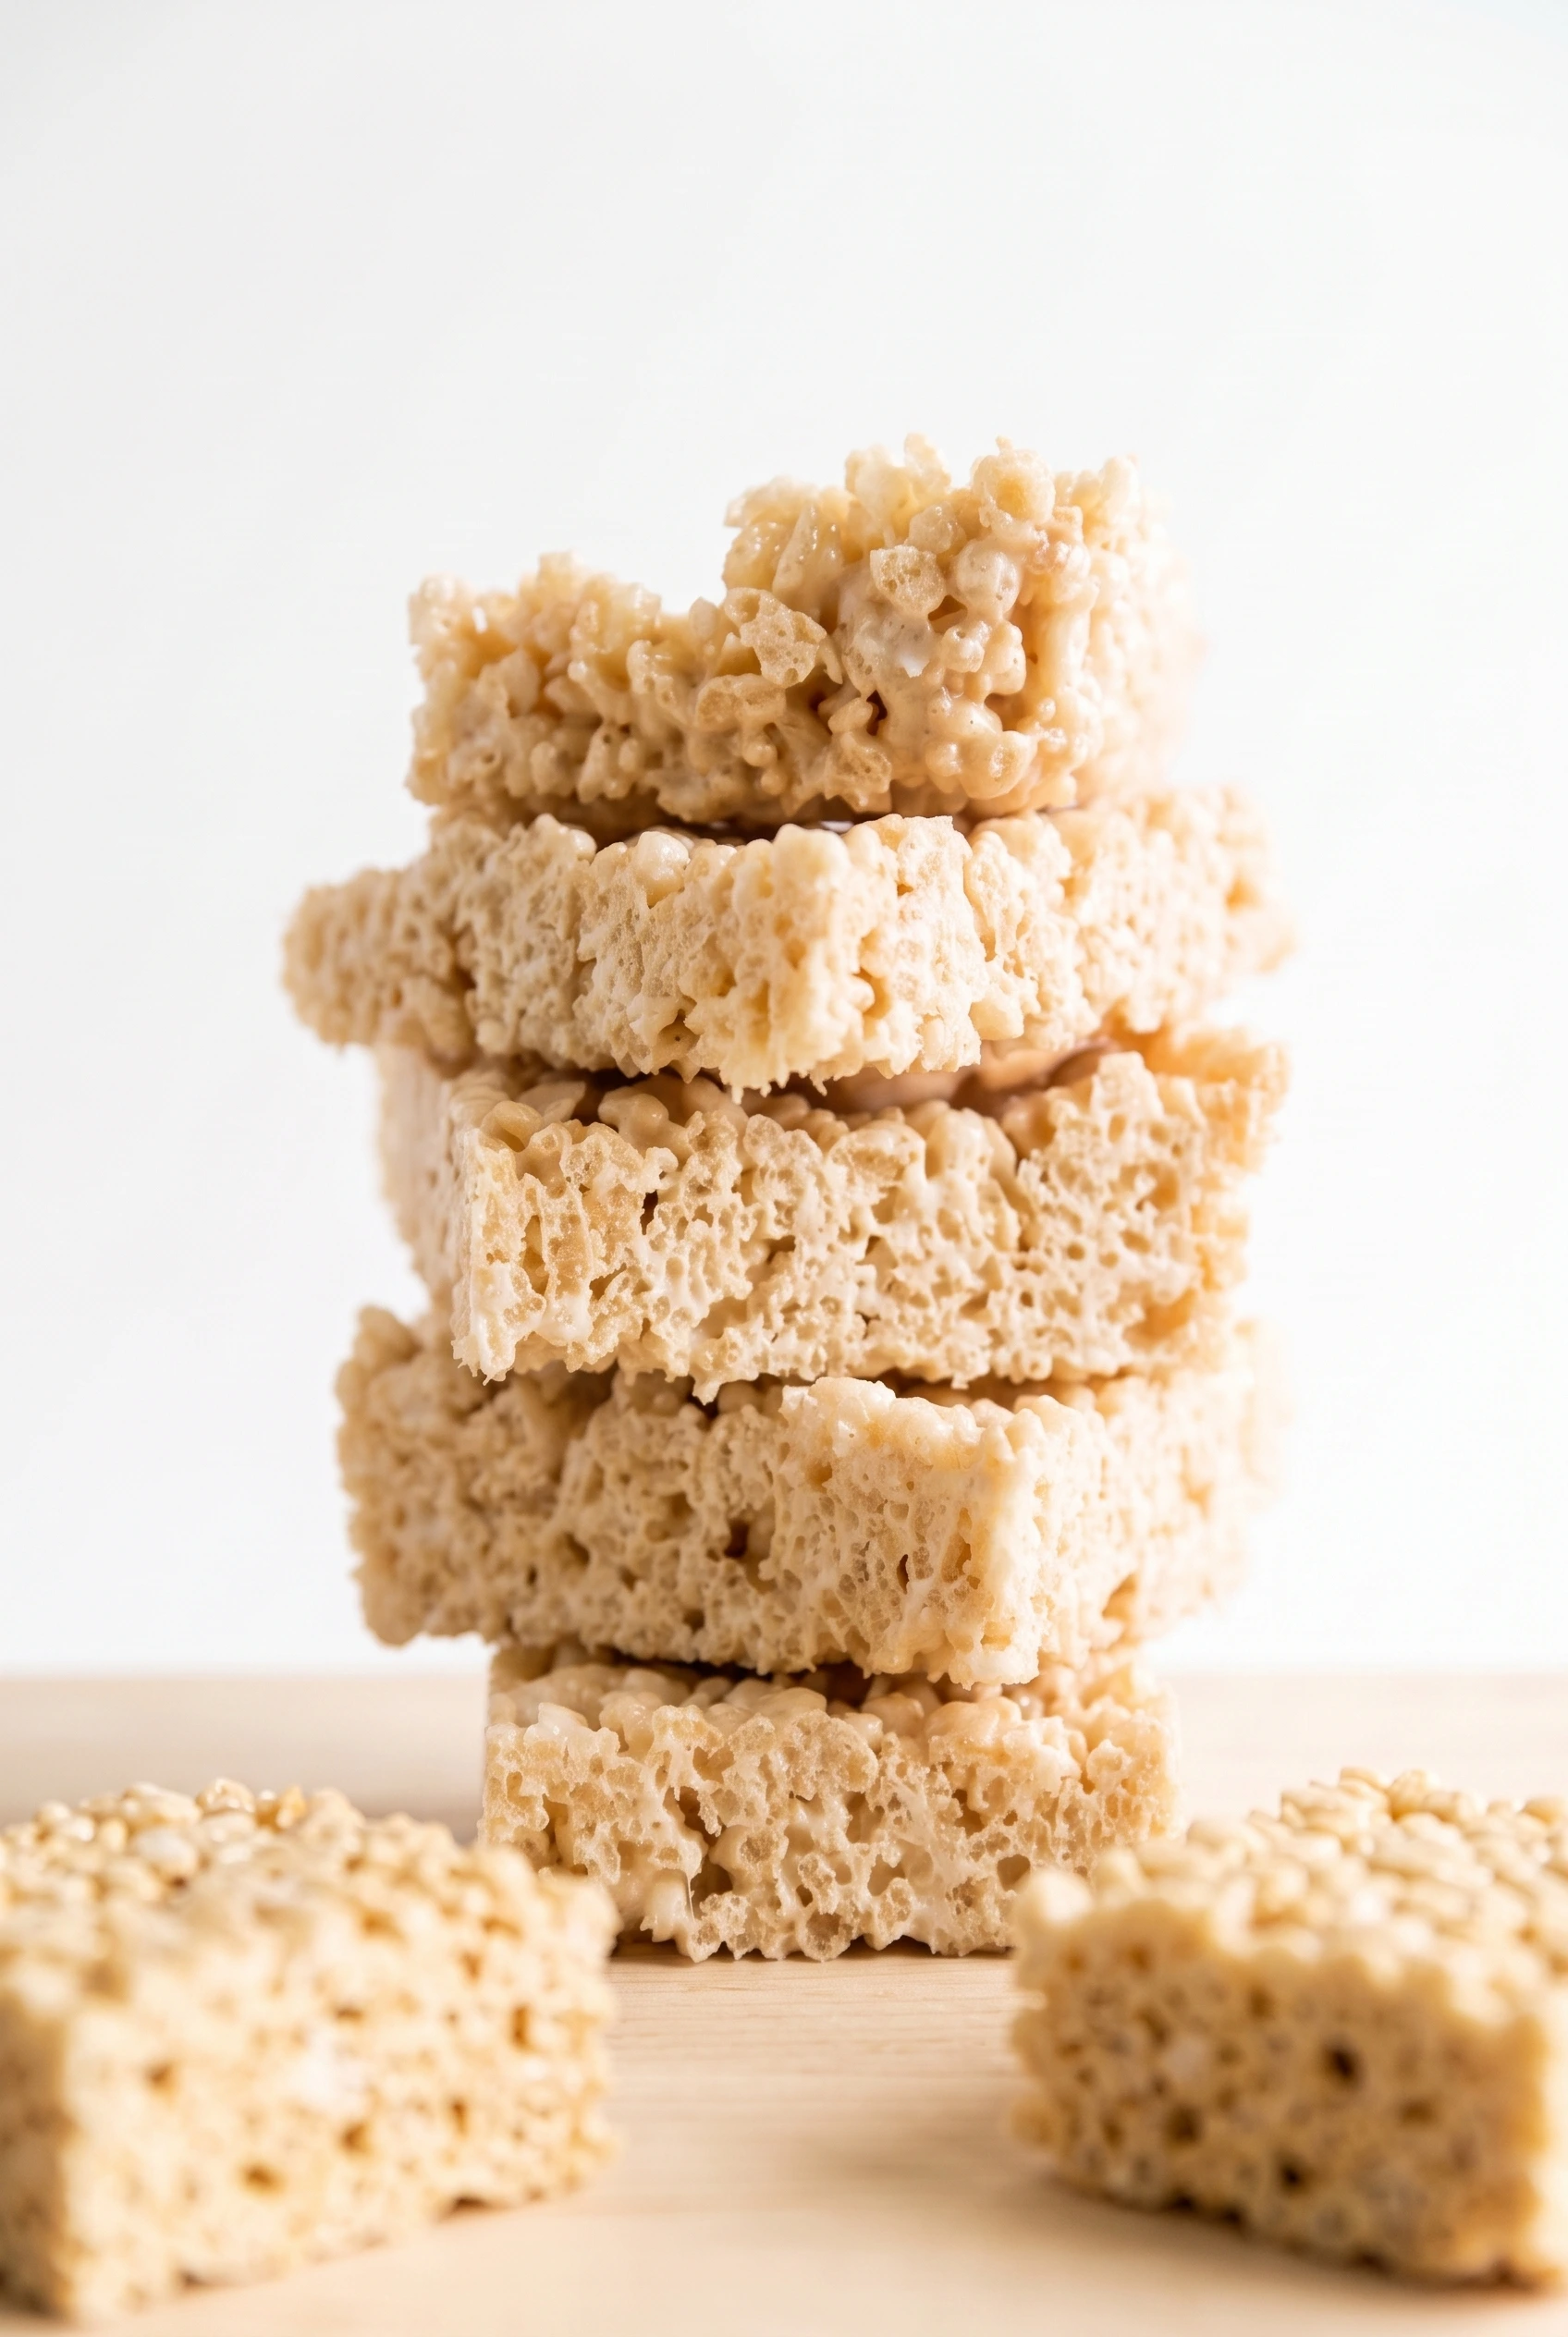
- Fridge. Up to three days in an airtight container, though the fridge makes them a bit tough compared to room temperature storage.
- Freezer. Up to six weeks separated with wax paper in a freezer bag, thawed on the counter for an hour before eating.
- Reheat. Five to 8 seconds in the microwave brings back that fresh-made gooey texture.
- Storage note. Humidity acts as the enemy of crispy cereal, so keeping these sealed tight prevents them from turning weird and chewy in a bad way.
Rice Krispie Treats
Ingredients
Equipment
Method
- In a microwave-safe bowl, melt marshmallows and butter for 1 minute.
- Remove from microwave and pour in vanilla. Stir until the mixture is completely smooth.
- Add 6 cups of Rice Krispies and stir until the cereal is well coated.
- Line a 9×13 baking pan with parchment paper and pour the cereal mixture into the pan. Place a piece of parchment paper over the top and press the crispies down into an even layer.
- Let sit on the counter for an hour or in the fridge for 30 minutes until set.
- Lift the treats from the pan and slice into 12 pieces.