
Realizing I signed up for the school bake sale and completely forgetting until my kid handed me the flyer in bed at 9:30 PM on a Tuesday is exactly what led to this cool whip candy recipe. The idea of turning on my oven felt genuinely offensive after a long day, so this no-bake alternative saved my life, my reputation, and my sanity. Trying to make a complex nougat from scratch once covered my kitchen in molten sugar and left me with a lot of regrets.
This is a 3 ingredient candy recipe that requires zero candy thermometers and zero tears. It tastes exactly like a homemade 3 musketeers bar copycat recipe, but without the existential dread of tempering chocolate. Here is exactly how I do it.
Why You’ll Love This Recipe
- Zero oven time. Sometimes baking is just too much to ask after a long day.
- Foolproof nougat. You get that fluffy 3 musketeers copycat candy texture without boiling sugar.
- Crowd-pleasing. People will think you spent hours on these, and you absolutely do not have to correct them.
- Pantry friendly. Three things from the grocery store make you basically Willy Wonka.
Tools You’ll Need
Nothing fancy, I promise.
- handheld mixer You could use a whisk, but my arms get tired just thinking about it.
- 8×8-inch baking pan. Straight sides work best if you want actual squares instead of weird blobs.
- Parchment paper. Skipping this permanently cements chocolate to your pan.
Ingredients
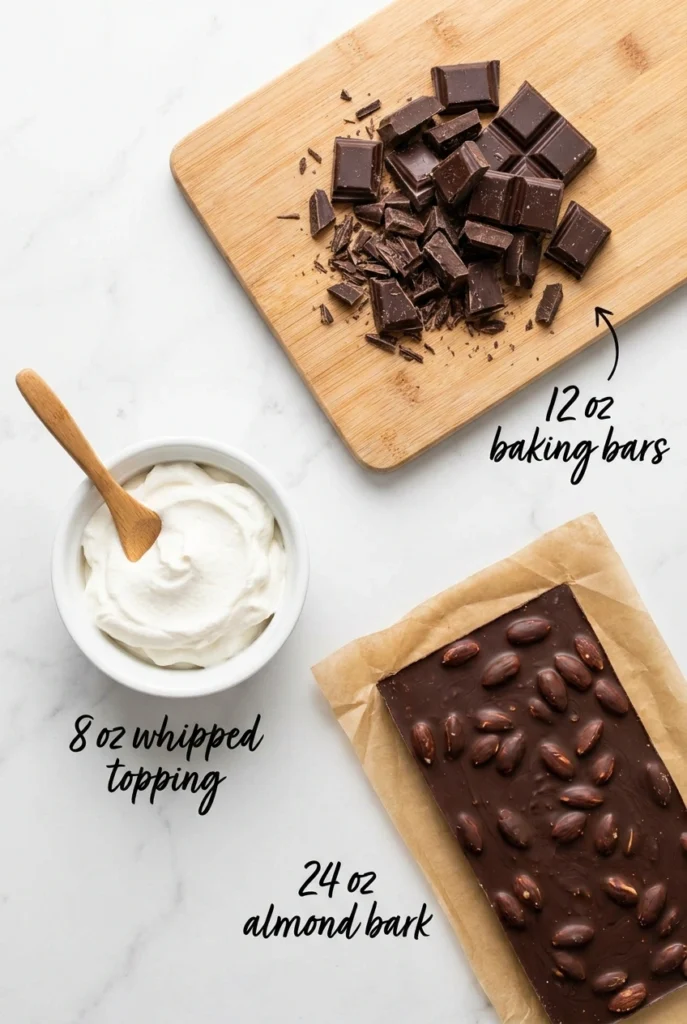
- 12 ounces semi-sweet baking bars Break them up small so they actually melt, and do not use chocolate chips because they seize up.
- 8 ounces frozen whipped topping Thawed! If you try to mix frozen Cool Whip into warm chocolate, you will create a clumpy disaster.
- 24 ounces chocolate almond bark This is your candy coating, which melts beautifully and covers up a multitude of sins.
How To Make Cool Whip Candy
Set your microwave, clear some freezer space, and pretend you did not just outsource candy making to a tub of whipped topping.
- Prep the pan: Line an 8×8-inch, straight-sided baking pan with a piece of parchment paper. Be sure to leave enough overhanging to lift it out later—unless you enjoy prying frozen chocolate out with a butter knife.
- Prep the sheet: Line a large baking sheet with a piece of parchment paper. Set aside, and try not to let your cat walk on it.
- Melt the chocolate: Add the broken pieces of semi-sweet baking bars to a large mixing bowl. Microwave on high for 1 minute, stir, and heat for an additional 30 seconds, repeating until smooth—do not walk away, burnt chocolate smells terrible and is entirely your fault.
- Add the fluff: To the bowl of melted semi-sweet chocolate, add the thawed whipped topping. Just plop it right in there.
- Mix it up: Using a handheld mixer on medium speed, beat the chocolate and whipped topping for 1 to 2 minutes or until thoroughly combined and smooth. If a few streaks remain, that is between you and the mixing bowl, nobody else needs to know.
- Spread it out: Scoop the mixture into the prepared pan. Using a small offset spatula, smooth the top of the candy filling to ensure that you have a nice even layer, then fold the overhanging parchment paper over the top. It doesn’t have to be perfectly level, we are covering it in chocolate anyway.
- Chill out: Place the pan into the freezer for 1 hour to chill the candy filling. Use this time to clean up the chocolate you inevitably got on the counter.
- Unmold: Once the candy filling has firmed up, remove it from the freezer and gently lift it out using the parchment overhang. If it sticks, just give it a firm but loving tug.
- Slice the candy: Using a very sharp knife, slice the candy filling into 6 strips, cut each in half, then each half into three pieces to get 36 squares. Clean your knife with hot water after a few cuts, otherwise you’ll just be dragging sticky nougat everywhere.
- Freeze again: Place your cut candy back into the freezer to stay cold while you melt your chocolate almond bark coating. Do not skip this, warm nougat is a nightmare to dip.
- Melt the coating: Melt your chocolate almond bark in a microwave-safe bowl on high for 1 minute, stir, then heat in 30-second intervals until fully melted and smooth. Again, patience is key here, don’t scorch it.
- Dip the squares: Using a fork, dip and coat one piece of candy, allowing any excess to drip off the bottom. Tap the fork on the side of the bowl—if it falls in, just fish it out and call it a “double-dipped rustic” piece.
- Transfer to sheet: Place the chocolate-coated candy onto the parchment paper-lined baking sheet using a second fork or toothpick to slide it off, repeating until all candy has been coated. If they look a little messy, just remember they taste incredible regardless.
- Final chill: Place the baking sheet into the refrigerator for 15 minutes to allow the chocolate coating to firm up before serving. Try to wait the full 15 minutes before eating one, but I won’t judge if you don’t.
♥ The Misfit Tips!
- Do not rush the chill. Skipping the freezer step once melted the cool whip center into a gray, sad puddle when the warm coating hit it.
- Quality matters for the center Use actual baking chocolate bars for the inside, not chocolate chips. Chips have stabilizers that make them melt weirdly when mixed with the whipped topping.
- The dipping fork trick. A regular dinner fork works fine if you tap it aggressively on the rim to shake off excess bark.
Make it yours
- Peanut butter version. You fold a spoonful of creamy peanut butter into the nougat mixture for a richer twist on this 3 ingredient candy recipe.
- Sprinkle crunch version. You press colorful sprinkles into the wet coating before it sets for a festive look.
Perfect Pairings
These go perfectly with a complete lack of culinary ambition.
- A strong cup of black coffee balances out the sweet chocolate coating.
- Your favorite holiday movie marathon on the couch rounds out the whole cozy evening.
How to Store
❤
- Fridge. Up to two weeks in an airtight container, since the texture stays perfectly chewy when cold.
- Freezer. Up to 30 days, thawed in the fridge overnight to prevent condensation from making the chocolate sweat.
- Reheat. Do not even think about it, since these stay strictly cold or room temp treats.
- Storage note. Keeping these away from strong-smelling foods in the fridge prevents a 3 Musketeers bite from tasting like yesterday’s leftover salmon.
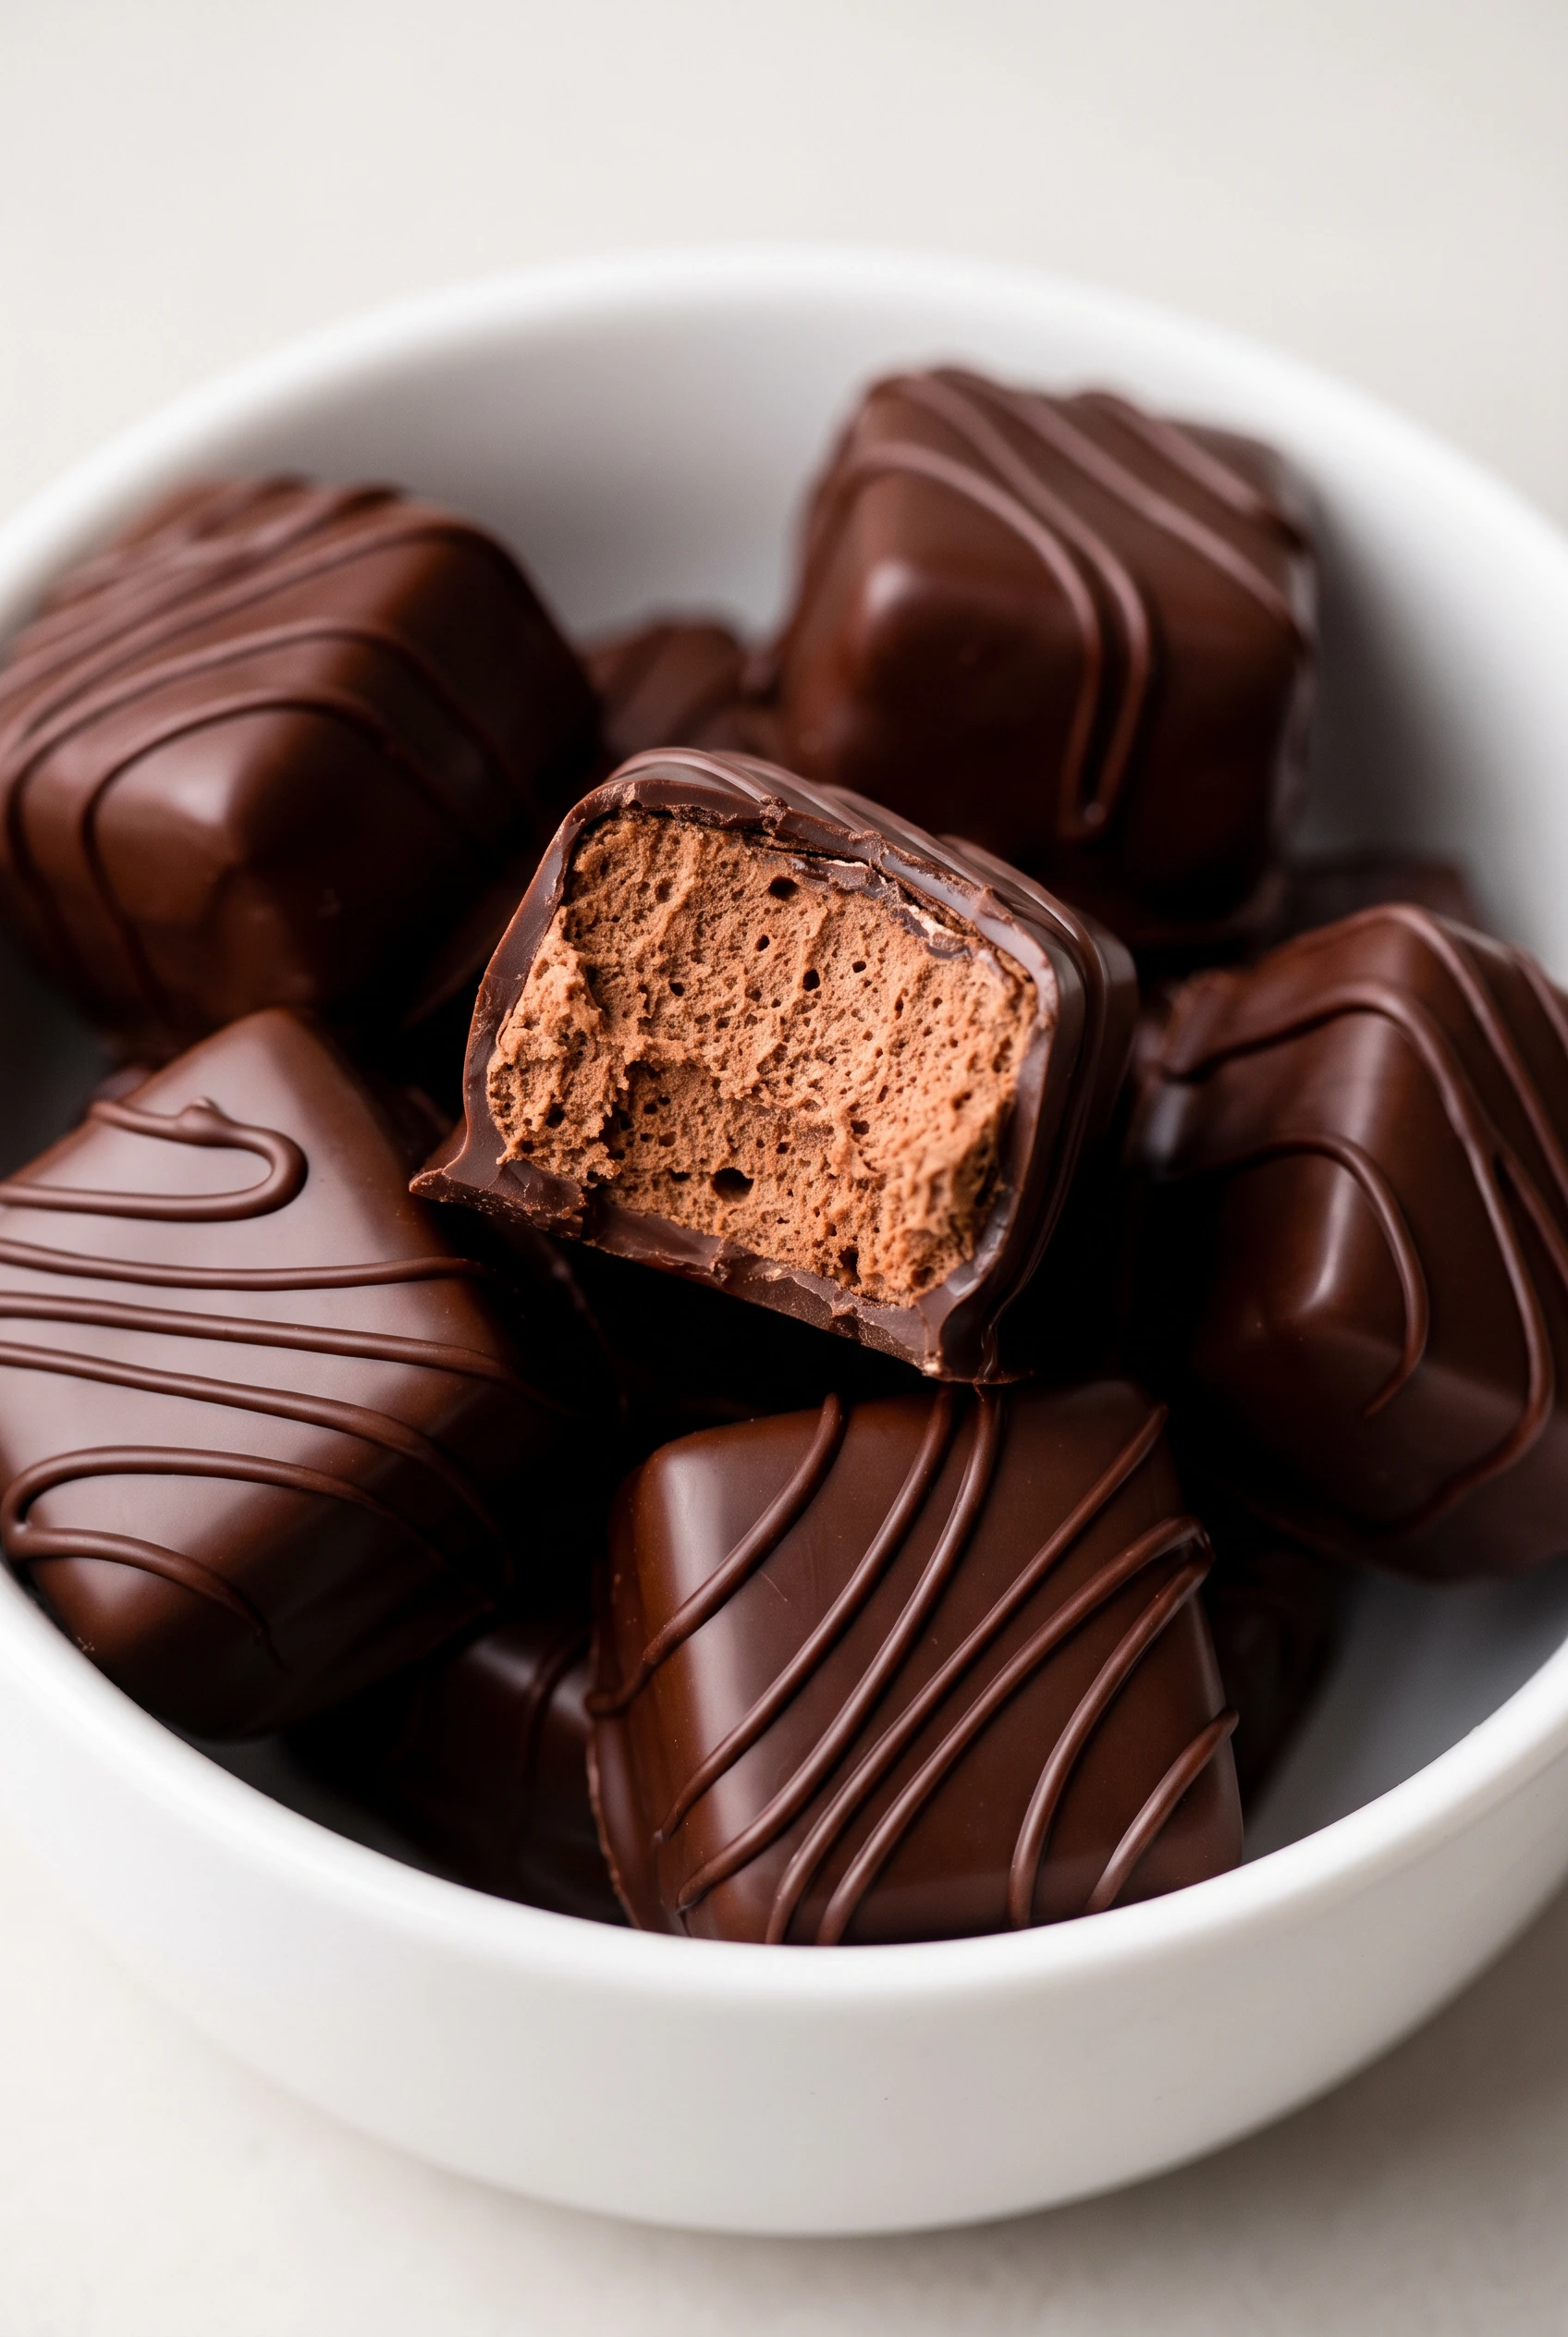
Cool Whip Candy
Ingredients
Equipment
Method
- Line an 8×8-inch, straight-sided baking pan with a piece of parchment paper. Be sure to leave enough of the parchment paper overhanging the edges of the pan to be able to fold it back over the top of the mixture while chilling and to make removal easier.
- Line a large baking sheet with a piece of parchment paper. Set aside.
- Add the broken pieces of semi-sweet baking bars to a large mixing bowl. Microwave on high for 1 minute, stir and heat for an additional 30 seconds. Keep heating in 30-second intervals until melted and smooth. Be sure to stir between heating times. You can also melt according to package directions.
- To the bowl of melted semi-sweet chocolate, add the thawed whipped topping.
- Using a handheld mixer on medium speed, beat the chocolate and whipped topping for 1 to 2 minutes or until thoroughly combined and smooth.
- Scoop the mixture into the prepared pan. Using a small offset spatula, smooth the top of the candy filling to ensure that you have a nice even layer. Fold the overhanging parchment paper over the top of the candy filling.
- Place the pan into the freezer for 1 hour to chill the Cool Whip candy filling.
- Once the candy filling has firmed up, you can remove it from the freezer. Using the overhanging sides of parchment paper, gently lift the candy filling out of the pan.
- Using a very sharp knife, slice the candy filling into 6 (approximately 1½-inch x 8-inch) strips. Cut each of those long strips in half, then each half into three pieces. You should have a total of 36 squares. Note: You will need to clean your knife with hot water after every few cuts to keep your cuts as clean as possible. The candy will get soft and sticky as it warms up.
- Once you have cut your Cool Whip candy, you will want to place it back into the freezer to stay cold while you melt your chocolate almond bark coating.
- To melt your chocolate almond bark coating, you will place it into a microwave-safe bowl and heat it on high for 1 minute. Stir, then heat in 30-second intervals until the chocolate is fully melted and smooth.
- Using a fork, dip, and coat one piece of Cool Whip candy, allowing any excess to drip off the bottom. You can gently tap your fork on the side of the bowl to allow the chocolate coating to drip evenly over the sides of the candy.
- Place the chocolate-coated Cool Whip candy onto the parchment paper-lined baking sheet. You can use a second fork or a toothpick to gently slide the candy off the fork and onto the parchment. Repeat until all the Cool Whip candy has been coated.
- Place the baking sheet of Cool Whip candy into the refrigerator for 15 minutes to allow the chocolate coating to firm up before serving.