
Buying three cans of pumpkin puree in a fit of autumnal optimism and watching my family start to ask questions is exactly what led to these pumpkin hand pies at 9 AM on a Tuesday. Making an entire traditional pie felt like a massive commitment, so I pivoted to individual pastries instead. I covered my black sweatpants in flour and dropped a blob of filling onto my slipper, but the house smelled incredible.
These hand pies deliver the comfort of pumpkin pie without slicing, sharing, or reaching for a fork. Chilled dough creates flaky layers, while maple icing adds a sweet finish that makes every pastry feel bakery-worthy. Here is exactly how I do it.
Why You’ll Love This Recipe
- No sharing required. You get your own personal pie, so nobody can judge you for eating the crust first.
- No soggy bottoms. These mini pumpkin pies to go give you more buttery, crisp crust in every bite.
- Make-ahead magic. You can freeze the pies before baking when you need a dessert at the last minute.
- Forgiving shape. The maple glaze covers uneven half-moons and minor sealing mistakes.
Tools You’ll Need
Nothing fancy, I promise.
- rolling pin To flatten out the dough. If you do not have one, a clean wine bottle absolutely works (I speak from experience).
- Baking sheets. Two sheets give the pies room to breathe and brown evenly.
- Pastry brush. Clean fingers can handle the egg wash in a pinch.
Ingredients
For the Crust
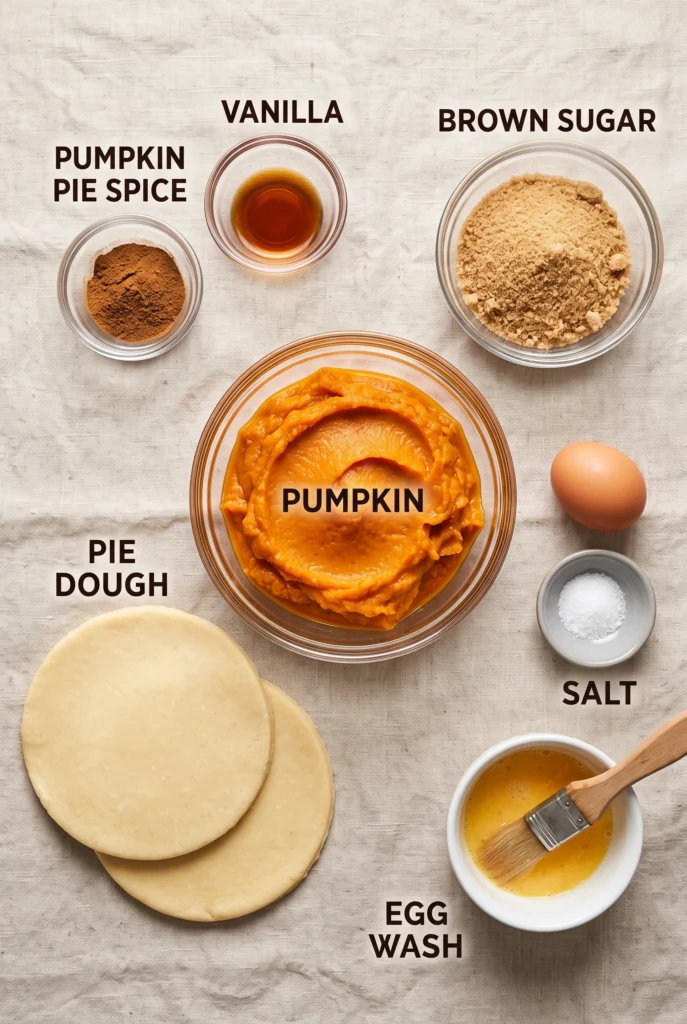
- 2 discs pie dough – Homemade is great, but store-bought is totally fine if you are tired. Just know it might not puff up quite as much.
- 1 large egg + 1 Tablespoon milk – This is your egg wash. It makes the crust shiny and golden, so do not skip it unless you want sad, pale pies.
For the Filling
- 1 1/4 cups pumpkin puree – Make sure it is plain puree, not pumpkin pie filling, or things will get aggressively sweet.
- 1 large egg – This binds the filling together so it does not completely erupt out of the crust.
- 6 Tablespoons brown sugar – Packed. The molasses gives it that deep, cozy flavor.
- 1 Tablespoon all-purpose flour – This is our thickener. It keeps the filling from turning into soup inside the dough.
- 1 teaspoon pumpkin pie spice – The MVP of autumn baking. If you are out, just mix cinnamon, ginger, nutmeg, and cloves.
- 1 teaspoon pure vanilla extract – Makes everything taste better, period.
- Pinch of salt – To balance out all the sugar.
For the Maple Icing
- 1 cup confectioners’ sugar – Also known as powdered sugar. Try not to inhale while measuring it.
- 3 Tablespoons pure maple syrup – Use the real stuff, not pancake syrup, for the best flavor.
- 1 Tablespoon milk – To thin out the icing. You might need a drop more if it is too thick.
- 1/2 teaspoon maple extract or vanilla extract – Maple extract makes it punchy, but vanilla is perfectly fine if you do not have it.
- Pinch of salt – Again, balance is everything.
How To Make Pumpkin Hand Pies
Do not let the dough intimidate you; even if they look a little rustic, they are going to taste incredible.
- Prep the dough: Roll out your chilled pie dough on a floured surface until it is about 1/8 to 1/4-inch thick. If it starts sticking to the counter and making you angry, just toss a little more flour underneath.
- Cut the circles: Use a 5-inch bowl turned upside down and trace around it with a knife to cut your circles. Re-roll the scraps to get as many as you can—if your last one is a weird Frankenstein shape, claim that one as your chef’s tax.
- Chill out: Put all those cut circles into the fridge for at least 15 minutes. Warm pie dough is a nightmare to fold, and skipping this step is a one-way ticket to frustration.
- Mix the filling: Whisk the pumpkin, egg, brown sugar, flour, spice, vanilla, and salt in a bowl. It is literally that simple, no mixer required.
- Stuff and seal: Spoon about 1.5 to 2 tablespoons of filling onto one half of a dough circle, fold it over, and crimp the edges tightly with a fork. If a little filling squishes out the side, wipe it away and pretend it never happened.
- Vent and wash: Brush the tops with your egg wash and cut two or three little slits in the top of each pie. This lets the steam escape so they do not explode in the oven like tiny pumpkin grenades.
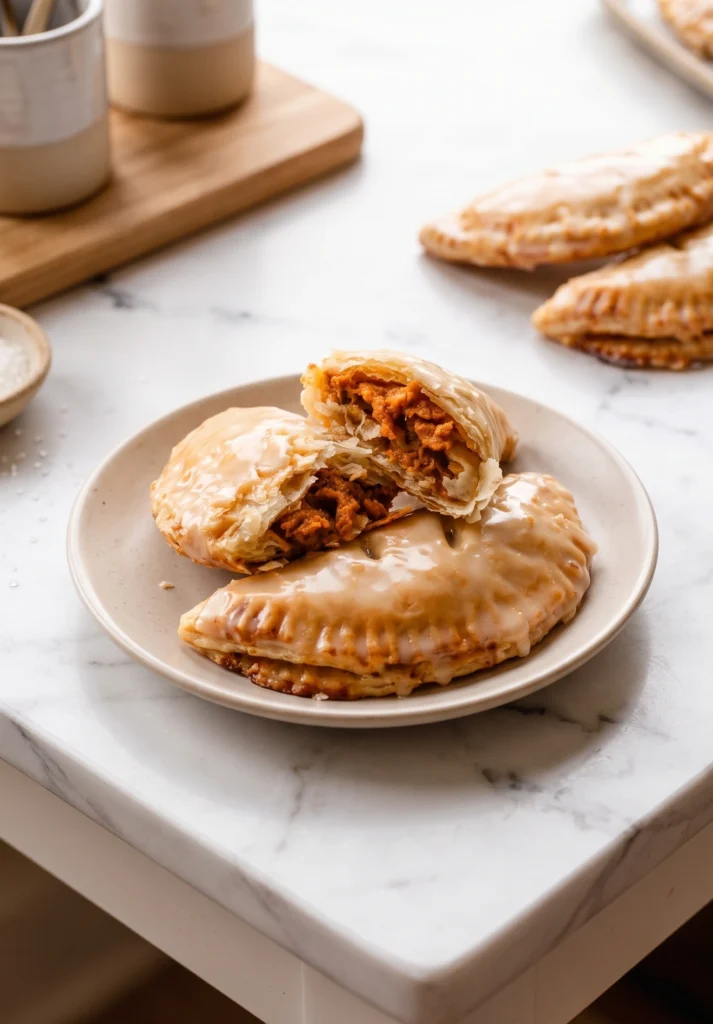
- Bake: Bake at 400 degrees Fahrenheit for 22 to 25 minutes until golden brown. Let them cool completely before you even think about icing them, or the glaze will just melt right off.
- Glaze them: Whisk the icing ingredients together and dip the tops of the cooled pies into the bowl. Place them on a rack to set, and enjoy your flaky pumpkin hand pies for fall.
♥ The Misfit Tips!
- Keep the dough freezing cold. Warm dough melts the butter and creates greasy pastry. You should refrigerate the dough whenever it becomes soft.
- Do not overfill the pies. A mountain of pumpkin filling looks tempting, but it pushes against the seams and leaks during baking.
- Blot watery pumpkin. You should press a paper towel gently against watery puree before mixing it into the filling.
Make It Yours
- You add chopped pecans to the filling for a nutty crunch.
- You replace the maple icing with vanilla glaze for a milder finish.
- You sprinkle coarse sugar over the egg wash before baking for a crisp topping.
- You add a little orange zest to the filling for a brighter fall flavor.
Perfect Pairings
These go perfectly with exactly zero utensils.
- A giant mug of black coffee balances the sweet maple glaze.
- A cold glass of milk gives children an easy pairing.
- Vanilla bean ice cream creates a messy but delicious plate when you serve a warm pie.
How to Store
❤
- Fridge: You store glazed pies in an airtight container for up to five days.
- Freezer: You freeze un-iced baked pies for up to three months. You thaw them overnight in the refrigerator.
- Reheat: You warm un-iced pies in a 350°F oven or toaster oven for 5 to 10 minutes.
- Storage note: You store glazed pies in a single layer because the maple icing becomes sticky when pastries touch.
Pumpkin Hand Pies
Ingredients
Equipment
Method
- Prepare either pie crust recipe through step 5. (Again, I use and recommend this all-butter pie dough.) The dough must chill for at least 2 hours in the refrigerator (or up to 5 days) before using.
- On a lightly floured work surface, roll out one of the discs of chilled dough (keep the other one in the refrigerator). Turn the dough about a quarter turn after every few rolls. At any sign of sticking, sprinkle some flour underneath, then keep rolling. Roll out until it’s about 1/8–1/4-inch thick. Place a bowl that’s about 5 inches in diameter upside down on the pie dough. (If you don’t have a bowl this size, cut a 5-inch circle from a piece of paper and use that as your guide.) Using a sharp knife, cut around the outside of the bowl. You should now have a 5-inch circle of pie crust. Repeat; re-rolling scraps as needed. Place cut circles on a plate/baking sheet in the refrigerator to keep cold. The colder the shaped dough, the easier it is to work with. Repeat with 2nd disc of pie dough and refrigerate all cut circles for at least 15 minutes before filling the hand pies. You should have about 12–16 circles in total.
- Meanwhile, preheat oven to 400°F (204°C). Line two large baking sheets with parchment paper or silicone baking mats.
- In a medium bowl, whisk together the pumpkin, egg, brown sugar, flour, pumpkin pie spice, vanilla extract, and salt until completely combined. (Makes about 1 and 1/2 cups of filling.)
- Spoon and spread filling, about 1.5–2 Tablespoons per hand pie, onto one half of each crust circle, leaving a 1/4-inch border around the edges. Fold the bare half of the circle over top of the filling to make a half-moon shape. Press your fingers all around the edges to seal, then crimp the pie crust edges with a fork. Place the hand pies on the prepared baking sheets. Lightly brush the tops of the pies with egg wash. Using a sharp knife, cut 2–3 slits in the tops, to vent steam. At this point the hand pies can be baked, but if they don’t feel cool to the touch anymore, refrigerate for at least 15 minutes and up to 1 hour before baking. The colder they are going into the oven, the better they’ll hold their shape. (After 15 minutes, they may begin to leak a little pumpkin liquid out of the sides. That’s completely normal and fine. Blot it with a paper towel before baking.)
- Bake for about 22–25 minutes or until they’re golden brown on top and around the edges. Halfway through baking, rotate the baking sheets from top to bottom/bottom to top. Remove from the oven and allow the hand pies to cool on the baking sheets for 5 minutes, then transfer to a cooling rack to cool until ready to handle.
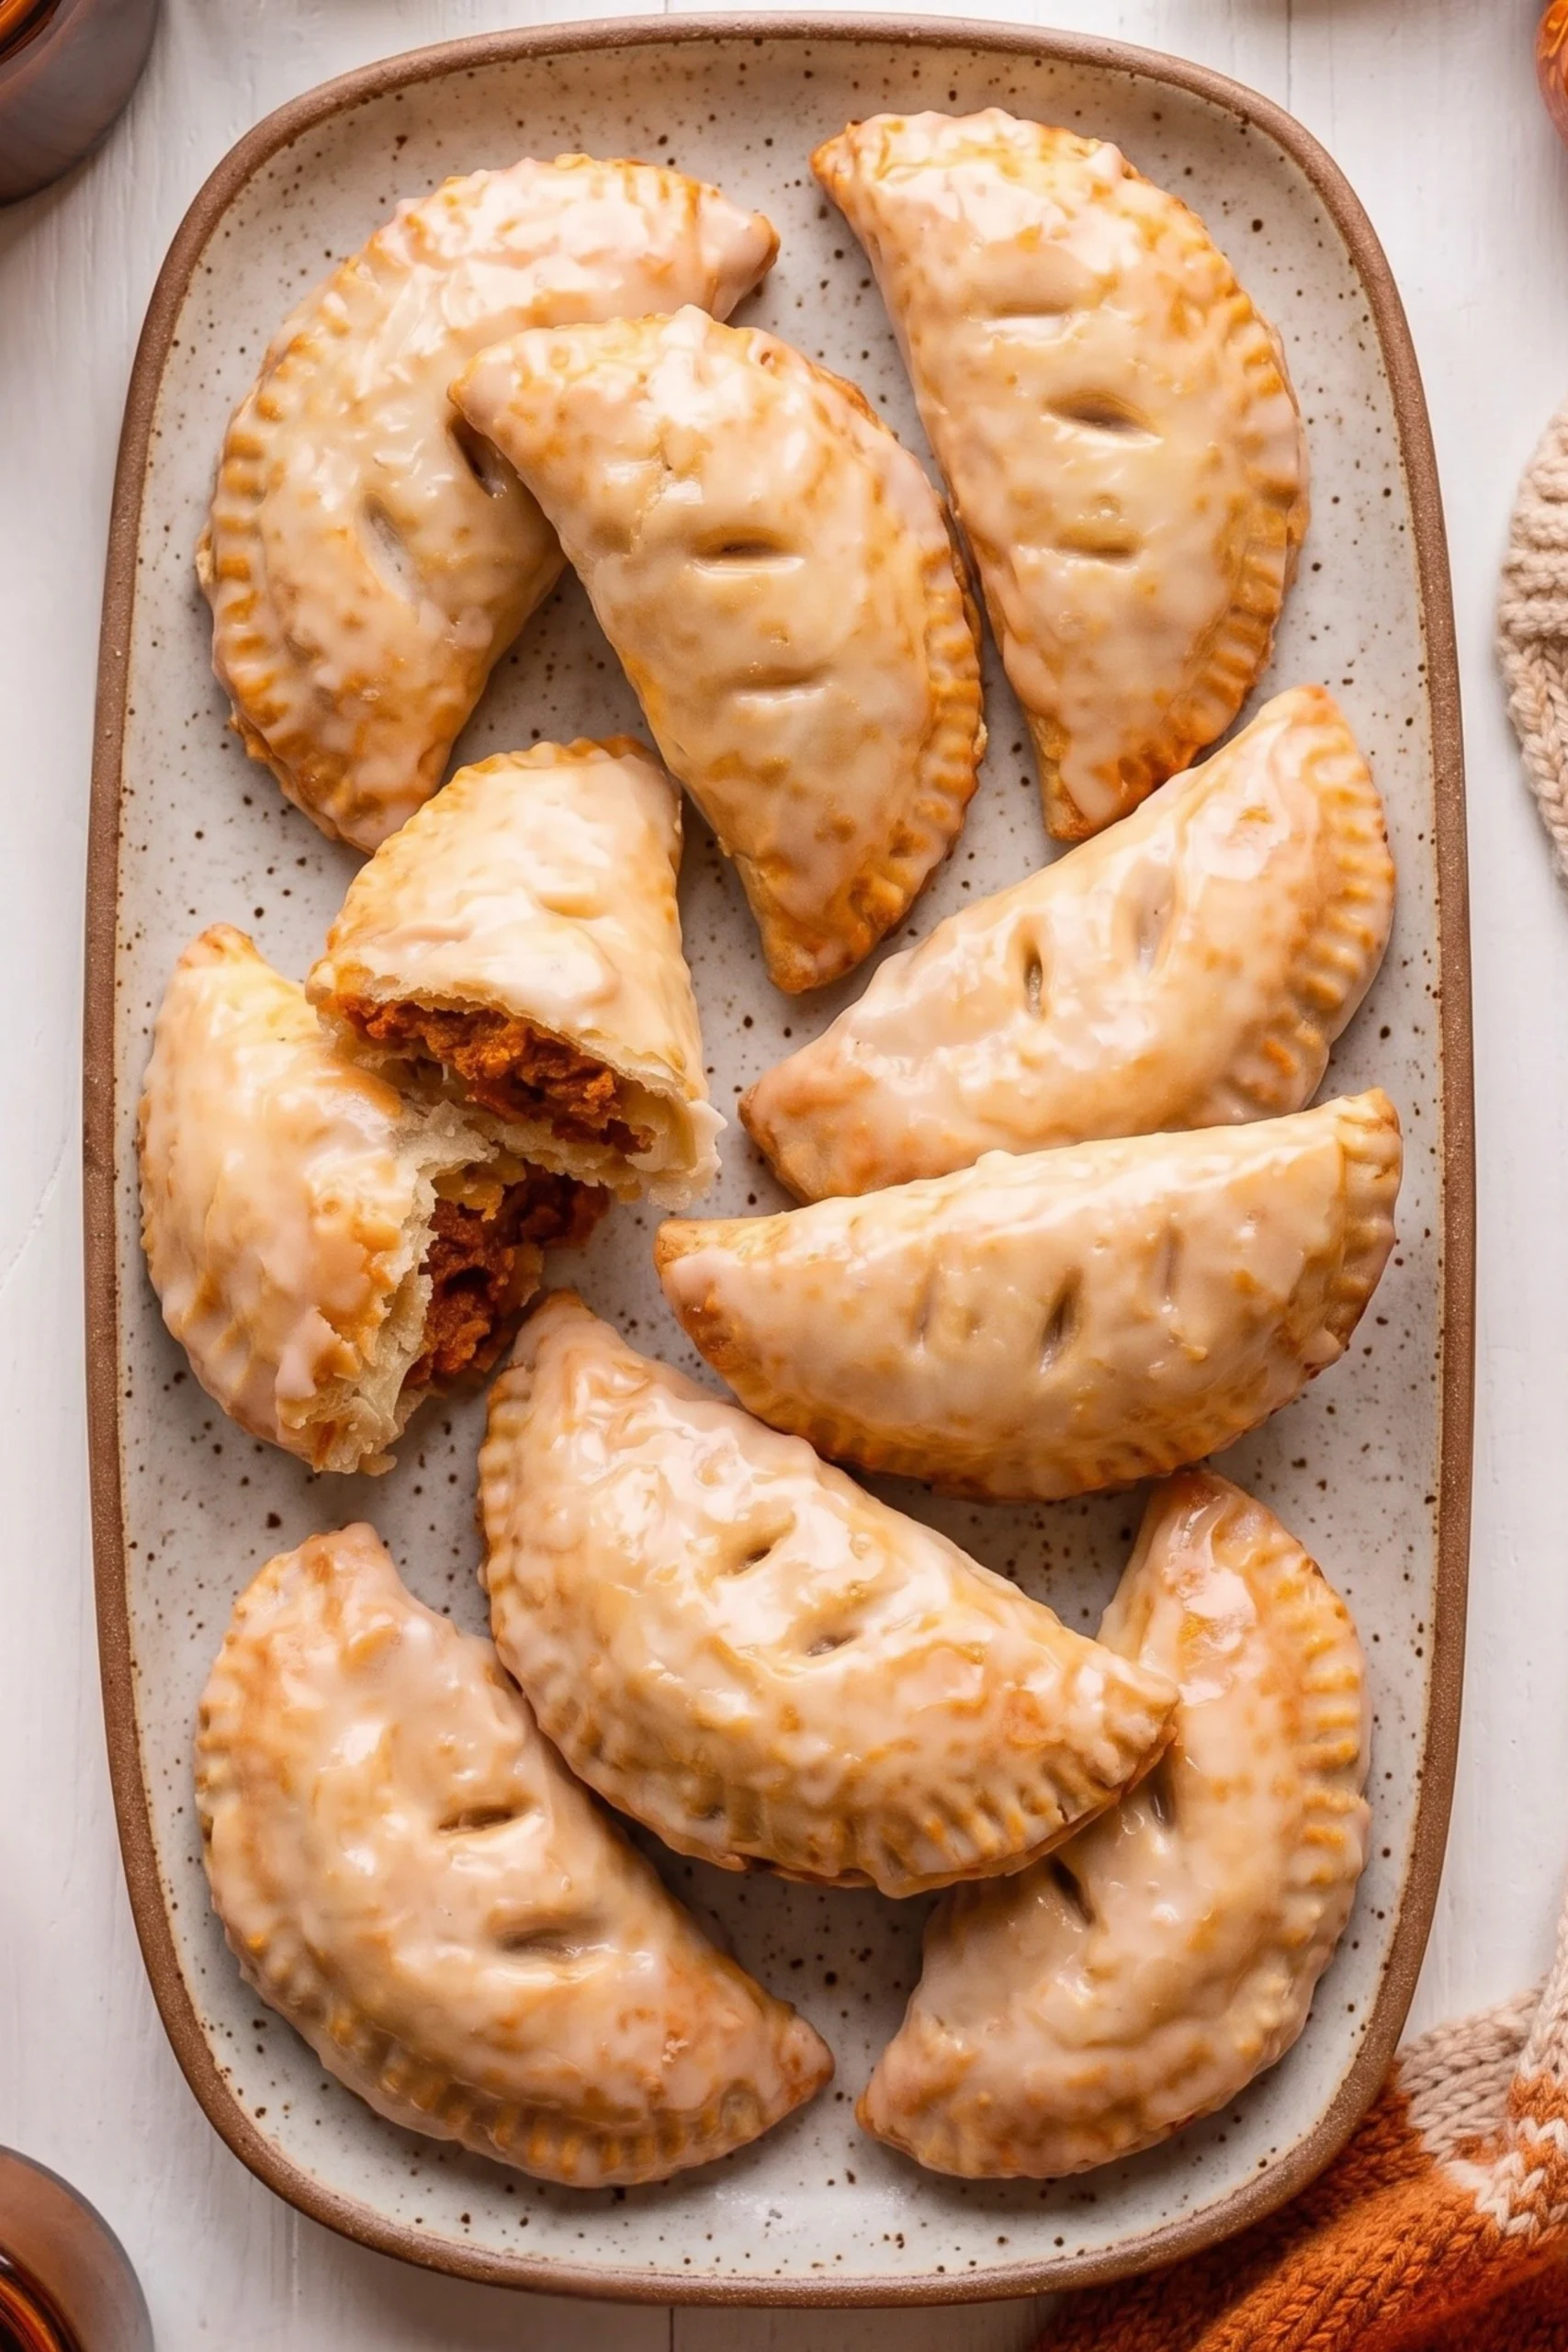
- In a medium bowl, whisk together the confectioners’ sugar, maple syrup, milk, maple or vanilla extract, and salt. When the hand pies are cool enough to handle, dip the tops of each into the icing. If the flaky layers of crust get stuck in the icing, switch to drizzling the icing on top instead of dipping. Place iced hand pies on a cooling rack set over a baking sheet or piece of parchment paper to catch drips. The icing will set in about 1 hour, but you can certainly enjoy the hand pies before that! Serve warm or at room temperature.
- Cover leftovers and store at room temperature for up to 1 day or in the refrigerator for up to 5 days.