
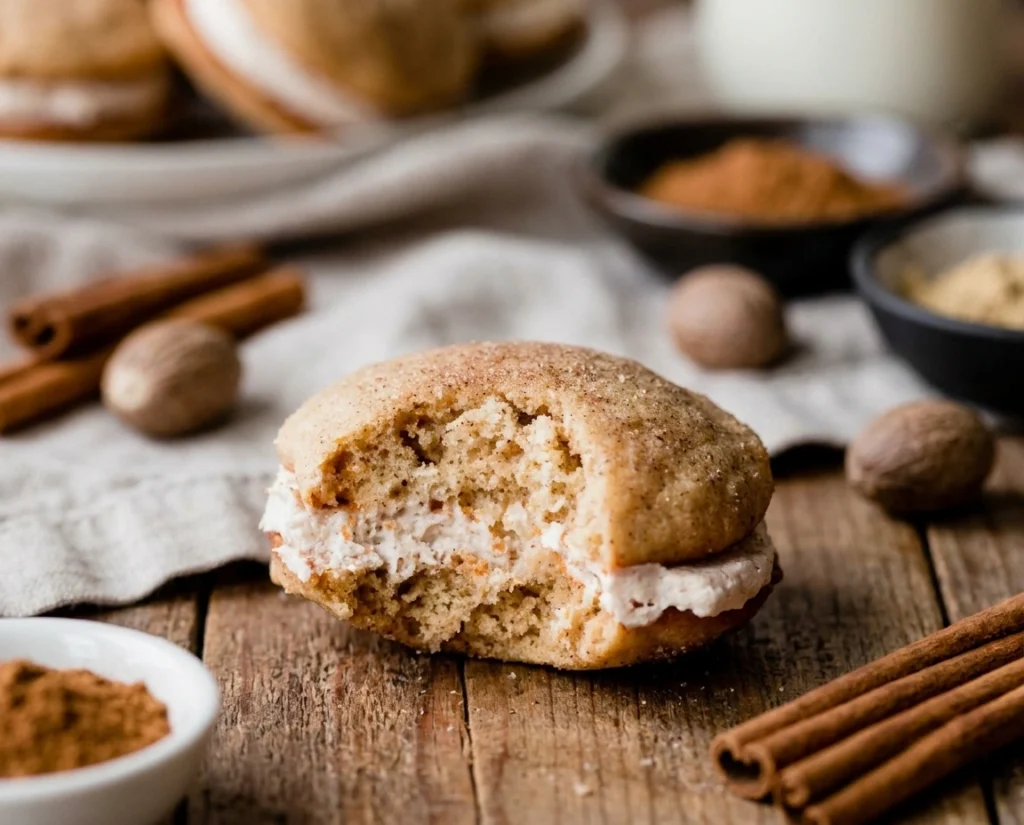
These Apple Whoopie Pies are a cozy fall treat made with soft, tender apple-spiced cakes and a smooth, creamy filling. Each bite brings together sweet apple flavor, warm cinnamon, and a rich filling for a dessert that feels homemade and comforting.
They are easy to make and perfect for fall gatherings, lunchbox treats, or a relaxed afternoon with coffee or tea. The individual sandwich-style cakes also make them easy to serve and share. If you love classic apple desserts, these whoopie pies are a fun and delicious way to enjoy those familiar flavors in a new form.Apple Cider Whoopie Pies
Why You’ll Love This Recipe
- No chilling required. You can mix, scoop, bake, and assemble without waiting for cookie dough to firm.
- Intense spice flavor. Reducing actual cider creates a concentrated apple taste instead of vague cinnamon air.
- Forgiving texture. Even slightly overmixed batter still creates soft, puffy cake-cookie rounds.
- Better the next day. The cookies absorb a little moisture from the filling and become softer overnight.
- Easy to serve. These easy fall dessert whoopie pies work well for potlucks, bake sales, and holiday tables.
Tools You’ll Need
Nothing fancy, I promise.
- medium cookie scoop Because trying to eyeball identical mounds of sticky batter with two spoons is a fool’s errand.
- Small saucepan. The saucepan reduces the cider into a concentrated syrup.
- Hand mixer or stand mixer. A mixer creams the butter and creates smooth filling.
- Parchment paper. Parchment prevents sticky batter from attaching to the baking sheets.
Ingredients
For the Cookies
- 2 cups (480ml) apple cider – Do not use apple juice, it is entirely too watery and lacks the spice profile.
- 3 cups (375g) all-purpose flour (spooned & leveled) – Seriously, spoon it into the cup or you will end up with dense hockey pucks.
- 1 teaspoon baking powder – Check the expiration date, do not use the one from three years ago.
- 1/2 teaspoon baking soda – Helps them puff up perfectly in the oven.
- 1 and 1/2 teaspoons ground cinnamon – The star of the show.
- 1/2 teaspoon ground ginger – Adds a really nice warm kick to the background.
- 1/2 teaspoon ground nutmeg – Freshly grated if you are fancy, out of the plastic jar if you are me.
- 1/2 teaspoon salt – Essential to keep the sweetness in check.
- 1/2 cup (8 Tbsp; 113g) unsalted butter, softened to room temperature – Softened, not microwaved into a sad puddle.
- 3/4 cup (150g) granulated sugar – Standard white sugar.
- 1/4 cup (50g) packed light or dark brown sugar – Either one works, just pack it tightly in the cup.
- 2 Tablespoons (30ml) vegetable oil (or melted coconut oil) – This is the secret to keeping the cakes incredibly moist.
- 3/4 cup (180g) unsweetened applesauce, at room temperature – Cold applesauce will instantly seize your softened butter, so let it sit out a bit.
- 2 large eggs, at room temperature – Patience is hard but necessary here.
- 1 teaspoon pure vanilla extract – The real stuff if you have it.
- optional: cinnamon sugar for topping (see note) – Technically optional, but skipping it is a crime against fall baking.
For the Spiced Buttercream Filling
- 3/4 cup (12 Tbsp; 170g) unsalted butter, softened to room temperature – If you want to make apple spice whoopie pies with cream cheese filling, just substitute half this butter with block cream cheese.
- 4 cups (480g) confectioners’ sugar – Sift it if it looks clumpy, otherwise you will be chewing on sugar gravel.
- 1/2 teaspoon ground cinnamon – More spice!
- 1/8 teaspoon ground nutmeg – Just a tiny dash.
- 1/8 teaspoon ground ginger – For that bakery-style flavor profile.
- 3 Tablespoons (45ml) apple cider (or milk) – Unreduced cider is totally fine here.
- 1 teaspoon pure vanilla extract – Flavor enhancer.
- pinch of salt – Crucial for frosting so it isn’t cloyingly sweet.
How To Make Apple Whoopie Pies
Set aside a little time for the cider reduction, and try not to panic when the batter looks like a curdled mess halfway through.
- Reduce the apple cider: Stirring occasionally, boil the apple cider in a small saucepan over medium-high heat until you’re left with 1/2 cup. Start checking at 15 minutes, 20 minutes, 25 minutes, etc until you have 1/2 cup (120ml). Mine takes about 25 minutes. Cool for 10 minutes before using in step 4. You can even reduce the apple cider the day ahead of time. Cover and refrigerate overnight, then bring to room temperature before using. Do not walk away and start watching TV, or you will burn the cider to the bottom of your pan and ruin your day.
- Prep your pans: Preheat oven to 350°F (177°C). Line baking sheets with parchment paper or silicone baking mats. Set aside. Parchment paper is your best friend here; do not risk these sticky guys on a bare metal pan.
- Mix the wet and dry separately: Whisk the flour, baking powder, baking soda, cinnamon, ginger, nutmeg, and salt together in a large bowl. In another large bowl using a hand mixer or a stand mixer fitted with a paddle attachment, beat the butter, granulated sugar, and brown sugar together on medium-high speed until creamed, about 1 minute. Add the oil, applesauce, eggs, and vanilla extract and beat on high speed until combined, about 1-2 minutes. The mixture will look curdled as a result of the varying textures trying to combine. This is OK and it will come together when you add the dry ingredients. Scrape down the sides and up the bottom of the bowl and beat again as needed to combine. The batter looking like a curdled disaster is totally normal, I promise it fixes itself.
- Combine the batter: Add the dry ingredients to the wet ingredients, pour in the 1/2 cup of reduced apple cider, then mix on low until completely combined. Batter will be thick and creamy. Mix on low speed just until combined—if you overmix, you get tough cakes instead of soft cinnamon whoopie pies.
- Scoop the dough: Using a medium cookie scoop, scoop mounds of batter, about 1 and 1/2 Tablespoons each, onto prepared baking sheets about 3 inches apart. If desired, sprinkle each with cinnamon sugar. See recipe note. Giving them enough space is crucial unless you want one giant mega-cookie.
- Bake and cool: Bake the cookies for 12-14 minutes or until the edges are very lightly browned and the tops spring back when lightly touched. Mine usually take 13 minutes. Remove from the oven and allow cookies to cool on the baking sheet for 5 minutes before transferring to a wire rack to cool completely. Make the filling as they cool. They should spring back when lightly touched; if you leave an indent, they need another minute.
- Whip the filling: Make the filling: In a large bowl using a handheld or stand mixer fitted with a paddle attachment, beat the butter on high speed until completely smooth and creamy, about 2 minutes. Add the confectioners’ sugar, cinnamon, nutmeg, ginger, apple cider, and vanilla extract, then beat on medium speed until combined. Taste. Add a pinch of salt if desired (I always do). Add another Tablespoon of apple cider if needed to thin out or more spices if desired for extra flavor. If you are wondering how to turn these into cream cheese filling whoopie pies, just swap half the butter for full-fat block cream cheese in this step.
- Assemble the sandwiches: Pair the cookies up based on their size. Spread or pipe (I used Wilton 1A piping tip) the frosting onto the flat side of one cookie and sandwich with the other. Repeat with remaining cookies. Serve. Match up the cookies by size before you frost them, otherwise you end up with lopsided sandwiches that slide apart when you bite them.
- Store for later: Cover leftover whoopie pies and store in the refrigerator for up to 1 week. They are EXCELLENT on day 2 because the flavor intensifies overnight. The waiting is hard, but eating one cold the next morning with coffee is a religious experience.
♥ The Misfit Tips!
- Do not skip the reduction. Reduced cider supplies the soul of the apple flavor.
- Cool the syrup before mixing. Hot cider can disrupt the eggs and softened butter.
- Use the oil swap carefully. Vegetable oil creates the softest texture, while melted coconut oil can firm up in a cold kitchen.
- Enjoy the day-two magic. The filling softens the cookie cakes and intensifies the spices.
- Match the cookies by size. Similar halves create sandwiches that sit evenly.
Make It Yours
- Replace half the butter with full-fat brick cream cheese for apple spice whoopie pies with cream cheese filling.
- Add finely chopped walnuts to the batter for crunch.
- Drizzle caramel over the assembled sandwiches.
- Sprinkle cinnamon sugar over the tops before serving.
- You replace the buttercream with maple cream cheese frosting.
Perfect Pairings
These go perfectly with a giant mug of black coffee.
- Warm apple cider doubles down on the seasonal flavor.
- A cold glass of milk provides the obvious pairing.
- A Thanksgiving dessert table gives these apple spice whoopie pies with cream cheese filling a perfect audience.
- A quiet evening lets you eat one cold from the refrigerator.
How to Store
❤
- Fridge: Store assembled whoopie pies in an airtight container for up to one week.
- Freezer: Freeze individually wrapped whoopie pies for up to three months.
- Reheat: Do not reheat the sandwiches because the filling will melt.
- Storage note: Cinnamon sugar may soften in the refrigerator, but the flavor remains strong.
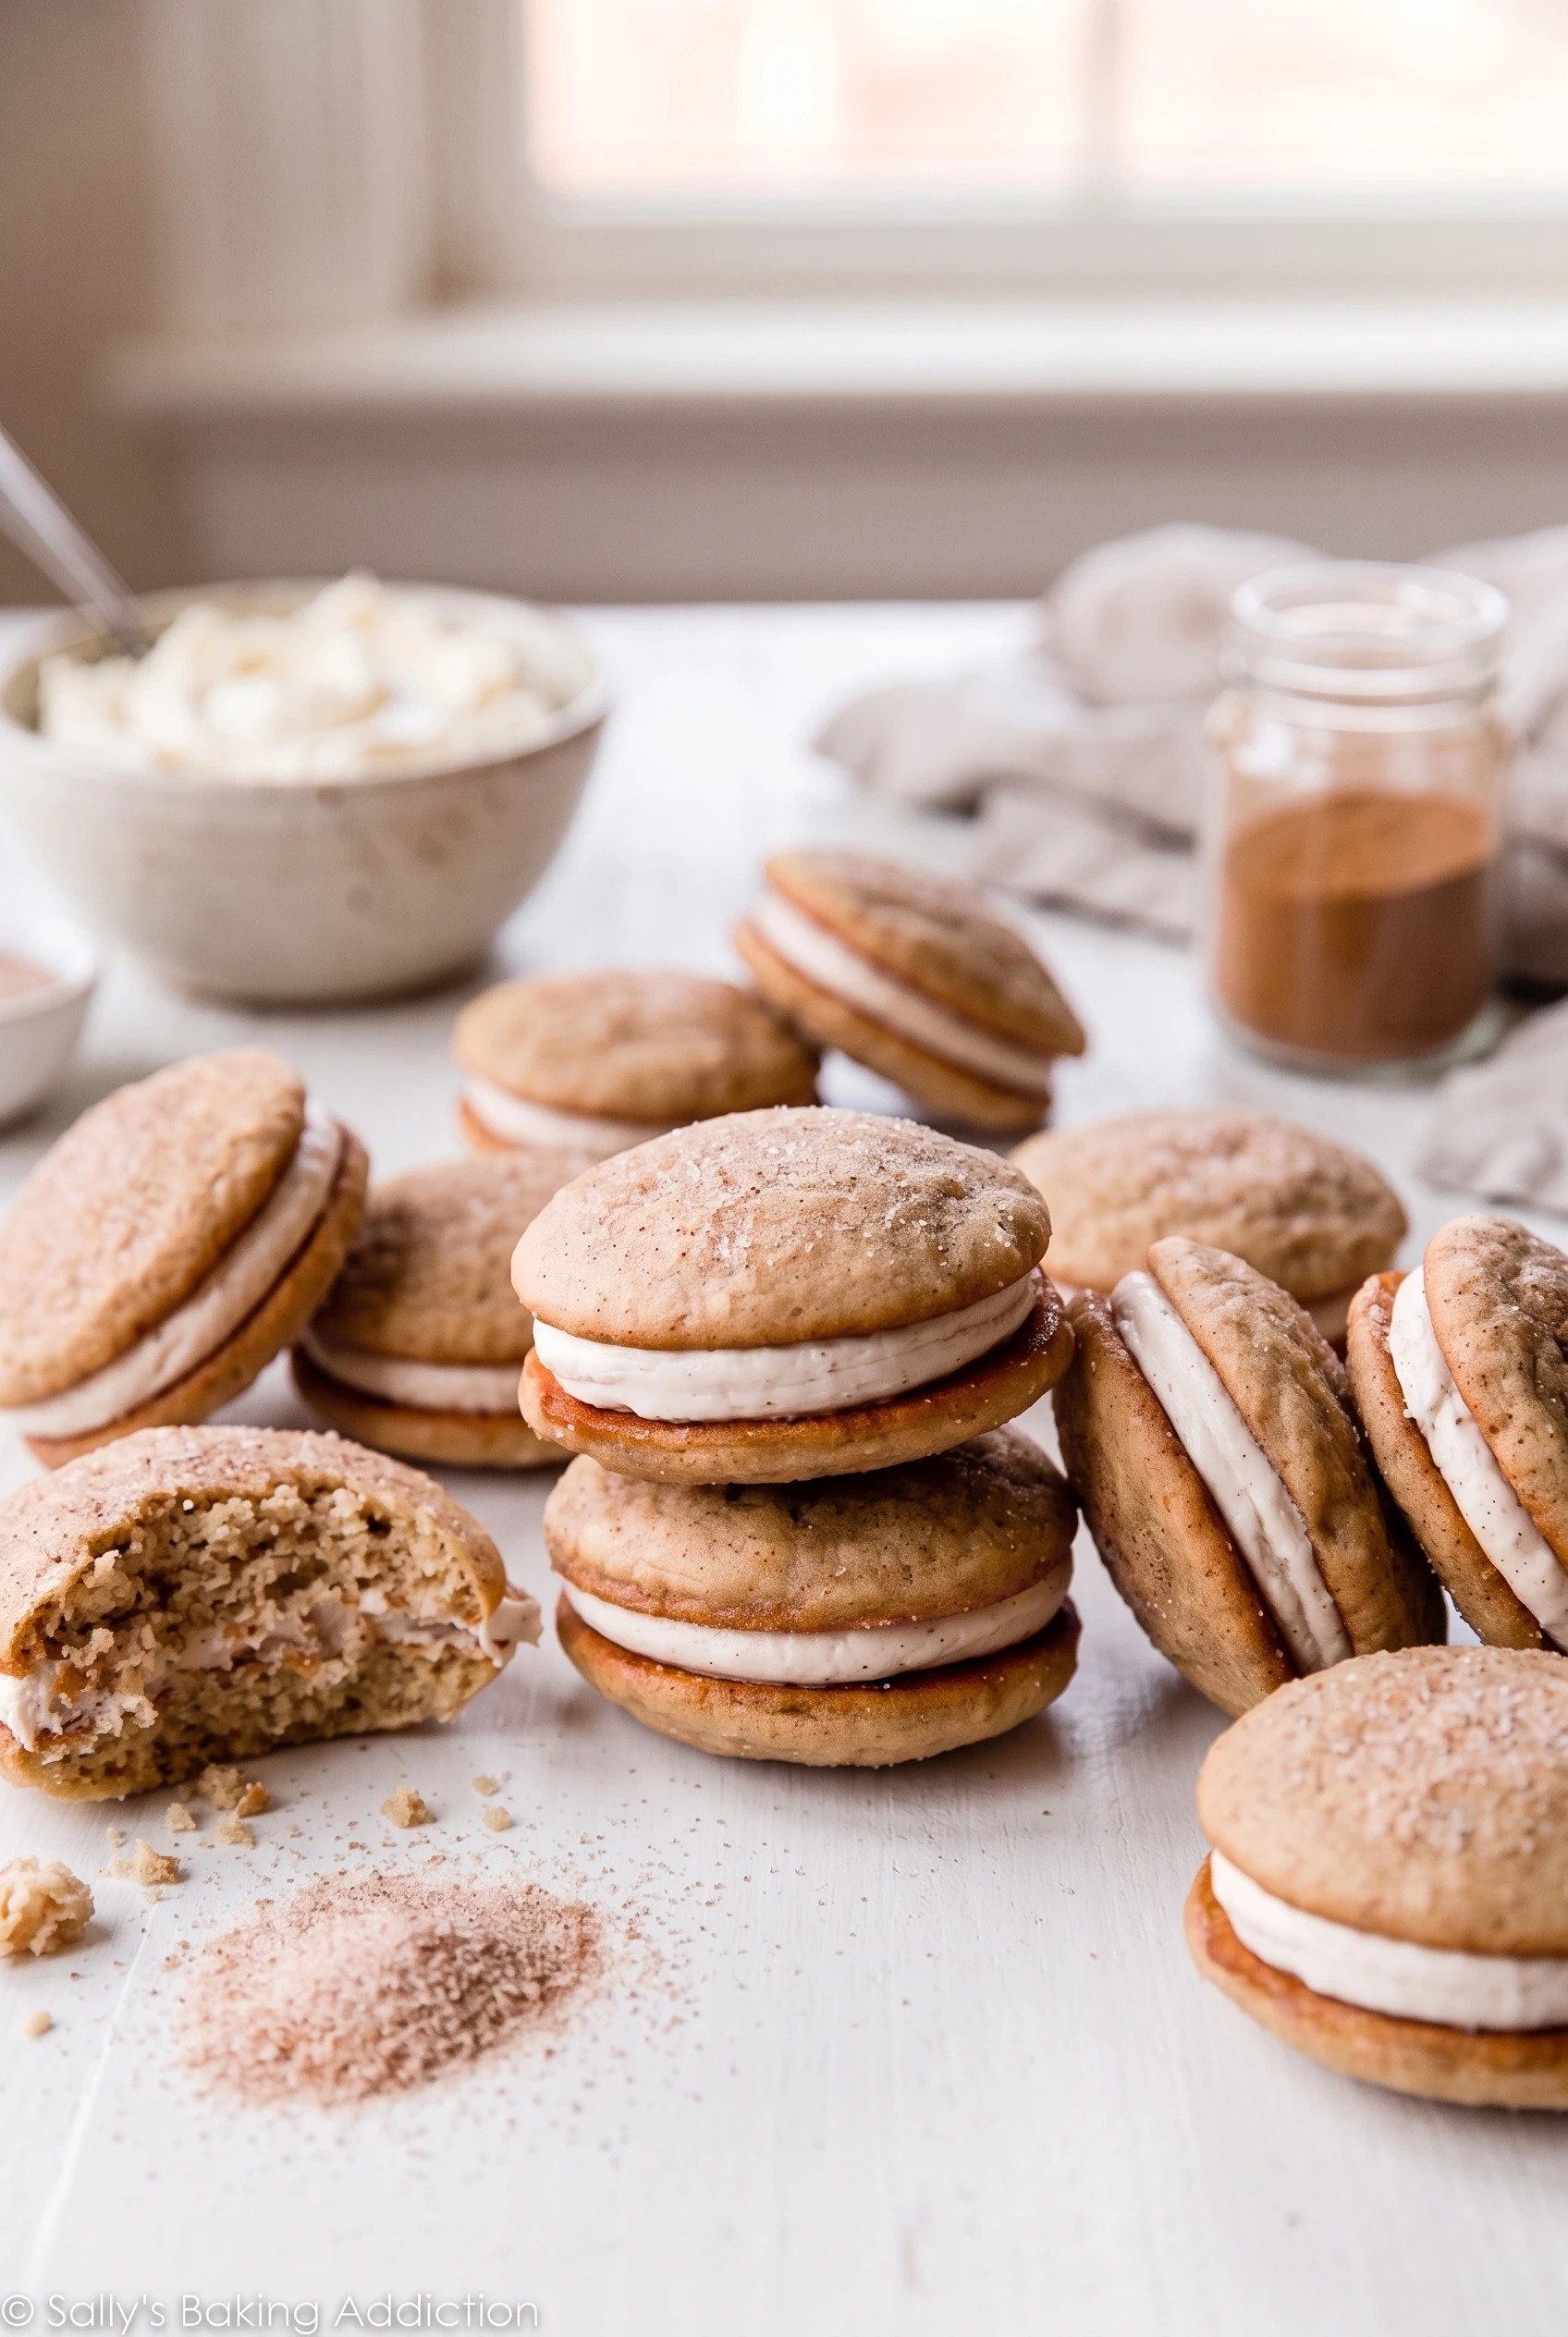
Apple Cinnamon Spice Whoopie Pies
Ingredients
Equipment
Method
- Stirring occasionally, boil the apple cider in a small saucepan over medium-high heat until you’re left with 1/2 cup. Start checking at 15 minutes, 20 minutes, 25 minutes, etc until you have 1/2 cup (120ml). Mine takes about 25 minutes.
- Cool for 10 minutes before using in step 4. You can even reduce the apple cider the day ahead of time. Cover and refrigerate overnight, then bring to room temperature before using.
- Preheat oven to 350°F (177°C). Line baking sheets with parchment paper or silicone baking mats. Set aside.
- Whisk the flour, baking powder, baking soda, cinnamon, ginger, nutmeg, and salt together in a large bowl. In another large bowl using a hand mixer or a stand mixer fitted with a paddle attachment, beat the butter, granulated sugar, and brown sugar together on medium-high speed until creamed, about 1 minute.
- Add the oil, applesauce, eggs, and vanilla extract and beat on high speed until combined, about 1-2 minutes.
- The mixture will look curdled as a result of the varying textures trying to combine. This is OK and it will come together when you add the dry ingredients.
- Scrape down the sides and up the bottom of the bowl and beat again as needed to combine.
- Add the dry ingredients to the wet ingredients, pour in the 1/2 cup of reduced apple cider, then mix on low until completely combined. Batter will be thick and creamy.
- Using a medium cookie scoop, scoop mounds of batter, about 1 and 1/2 Tablespoons each, onto prepared baking sheets about 3 inches apart. If desired, sprinkle each with cinnamon sugar. See recipe note.
- Bake the cookies for 12-14 minutes or until the edges are very lightly browned and the tops spring back when lightly touched. Mine usually take 13 minutes. Remove from the oven and allow cookies to cool on the baking sheet for 5 minutes before transferring to a wire rack to cool completely. Make the filling as they cool.
- In a large bowl using a handheld or stand mixer fitted with a paddle attachment, beat the butter on high speed until completely smooth and creamy, about 2 minutes.
- Add the confectioners’ sugar, cinnamon, nutmeg, ginger, apple cider, and vanilla extract, then beat on medium speed until combined. Taste. Add a pinch of salt if desired (I always do). Add another Tablespoon of apple cider if needed to thin out or more spices if desired for extra flavor.
- Pair the cookies up based on their size. Spread or pipe (I used Wilton 1A piping tip) the frosting onto the flat side of one cookie and sandwich with the other. Repeat with remaining cookies. Serve.
- Cover leftover whoopie pies and store in the refrigerator for up to 1 week. They are EXCELLENT on day 2 because the flavor intensifies overnight.