
Standing in the pantry at two on a random Tuesday, aggressively shaking an empty bag of store-bought brownie brittle into my mouth for stray crumbs, is exactly what led to this homemade version. The craving for crispy, chocolatey edges felt undeniable, but leaving the house required putting on real pants first.
Figuring out how to make this brownie brittle from scratch using whatever sat in the baking drawer felt like a long shot at best. A burnt chocolate puddle seemed like the likely outcome, but the thin, crackly batter actually worked on the first try. This recipe delivers the best part of a brownie without any competition for the corner pieces. Here is exactly how I do it.
reader review
“Crispy Crispy and Crispy. I spread the batter paper thin exactly like the recipe says and every single piece snapped perfectly instead of turning chewy. My husband caught me hiding the container in the back of the pantry and demanded his own batch. Thank you Thank you Thank you!!!!!” – Corinne V.
Loved this too? Add your reviewWhy You’ll Love This Recipe
- Edge lovers rejoice. An entire pan of the best part of the brownie means zero fighting over corner pieces.
- Ridiculously fast. This homemade brownie brittle comes together faster than a drive to the store.
- Pantry friendly. Every single ingredient probably sits in the cupboard right now.
- Zero fuss. Spreading a thin layer of batter on a pan and hoping for the best sums up the entire process.
Tools You’ll Need
Nothing fancy, I promise.
- half sheet pan – You need a large rimmed baking sheet so the batter can spread out thin enough to actually get crispy.
- Parchment paper. Skipping this step means chiseling baked chocolate off the pan for three days.
- Offset spatula. Spreading the batter paper-thin works best with this tool, though a butter knife works in a pinch
Ingredients
- 1/2 cup melted butter – Because everything good in life starts here.
- 1 cup granulated sugar – To get that signature crisp texture.
- 2 large egg whites – Save the yolks for something else, or just accidentally drop them down the drain like I usually do.
- 1 teaspoon vanilla extract – The cheap stuff is fine, we are not running a bakery.
- 1/3 cup cocoa powder – Unsweetened, regular or Dutch-processed both work.
- 1/2 cup all-purpose flour – Just enough to hold it all together.
- 1/2 cup chocolate chips – Essential for making true brownie brittle chocolate chip flavor.
Instructions
Spread it thin, bake it slow, and try not to eat the entire pan while it is still hot.
- Prep the pan: Preheat your oven to 325°F and line a large baking sheet with parchment paper. If you forget the parchment, you will be eating chocolate shards scraped off aluminum with a spoon.
- Mix the wet ingredients: In a medium bowl, whisk together the melted butter and sugar until combined. It might look a little grainy, which is completely fine and normal.
- Add the egg whites: Stir in the egg whites and vanilla, whisking vigorously until the mixture smooths out. This takes some elbow grease, consider it your arm workout for the day.
- Add the dry ingredients: Fold in the cocoa powder and flour until just combined. Do not overmix this, or you will end up with tough crackers instead of delicate brittle.
- Spread it out: Pour the batter onto the prepared pan and spread it as thin as humanly possible. If there are a few bare spots where the paper shows through, that is between you and the spatula, nobody else needs to know.
- Add the chocolate: Sprinkle the chocolate chips evenly over the top, sneaking a few for yourself because you are the chef.
- Bake and cool: Bake for 25 minutes until the edges are firm and the center looks dry. It will continue to crisp up as it cools, so do not panic if it feels slightly soft when you pull it out.
♥ The Misfit Tips!
- Spread it thinner than feels right. Leaving the batter too thick in the middle once produced a weird, chewy fruit-leather texture instead of crisp brittle. A spatula dragged until the layer looks paper-thin fixes this every time.
- Let it cool completely on the pan. Snapping the brittle while still warm once left behind a fistful of chocolate mush. A full 30 minutes of cooling sets the crunch properly.
- Add flaky sea salt. A sprinkle right before baking turns this into a genuinely fancy artisan brownie brittle recipe with almost no extra effort.
Make it yours
- Nutty version. You scatter chopped almonds or pecans over the batter along with the chocolate chips for extra crunch.
- Espresso version. You stir a teaspoon of instant espresso powder into the dry ingredients for a deeper chocolate flavor.
Perfect Pairings
This brownie brittle suits two specific pairings particularly well.
- Crumbled over a bowl of vanilla ice cream, it turns a plain dessert into something that looks fancy.
- A giant mug of coffee on a Tuesday morning pairs perfectly with a chocolate fix like this.
How to Store Brownie Brittle
❤
- Fridge. You skip the fridge entirely, since moisture ruins the crunch and turns the brittle into sad chocolate cardboard.
- Freezer. You store this in an airtight container or zip-top bag for up to three months, eating it straight from the freezer if the craving hits.
- Reheat. No reheating step applies here, since this snack tastes best at room temperature.
- Storage note. You keep it sealed tightly in a container on the counter, since humid kitchens are the enemy of crispy brownie brittle.
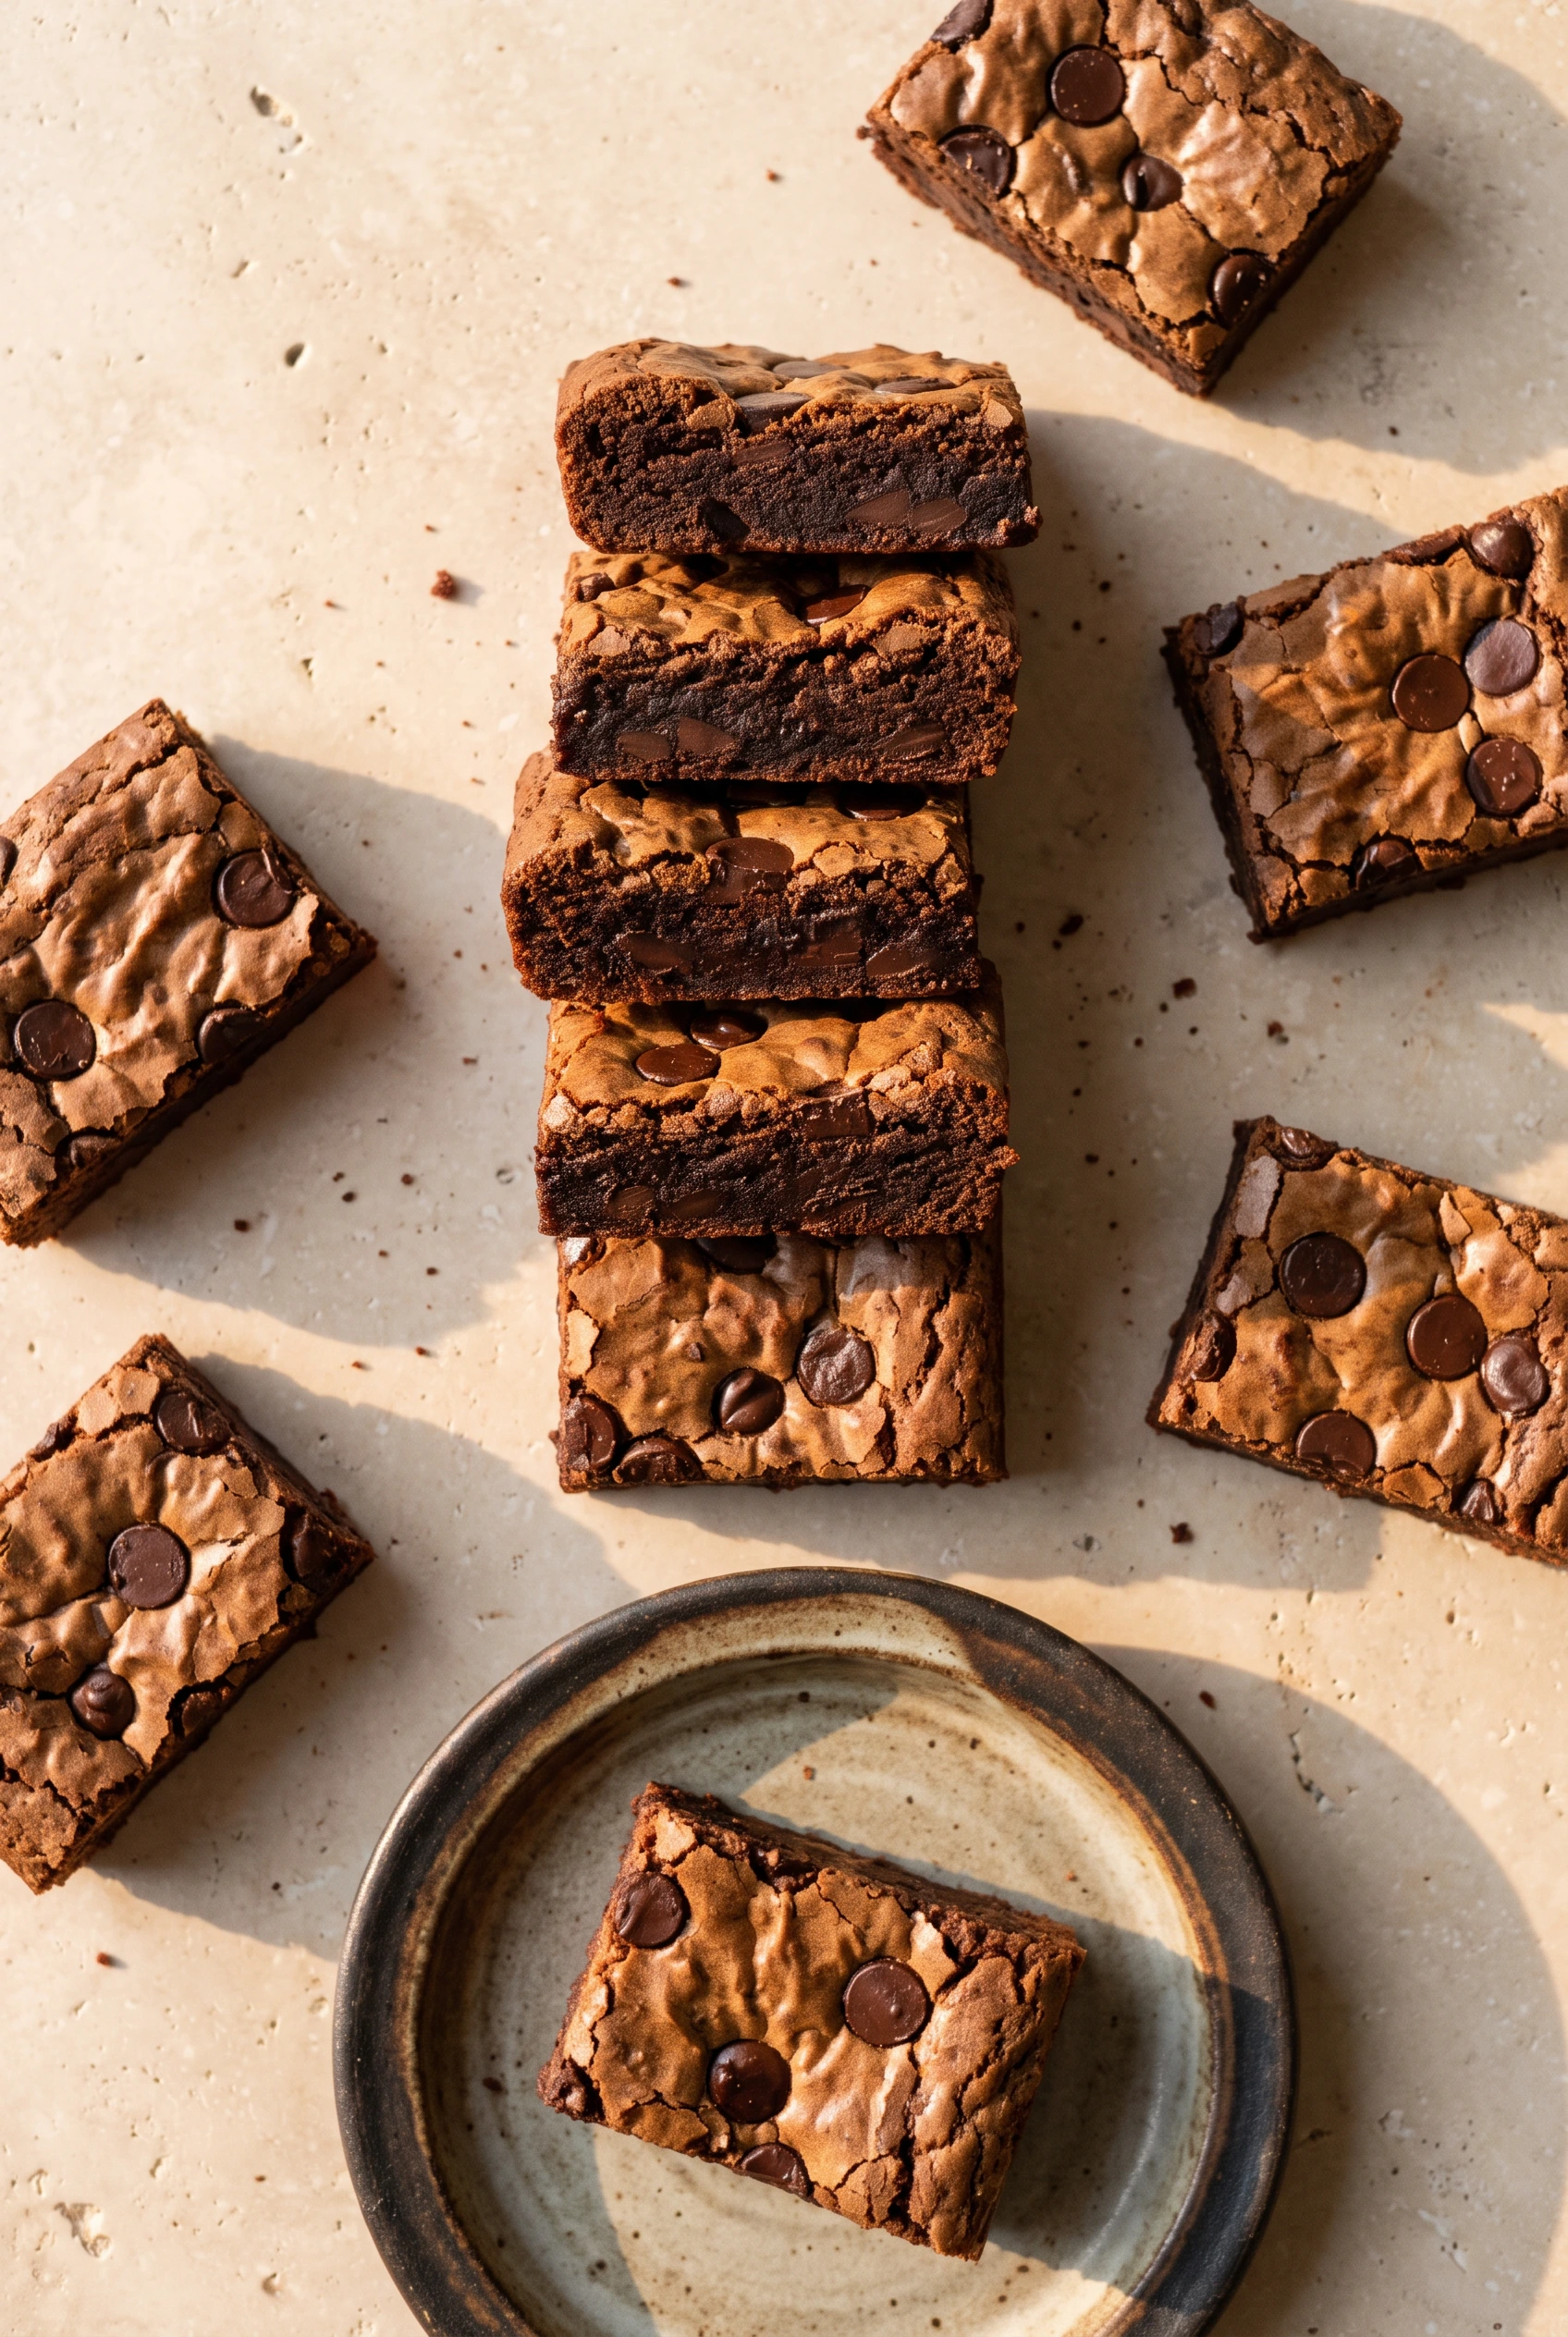
Brownie Brittle
Ingredients
Equipment
Method
- Preheat the oven to 325°F. Line a baking sheet with lightly-greased parchment or with nonstick aluminum foil.
- In a small bowl, whisk together the flour, salt, and baking soda. Set the mixture aside.
- In a medium bowl, working with a whisk or an electric mixer, beat the egg whites until foamy. While whisking, gradually stream in the sugar; continue to whisk until the mixture is very shiny and falls back into the bowl in thick trails that stay suspended on the surface (“ribbon stage”).
- Add the cocoa powder, espresso powder, oil, and vanilla, beating until smooth. Whisk in the flour mixture until no dry streaks remain.
- Transfer the batter to the prepared pan and spread it into a rectangle about 10″ x 13″. Sprinkle the chocolate chips evenly atop the batter.
- Bake the brownie brittle for 20 minutes. Remove it from the oven, and cut it into squares using a knife, bench knife, or rolling pizza wheel; don’t separate the pieces.
- Return the pan to the oven, and bake the brownie brittle for an additional 5 minutes. Remove it from the oven and let cool completely on the pan. Break the cooled brownie brittle into pieces; serve at room temperature for maximum crispness.
- Store leftover brownie brittle airtight at room temperature for up to 5 days.