
A half-eaten bag of cookies at eleven at night, still in pajamas, is exactly what led to these oreo brownies. Making a complicated dessert felt genuinely offensive to the mood, so this oreo brownie recipe became the obvious answer instead.
A first attempt once ended with a burnt crust and a raw middle, thanks to a timer forgotten mid true-crime documentary, but this oreo cookie and brownie combination proved forgiving enough to survive even that chaotic baking style on the second try. The whole batter comes together in one bowl, meaning no mountain of dishes waits at midnight. Here is exactly how I do it.
reader review
“Fudgy Fudgy and Fudgy. I pressed extra Oreo pieces right onto the top of the batter exactly like the recipe suggests and every square came out with the perfect amount of crunch. My roommate demanded the recipe before the pan even made it out of the oven completely.” – Adelaide M.
Loved this too? Add your reviewWhy You’ll Love This Recipe
- Zero stovetop babysitting. A microwave handles the butter, avoiding any scorching on a burner.
- Instant popularity. Every batch of this cookie oreo brownie dessert disappears from a party tray in ten minutes.
- Budget-friendly. Cocoa powder replaces expensive chopped chocolate bars, saving real money at the grocery store.
- Excellent stress relief. Smashing cookies into pieces doubles as a genuinely satisfying way to release weekly frustrations.
Tools You’ll Need
Nothing fancy, I promise.
- 9×9 baking pan – Metal works best here. Glass pans hold onto heat too long and tend to overbake the edges while leaving the center raw.
- Microwave-safe bowl. A bowl large enough for the whole batter skips the need to wash a second one.
- Whisk. Beating the eggs and sugar with this lightens the mixture and removes any oily texture
Ingredients
- 1 1/4 cups unsalted butter – If you only have salted butter in the fridge, just omit the extra salt later down the list. I will not tell anyone.
- 2 1/2 cups packed light brown sugar – This heavy dose of molasses is what makes the oreo fudge brownie texture so incredibly dense and chewy.
- 4 large eggs – Room temperature is best so they do not seize up the warm melted butter mixture.
- 1 1/2 cups Dutch processed cocoa powder – Dutch processed cocoa gives you that dark, intense bakery flavor, but regular unsweetened works if you are in a pinch.
- 3/4 teaspoon salt – Do not skip this, unless you want your dessert to taste flatly, aggressively sweet.
- 2 teaspoons vanilla extract – The cheap stuff is honestly fine here, save your fancy expensive vanilla for buttercream frosting.
- 2/3 cup all-purpose flour – Yes, only 2/3 cup! Less flour equals a much fudgier center.
- 16 Oreo cookies – Crumbled into pieces. If you accidentally eat three while baking, just throw in whatever is left.
How To Make Oreo Brownies
Melt, mix, and pretend you have your life completely together.
- Prep the pan: Preheat oven to 350°F. Grease and line a 9″x9″ pan with parchment paper and set aside. Leaving an overhang of parchment makes pulling the whole slab out infinitely easier later so you don’t have to pry it out with a butter knife.
- Melt the base: In a large microwave-safe bowl, combine butter and sugar. Microwave for 30 seconds, then remove and stir with a whisk. Repeat process 2 more times. Though granules of sugar will remain, the goal is to get the mixture to a glossy finish. If it looks like a weird oily mess at first, do not panic, just keep whisking aggressively.
- Add the eggs: Allow mixture to cool slightly, then add in eggs one at a time, whisking in between each addition. Whisk until the mixture lightens in color slightly. If you skip the cooling step, you will end up with sweet chocolate scrambled eggs, which is a tragedy.
- Mix the dry goods: Add in cocoa powder, salt, and vanilla extract. Fold in flour until just combined. Last, fold in the Oreo cookie pieces. Do not overmix the flour—if a few dusty streaks remain, that is between you and the spatula, nobody else needs to know.
- Bake it off: Pour mixture into prepared baking pan and bake for roughly 45 minutes, testing for doneness by inserting a knife into the center of the brownies beginning at 40 minutes. It might take up to 55 minutes for them to cook through depending on your oven! Pull them when the knife is still a little gooey; they keep cooking in the hot pan while they sit on the counter.
♥ The Misfit Tips!
- Wait before cutting. Slicing these straight out of the oven once produced a molten disaster that needed a spoon instead of a knife.
- Stick to metal, not glass. A glass dish once turned the edges to stone while the center stayed soupy underneath.
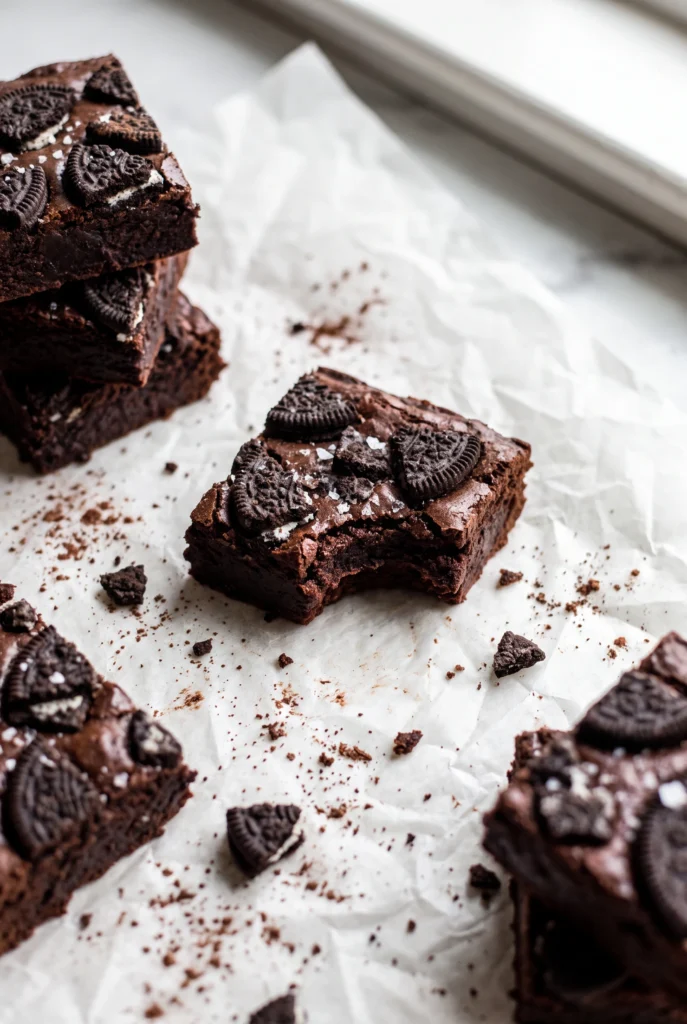
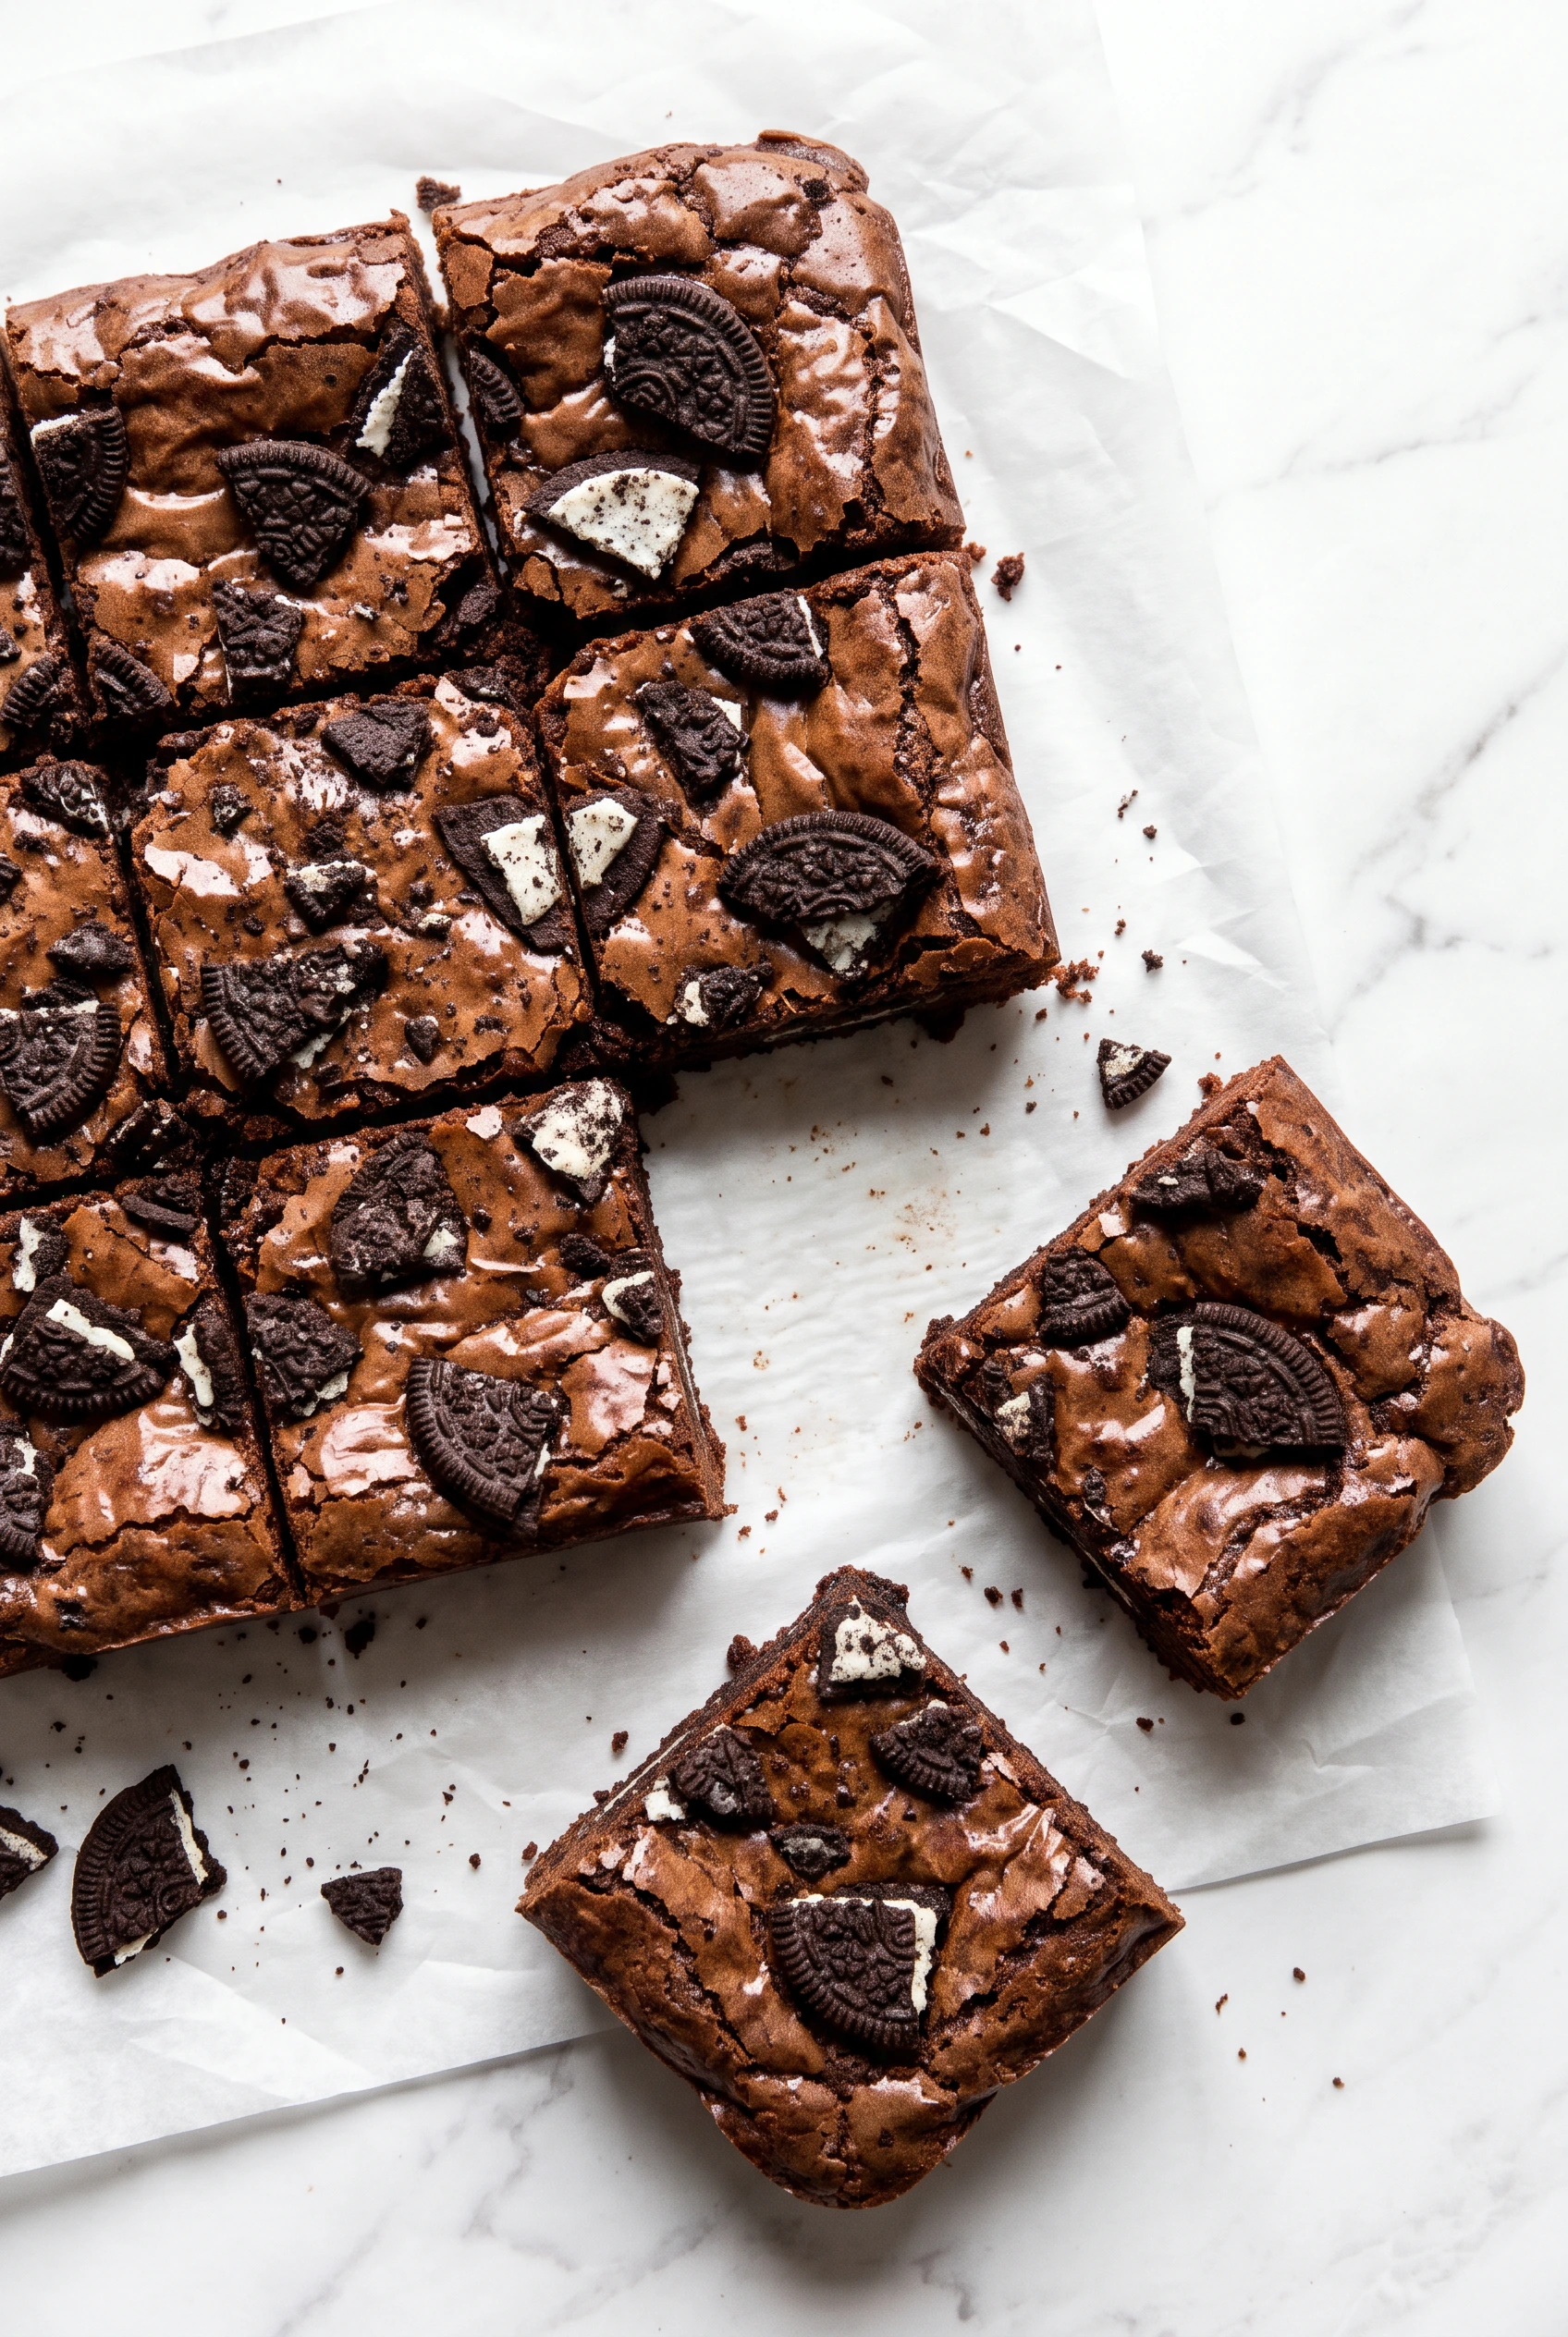
- Double up on cookies. Pressing extra broken Oreo pieces onto the top of the wet batter before baking gives brownies with Oreo even more crunch and visual appeal.
Make it yours
- Peanut butter swirl version. You dollop peanut butter over the batter before baking and swirl it through with a knife.
- White chocolate version. You fold in white chocolate chips alongside the crushed Oreos for extra sweetness.
Perfect Pairings
These oreo brownies suit two specific pairings particularly well.
- A giant scoop of vanilla bean ice cream melts right on top of a warm square.
- A strong cup of black coffee the next morning makes dessert for breakfast feel perfectly acceptable.
Troubleshooting guide
- Problem: the edges turn hard as a rock.
- Why it happened: The oven runs hot, or the pan stayed in a few minutes too long.
- Fix it: Cutting off the hard edges and crumbling them over a bowl of ice cream turns the mishap into an intentional sundae topping.
- Problem: the batter looks greasy and separated.
- Why it happened: The butter was too hot when the other ingredients went in, breaking the emulsion.
- Fix it: Whisking vigorously, along with a small splash of milk, usually brings the mixture back together.
- Problem: the center sinks heavily after baking.
- Why it happened: The pan came out underbaked, or the batter got beaten too aggressively after the flour went in.
- Fix it: Filling the dip with frosting or whipped cream turns the sunken center into a fudge crater nobody complains about.
How to Store Oreo Brownies
❤
- Fridge. Up to a week in an airtight container, and the chilled texture turns even denser and chewier.
- Freezer. Up to three months wrapped tightly in plastic wrap, then foil.
- Reheat. Ten seconds in the microwave brings back a fresh-baked taste without burning the tongue.
- Storage note. The cookie pieces on top soften after the first day but stay just as delicious.
Fudgy Oreo Brownies
Ingredients
Equipment
Method
- Preheat oven to 350°F. Grease and line a 9″x9″ pan with parchment paper and set aside.
- In a large microwave-safe bowl, combine butter and sugar. Microwave for 30 seconds, then remove and stir with a whisk. Repeat process 2 more times. Though granules of sugar will remain, the goal is to get the mixture to a glossy finish.
- Allow mixture to cool slightly, then add in eggs one at a time, whisking in between each addition. Whisk until the mixture lightens in color slightly.
- Add in cocoa powder, salt, and vanilla extract. Fold in flour until just combined. Last, fold in the Oreo cookie pieces.
- Pour mixture into prepared baking pan and bake for roughly 45 minutes, testing for doneness by inserting a knife into the center of the brownies beginning at 40 minutes. It might take up to 55 minutes for them to cook through depending on your oven!