
A neighbor handed me a brown paper bag full of tiny papery lanterns and I left them on the counter for three days thinking they were decorative. Once I peeled back the husks and tasted that strange, tropical cross between a pineapple and a tomato, I made ground cherry jam the same afternoon.
This husk cherry jam needs three ingredients, no added pectin, and about twenty minutes of active cooking. The ground cherries release their own natural pectin as they simmer down with lemon juice and sugar into a thick, golden spread that tastes like a vacation in a half-pint jar. Here is exactly how I do it.
Why You’ll Love This Recipe
- Three simple ingredients It only requires three basic components, which is exactly my kind of grocery math.
- No weird thickeners You do not need added pectin, saving you a trip to that mysterious baking aisle at the store.
- Tropical flavor The finished jam tastes like pineapple and vanilla with a faint tomato undertone. Nothing else tastes like it.
- Very forgiving timeline. Unhusked ground cherries keep for weeks on the counter at room temperature, so you can procrastinate making this without losing the fruit.
Tools You’ll Need
Nothing fancy, I promise.
- Water bath canner. Use this if you want shelf-stable jars you can store for a year. Skip it entirely if you plan to refrigerate the jam and eat it within a month.
- Heavy-bottomed saucepan. Thin pans develop hot spots that scorch the sugar before the jam finishes cooking. A heavy bottom distributes heat evenly and keeps the jam from sticking.
- Half-pint mason jars. The standard size for small-batch jam. Wash them in hot soapy water before filling, even if they came straight from the box.
Ingredients
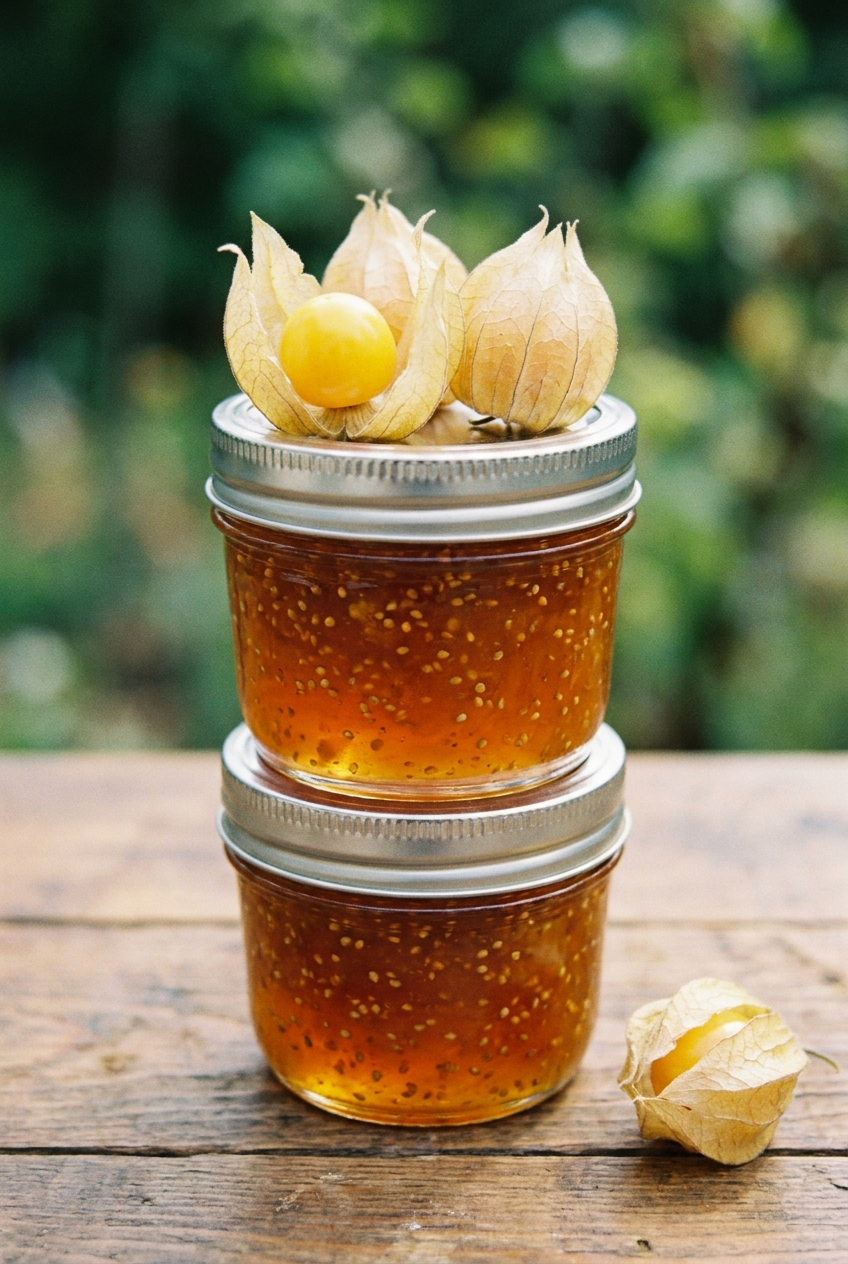
- 3 cups ground cherries, husked. Also sold as husk cherries or physalis at farmers markets and specialty grocery stores. Removing the papery husks takes about five minutes. Put on a podcast and get through it.
- 1 cup sugar. Turbinado or demerara sugar adds a faint caramel note to the finished jam. Standard white granulated sugar works fine and produces a cleaner, brighter flavor.
- 2 tablespoons lemon juice. Bottled lemon juice works better than fresh here because its acidity stays consistent across the full batch, which matters for both flavor and food safety if you plan to can the jam. According to the National Center for Home Food Preservation, consistent acidity levels are critical in small-batch fruit jams destined for water bath processing.
Instructions
Do not let the boiling sugar intimidate you; if I can do this without destroying my kitchen, you absolutely can.
- Husk the fruit: Husk the ground cherries and add them to a saucepan. If you find a mushy one, throw it out nobody wants that energy in their jam.
- Simmer and pop: Add the lemon juice and cook over low heat until the ground cherries have popped and released their juices. Give it a stir to break them up a bit. If they refuse to pop, gently smash them with a wooden spoon to show them who is boss.
- Thicken with sugar: Add the sugar and cook over medium heat until the jam thickens, about 15 minutes. Do not walk away to check your phone during this step, or you will return to a sticky volcano.
- Jar it up: Pour into clean quarter pint mason jars, leaving 1/4 inch headspace and store in the refrigerator or process in a water bath canner for 5 minutes. If you spill some down the side of the jar, just wipe it off with a damp cloth; perfection is an illusion anyway.
♥ The Misfit Tips!
- Keep the heat at medium, not high. Cranking the heat to speed up thickening turns the jam into a sticky, glassy solid bonded to the bottom of your pan. Medium heat and patience produce a spreadable jam. High heat produces candy.
- Use the cold plate test every time. Visual cues for jam doneness are unreliable. The wrinkle test on a frozen plate tells you exactly when the jam hit the gel stage, which saves you from a jar of runny syrup or a brick of overcooked sugar.
- Adjust the sugar to your taste. The recipe uses one full cup for a balanced sweet-tart result. Drop it to half a cup for a more tart, fruit-forward spread. The jam still sets either way since the pectin comes from the fruit.
Troubleshooting Guide
Something went sideways? Been there. Here is how to fix it.
- Problem: The jam is too runny
- Why: The jam didn’t cook long enough to reach the gel stage
- Fix: Pour it back into the saucepan and simmer for another five minutes over medium heat, then retest with the cold plate. Alternatively, label it ground cherry syrup and pour it over pancakes or ice cream. Both outcomes are genuinely good.
- Problem: The jam set into a solid brick
- Why: You cooked it past the gel stage, either too long or at too high a heat
- Fix: Microwave the jar for ten seconds before spreading, or warm it gently in a saucepan with a tablespoon of water over low heat until it loosens.
- Problem: There are papery bits in the finished jam
- Why: A small piece of husk made it through the prep stage
- Fix: Fish it out with a spoon. It poses no food safety issue and changes nothing about the flavor.
Perfect Pairings
This ground cherry jam works on anything that benefits from a sweet, tangy punch:
- Spread heavily over a toasted English muffin with a thin layer of salted butter underneath
- Swirled into plain yogurt for a breakfast that tastes more intentional than it is
- Spooned over a block of cream cheese with crackers for a lazy potluck appetizer that disappears in ten minutes
How to Store Ground Cherry Jam
❤
- Fridge. Up to 1 month in a sealed jar. The jam firms up slightly when chilled. Let it sit at room temperature for ten minutes before spreading so it doesn’t tear the toast.
- Freezer. Up to 6 months in freezer-safe jars. Leave at least half an inch of extra headspace so the jam has room to expand without cracking the glass. Thaw overnight in the fridge.
- Canning. Processed jars keep at room temperature for up to one year in a cool, dark pantry. Check each lid for a proper seal before storing. A lid that flexes up and down when pressed didn’t seal correctly and belongs in the fridge.
Ground Cherry Jam Recipe
Ingredients
Equipment
Method
- Husk the fruitPeel the papery outer husks off all the ground cherries and add them to a heavy-bottomed saucepan. Discard any that feel mushy or look damaged under the husk.
- Simmer and popAdd the lemon juice to the pan and cook over low heat, stirring occasionally, until the ground cherries pop and release their juice. This takes about five minutes. If a few resist popping, press them gently with the back of a wooden spoon to break the skin.
- Add the sugar and thickenStir in the sugar and increase the heat to medium. Cook, stirring frequently, for about 15 minutes until the jam thickens and coats the back of a spoon. Stay at the stove during this stage. Boiling sugar moves fast and a sticky overflow on your stovetop is a deeply unpleasant cleanup job.
- Test for donenessPlace a small plate in the freezer at the start of cooking. At the 15-minute mark, drop a teaspoon of hot jam onto the cold plate and push it with your finger after 30 seconds. If the surface wrinkles, the jam reached the gel stage. If it runs flat, cook for another three minutes and test again.
- Jar and storePour the hot jam into clean half-pint mason jars, leaving ¼ inch of headspace at the top. For refrigerator storage, let the jars cool to room temperature, then seal and refrigerate. For shelf-stable storage, process the sealed jars in a boiling water bath for 5 minutes, then let them cool undisturbed on a towel for 12 hours before storing.