
I made these candy cane kiss cookies at 9 PM on a Tuesday in December, wearing my husband’s old college sweatshirt and questioning every life choice that led me to unwrap 36 tiny Hershey’s Kisses while my dog stared at me as though I hid a steak. The first batch turned into puddles. The peppermint kisses melted into sad red-and-white swirls, and I stood in my kitchen whispering “no no no” as though I had dropped my phone in the toilet.
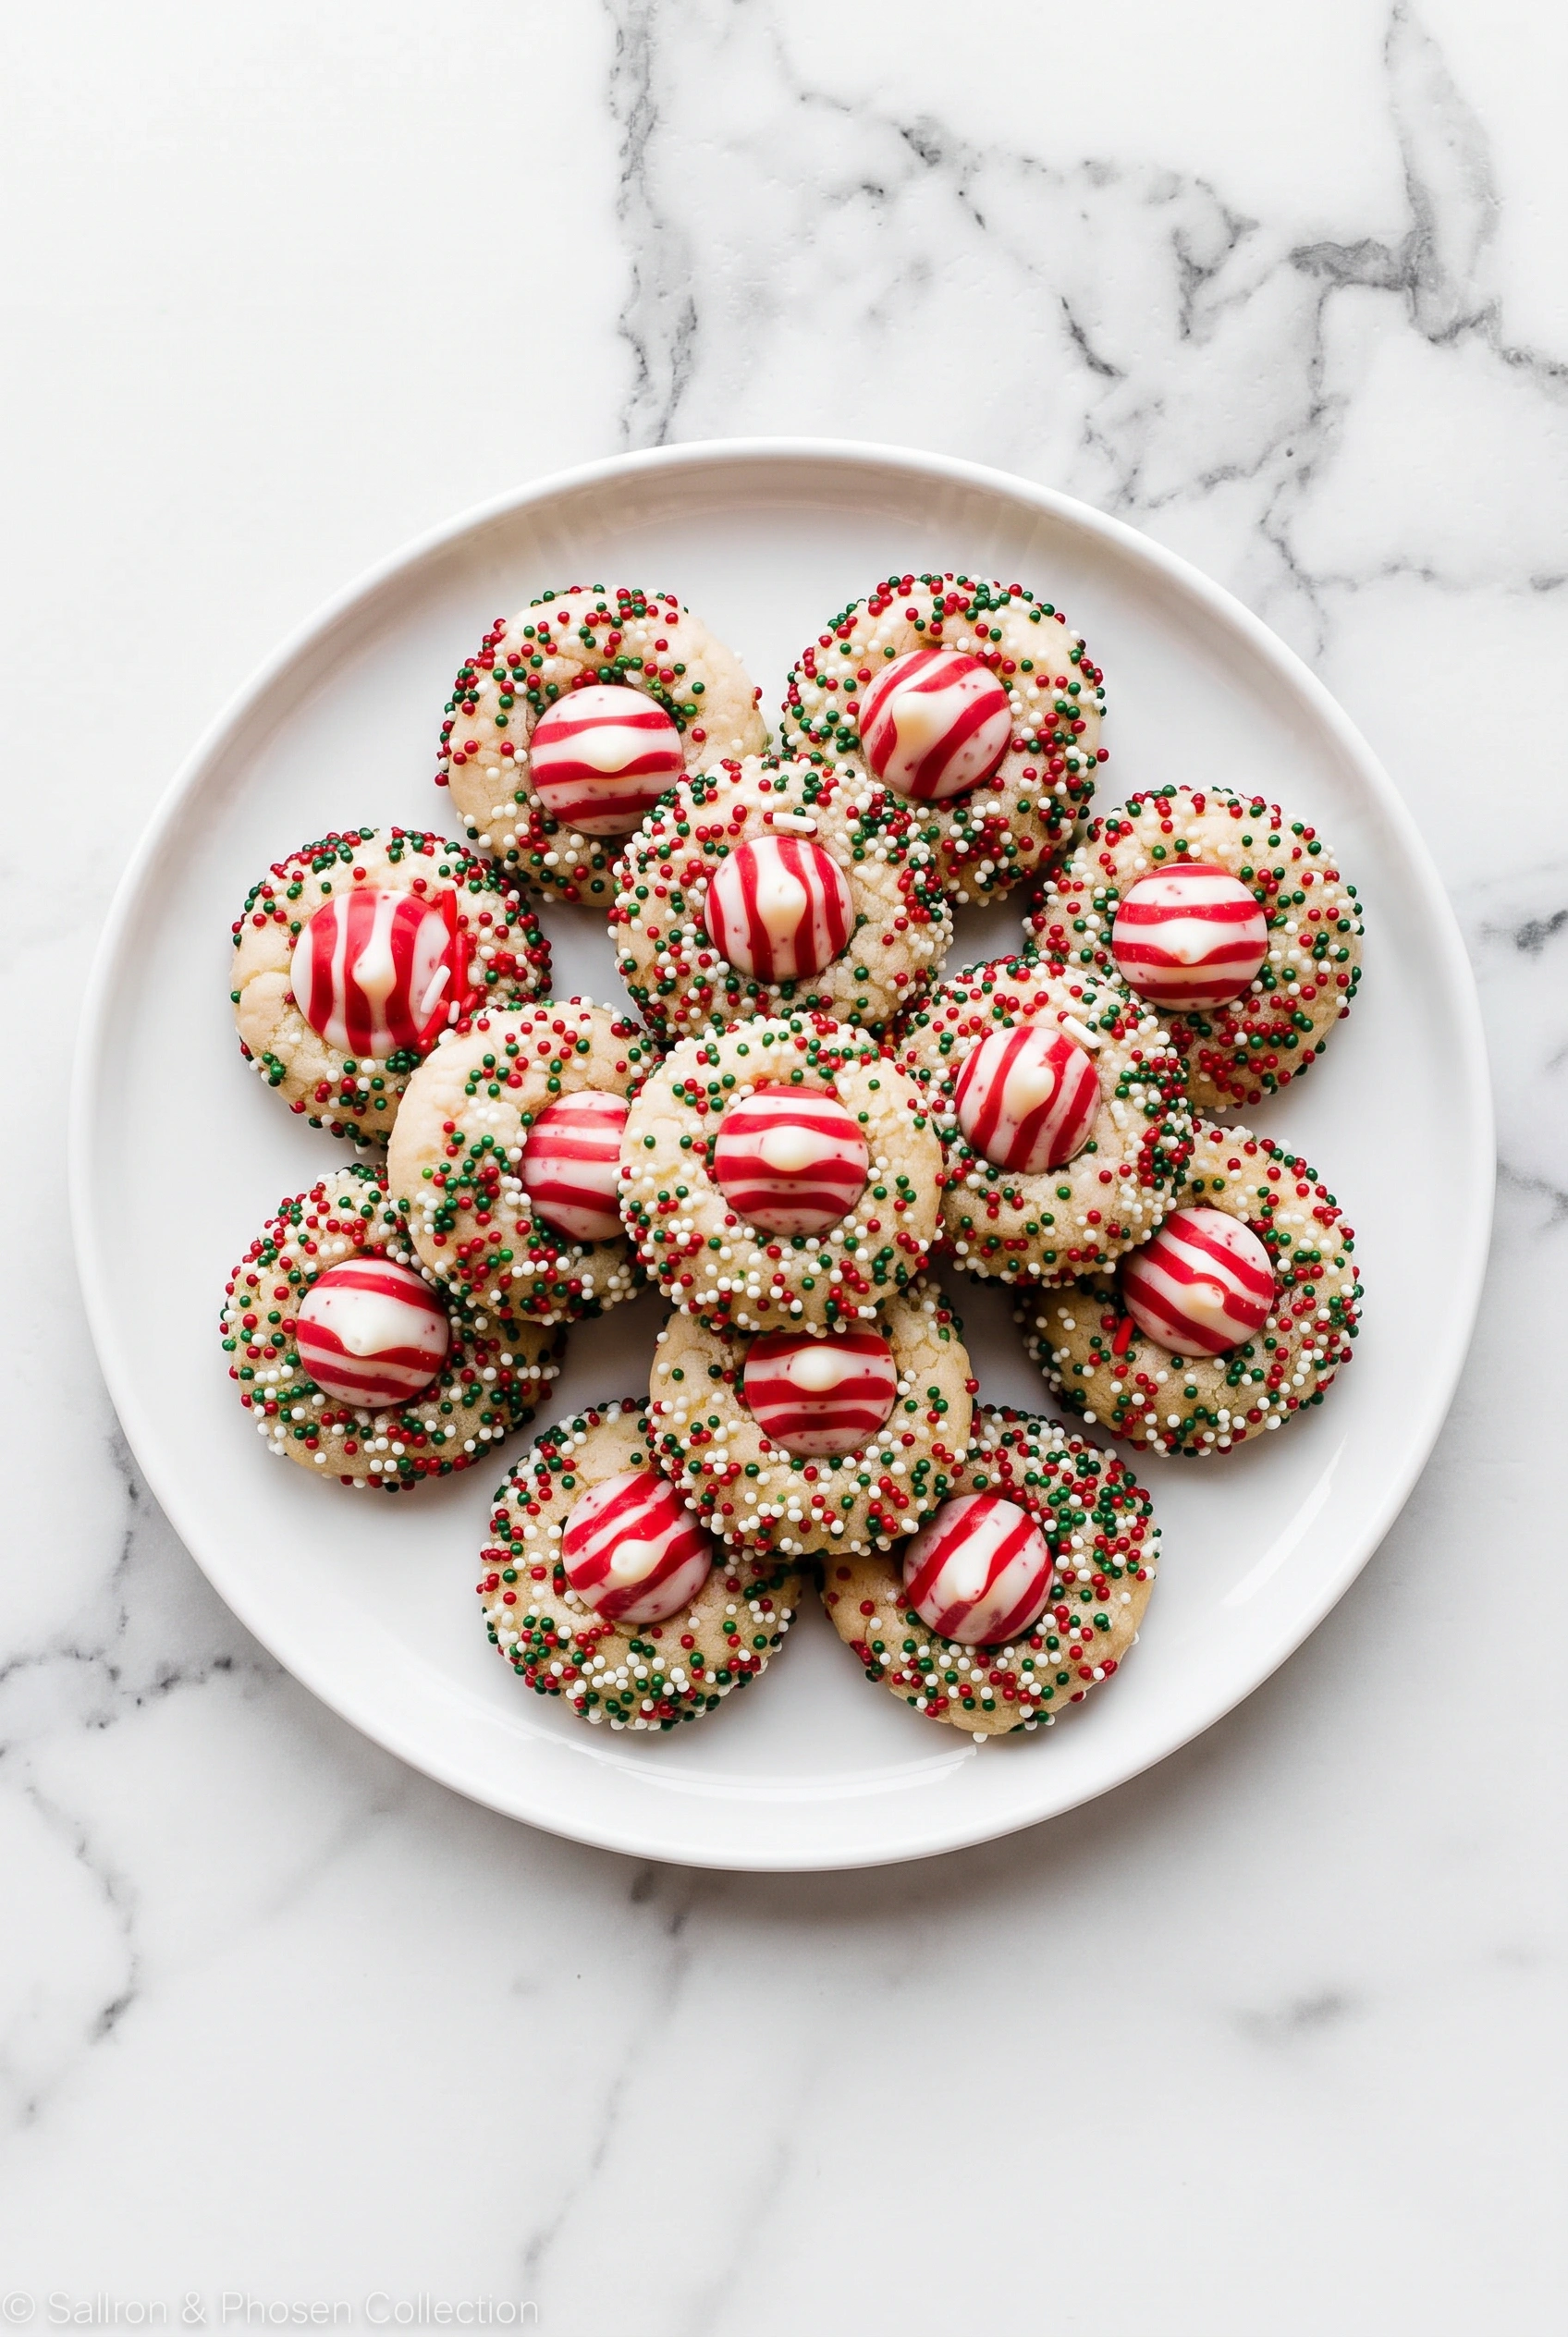
Then I found the freezer trick, and these became the cookies my neighbors ask for by name. This easy holiday cookie recipe uses butter, sugar, vanilla, peppermint extract, sprinkles, and candy cane flavor Hershey’s Kisses. You scoop the dough, roll it in sprinkles, chill it, bake it at 350°F for 12 minutes, press in a kiss, and freeze the cookies for 10 minutes. Serve them with milk, hot cocoa, or a Christmas Eve cookie platter.
Why You’ll Love This Recipe
- No rolling pin required: These drop-style cookies need only scooping, rolling, and baking.
- Budget-friendly: Basic pantry ingredients and one bag of candy cane Hershey’s Kisses create the cookies.
- Kid-friendly chaos: Children can roll the dough balls in sprinkles.
- Festive look: A red-and-white striped kiss pressed into a sparkly sugar cookie creates a holiday cookie platter centerpiece.
- Make-ahead option: You can freeze the unbaked dough balls for up to 3 months.
Tools You’ll Need
Nothing fancy, I promise.
- Cookie scoop: A 1-tablespoon scoop keeps the dough balls uniform. A regular spoon and slightly sticky hands work too.
- Stand mixer or hand mixer: Cream the butter and sugar with either mixer.
- Baking sheets: Use two lined baking sheets with parchment or silicone mats.
- Thin spatula: Transfer the warm cookies to a plate before freezing.
Ingredients
- 2 cups + 1 Tablespoon (260g) all-purpose flour – That extra tablespoon is not a typo. It makes the dough easier to handle and prevents spreading.
- 1 and 1/2 teaspoons baking powder – Gives the cookies a little lift so they don’t bake into flat discs.
- 1/4 teaspoon salt – Balances the sweetness. Don’t skip it.
- 10 Tablespoons (142g) unsalted butter, softened to room temperature – Room temperature means you can press a finger into it and leave a dent. Cold butter will give you lumpy dough.
- 1 cup (200g) granulated sugar – Just white sugar here. No brown sugar needed.
- 1 large egg, at room temperature – Binds everything together. If you forget to set it out, put it in a bowl of warm water for 5 minutes.
- 1 teaspoon vanilla extract – The background note that makes people ask what’s in these.
- 1/4 teaspoon peppermint extract – Use peppermint, not mint. Mint extract tastes like toothpaste and sadness.
- 1/2 cup (about 90g) nonpareil sprinkles – The tiny balls or sanding sugar both work. Jimmies are fine too, but they don’t stick as well.
- 32–36 candy cane flavor Hershey’s Kisses, unwrapped – The star of the show. Unwrap them before the cookies come out of the oven. You’ll thank me later.
How To Make Candy Cane Kiss Cookies
Set aside 30 minutes, put on a podcast, and let’s make some cookies that won’t turn into peppermint puddles.
- Whisk the dry ingredients: Whisk the flour, baking powder, and salt together in a medium bowl until combined. Set aside. If you see a few small lumps, that’s fine. They’ll disappear in the dough.
- Cream the butter and sugar: In a large bowl using a hand-held or stand mixer fitted with a paddle attachment, beat the butter and sugar together on high speed until creamy and combined, about 3 minutes. It won’t get super fluffy like brown sugar doughs, so don’t panic if it looks a little grainy.
- Add the wet ingredients: Add the egg, vanilla extract, and peppermint extract and beat until combined, about 1 minute. Scrape down the sides and up the bottom of the bowl and beat again as needed to combine. Peppermint extract is strong, so measure it over the bowl, not over the sink, unless you want your kitchen to smell like a candy cane exploded.
- Mix in the flour: Add the flour mixture to the wet ingredients and mix on low speed until fully combined. The dough will be very thick. It might look a little dry, but that’s normal. Keep mixing until no flour pockets remain.
- Roll and coat the dough balls: Roll dough into balls, 1 scant Tablespoon of dough each (each dough ball should weigh about 20g). The dough may seem dry, but the warmth of your hands will allow it to come together in a ball. Roll each dough ball generously in the sprinkles. If the sprinkles aren’t sticking, pour them onto a plate and press the dough balls into them. Still stubborn? Beat 1 teaspoon of water into the dough to make it stickier.
- Chill the dough balls: Place sprinkled dough balls on a baking sheet or plate (whatever will fit in your refrigerator). Chill them in the refrigerator for 20 minutes, and up to 1 day. If chilling for longer than 1 hour, cover them. This step prevents the cookies from spreading into flat puddles.
- Preheat and bake: While the cookie dough balls are chilling, preheat oven to 350°F (177°C). Place the chilled dough balls about 2 inches apart on the lined baking sheets. Bake for 12 minutes or until edges appear set. The cookies may look under-baked in the centers; that’s ok—do not over-bake. Remove cookies from the oven and allow to cool on the baking sheets for 5 minutes.
- Add the kisses and freeze: Press a kiss candy into the center of each, then, using a thin spatula, immediately transfer the cookies to a large plate or a few smaller plates (gently—they’re soft). Place the plate(s) of cookies in the freezer for 10 minutes to quickly set the candy in the cookie. Remove from the freezer and serve. Cookies stay fresh covered at room temperature for up to 1 week.
♥ The Misfit Tips!
- The freezer is not optional:I once skipped the freezer step because I was impatient and thought “how bad could it be?” The kisses slid off the warm cookies like tiny chocolate sleds. Give them the full 10 minutes. It’s the difference between a cookie that looks like a magazine cover and one that looks like a craft project gone wrong.
- Peppermint extract is a diva: If you only have mint extract, just leave it out and use vanilla instead. Mint extract tastes like you brushed your teeth and then ate a cookie. Not the vibe. You can also swap in almond extract for a classic sugar cookie flavor.
- Make them ahead and freeze the dough balls: Roll, coat in sprinkles, and freeze the unbaked dough balls for up to 3 months. Bake them straight from frozen with an extra minute in the oven. This is how I survive December without losing my mind.
Perfect Pairings
These go perfectly with a mug of something warm and a complete lack of self-control.
- A cold glass of milk – obviously. The classic for a reason.
- Hot cocoa with a candy cane stirrer – double peppermint, zero regrets.
- Christmas Eve cookie platters – they’re the prettiest thing on the tray and they know it.
- Coffee – because sometimes you need a cookie at 7am and you’re not going to apologize for it.
How to Store
❤
- Room temperature: Keep the cookies covered at room temperature for up to 1 week. The kiss may soften slightly.
- Freezer: Freeze the baked cookies for up to 3 months. Thaw them at room temperature for about 30 minutes.
- Reheat: Do not reheat the cookies. If you must, microwave one cookie for 10 seconds at most.
- Note: Sprinkles can become sticky in a humid place. Keep the cookies in an airtight container.
Candy Cane Kiss Cookies
Ingredients
Equipment
Method
- Mix the Dry IngredientsIn a medium bowl, whisk together the flour, baking powder, and salt until evenly combined. Set aside.
- Cream the Butter and SugarIn a large mixing bowl, using a hand mixer or a stand mixer fitted with the paddle attachment, beat the butter and sugar on high speed for about 3 minutes, until creamy and well combined.Add the egg, vanilla extract, and peppermint extract. Beat for about 1 minute, until everything is incorporated. Scrape down the sides and bottom of the bowl with a spatula, then mix again briefly if needed.
- Add the Dry IngredientsAdd the flour mixture to the wet ingredients. Mix on low speed until the dough comes together and no dry flour remains. The dough will be quite thick.
- Shape and Coat the CookiesRoll the dough into balls using a scant tablespoon of dough per cookie, approximately 20 grams each. The dough may feel a little dry at first, but the warmth of your hands should help it come together as you roll.Pour the sprinkles onto a plate and roll each dough ball generously until coated on all sides. If the sprinkles do not stick easily, gently press the dough balls into them. Continue rolling the dough between your palms to warm the surface and help the sprinkles adhere. If the dough is still too dry for the sprinkles to stick, beat 1 teaspoon of water into the dough to make it slightly more pliable, then try coating the balls again.
- Chill the Dough BallsArrange the coated dough balls on a plate or baking sheet that fits in your refrigerator. Chill for 20 minutes, or up to 1 day. If chilling for longer than 1 hour, cover the dough balls to prevent them from drying out.While the dough chills, preheat the oven to 350°F (177°C) and line your baking sheets with parchment paper or silicone baking mats.
- Bake the CookiesArrange the chilled dough balls on the prepared baking sheets, spacing them about 2 inches apart to allow for spreading. Bake for approximately 12 minutes, or until the edges look set. The centers may still appear slightly underbaked, which is fine. Avoid overbaking to keep the cookies soft. Remove the baking sheets from the oven and let the cookies rest for 5 minutes.
- Add the Hershey's KissesImmediately press one Hershey's Kiss into the center of each cookie. The cookies will still be soft, so handle them gently. Using a thin spatula, carefully transfer the cookies to one large plate or several smaller plates. Place the plates in the freezer for 10 minutes to help the chocolate candies set quickly in the warm cookies.
- Cool and ServeRemove the cookies from the freezer and serve once the chocolate centers have set.
- StorageStore the cookies in an airtight container at room temperature for up to 1 week to keep them fresh.