
My oven staying occupied by a 20-pound bird and three random casseroles during Thanksgiving week, combined with the absolute horror of realizing I forgot to make a pie, is exactly what led to this no bake pumpkin cheesecake. I had panic-bought six cans of pumpkin puree back in October, and they had been staring at me accusingly from the pantry ever since.
It is the ultimate easy fall dessert no oven pumpkin miracle that saves you when you literally cannot fit one more pan in the stove or handle one more complicated baking step. I skipped the water bath, completely ignored the oven, and still ended up with a dessert that made me look like I actually had my life together. Here is exactly how I do it.
Why You’ll Love This Recipe
- Zero oven time. You do not have to babysit an oven or pray a finicky water bath does not leak all over your kitchen.
- Actually foolproof. This is a genuinely easy pumpkin cheesecake recipe that basically just requires a mixer and a little patience.
- Make-ahead magic. It actually tastes infinitely better if you abandon it in the fridge for two straight days before serving.
- No surface cracks. Since we are not baking it, you will not get those tragic Grand Canyon cracks on top that you have to aggressively cover with whipped cream.
Tools You’ll Need
Nothing fancy, I promise.
- Springform pan A 9-inch or 10-inch springform pan is best so you do not have to pry the cheesecake out with a butter knife and a prayer.
- Electric mixer. Your arm will physically detach from your body if you try to whip heavy cream to stiff peaks by hand.
- Measuring cup. The flat bottom is perfect for aggressively packing down the cookie crust.
Ingredients
Gingersnap Cookie Crust
- 2 cups (200g) gingersnap cookie crumbs – Store-bought is best because they are dry. If you hate gingersnaps, making a no bake pumpkin cheesecake with graham crust is totally fine and uses the exact same ratio.
- 1/4 teaspoon ground ginger – Just a little extra kick.
- 1/4 teaspoon ground cinnamon – Warms the whole thing up.
- 6 Tablespoons (85g) unsalted butter – Melted, this is the glue that holds our crumbly lives together.
- 1/4 cup (50g) granulated or brown sugar – Packed.
Cheesecake Filling
- 1 cup (240ml) heavy cream – Must be cold. Do not try to use milk; it will end in tears.
- 16 ounces (452g) full-fat cream cheese – Softened. Please use real, full-fat cream cheese, not the low-fat tub spread, or it will be a soupy mess.
- 1 cup (226g) pumpkin puree – Canned pumpkin, NOT pumpkin pie filling.
- 3/4 cup (90g) confectioners’ sugar – Thickens the filling without making it gritty.
- 1/4 cup (50g) brown sugar – Packed, for that deep molasses flavor.
- 1 teaspoon pure vanilla extract – Mandatory in all desserts.
- 2 teaspoons pumpkin pie spice – Store-bought or homemade.
- 1/2 teaspoon ground cinnamon – Because we always need a little more cinnamon.
- 1/8 teaspoon salt – Balances the sweetness.
Optional Toppings
- Whipped Cream and/or Salted Caramel – Highly recommended to hide any spreading imperfections.
How To Make Pumpkin Cheesecake
Do not let the word cheesecake intimidate you; this is basically just a very fancy mixing exercise.
- Make the crust: Stir the gingersnap crust ingredients together, pour into a springform pan, and pack it in very tightly. The tighter it is packed, the less likely it will crumble into dust when you cut it use the bottom of a glass to really smash it down. Freeze for 10-20 minutes.
- Whip the cream: Using a mixer, whip the cold heavy cream into stiff peaks on medium-high speed for about 4 minutes. Do not walk away while the mixer is running unless you want to accidentally make butter. Set aside.
- Beat the cream cheese: Beat the softened cream cheese on medium speed until perfectly smooth. Scrape down the bowl with a spatula unmixed cream cheese lumps are a texture tragedy you want to avoid at all costs.
- Add the flavors: Add the pumpkin, confectioners’ sugar, and brown sugar, beating until combined, then add the vanilla, spices, and salt. Make sure there are absolutely no cream cheese lumps left.
- Fold it together: Using your mixer on low or a spatula, gently fold the whipped cream into the pumpkin mixture. Fold slowly and gently; if you stir it aggressively like a witch’s cauldron, you will deflate all the air and your cheesecake will be flat.
- Chill out: Spread the filling into the chilled crust, smooth the top, cover tightly, and refrigerate for at least 8 hours (preferably overnight). The hardest part of this entire recipe is just waiting to eat it.
- Slice and serve: Run a knife around the edge before releasing the pan rim. If you want to look like a professional, wipe the knife clean between every slice; if you are just eating it over the sink at midnight, do not bother.
♥ The Misfit Tips!
- The chilling time stays non-negotiable. Rushing the fridge step once produced pumpkin soup coming out instead of firm cheesecake.
- Canned pumpkin stays mandatory. Using homemade roasted pumpkin once held way too much water and prevented the cheesecake from setting.
- Save your sanity. Making this two days before your big holiday dinner lets it taste better on day two anyway.
Make it yours
- Chocolate crust version. You swap gingersnap crumbs for chocolate cookie crumbs for a richer twist on this no bake pumpkin cheesecake with graham crust alternative.
- Bourbon caramel version. You drizzle bourbon-spiked salted caramel over each slice for an adult finish to this easy fall dessert no oven pumpkin recipe.
Perfect Pairings
These go perfectly with sweatpants and a couch on a lazy Sunday afternoon.
- A strong cup of black coffee balances out all the sugar we are about to inhale.
- The absolute chaos of a Thanksgiving dessert table, where it will easily outshine the traditional pie, rounds out the whole experience.
How to Store
❤
- Fridge. Up to 5 days tightly covered in the pan or an airtight container, though the crust gets a little softer by day 4.
- Freezer. Up to 3 months wrapped in one layer of plastic wrap and one layer of foil, thawed in the fridge overnight.
- Reheat. Do not reheat this, since it is a no-bake cheesecake that will melt into a sad puddle.
- Storage note. Whipped cream toppings weep and look terrible after a day in the fridge, so only garnish the slices you are actively putting into your mouth.
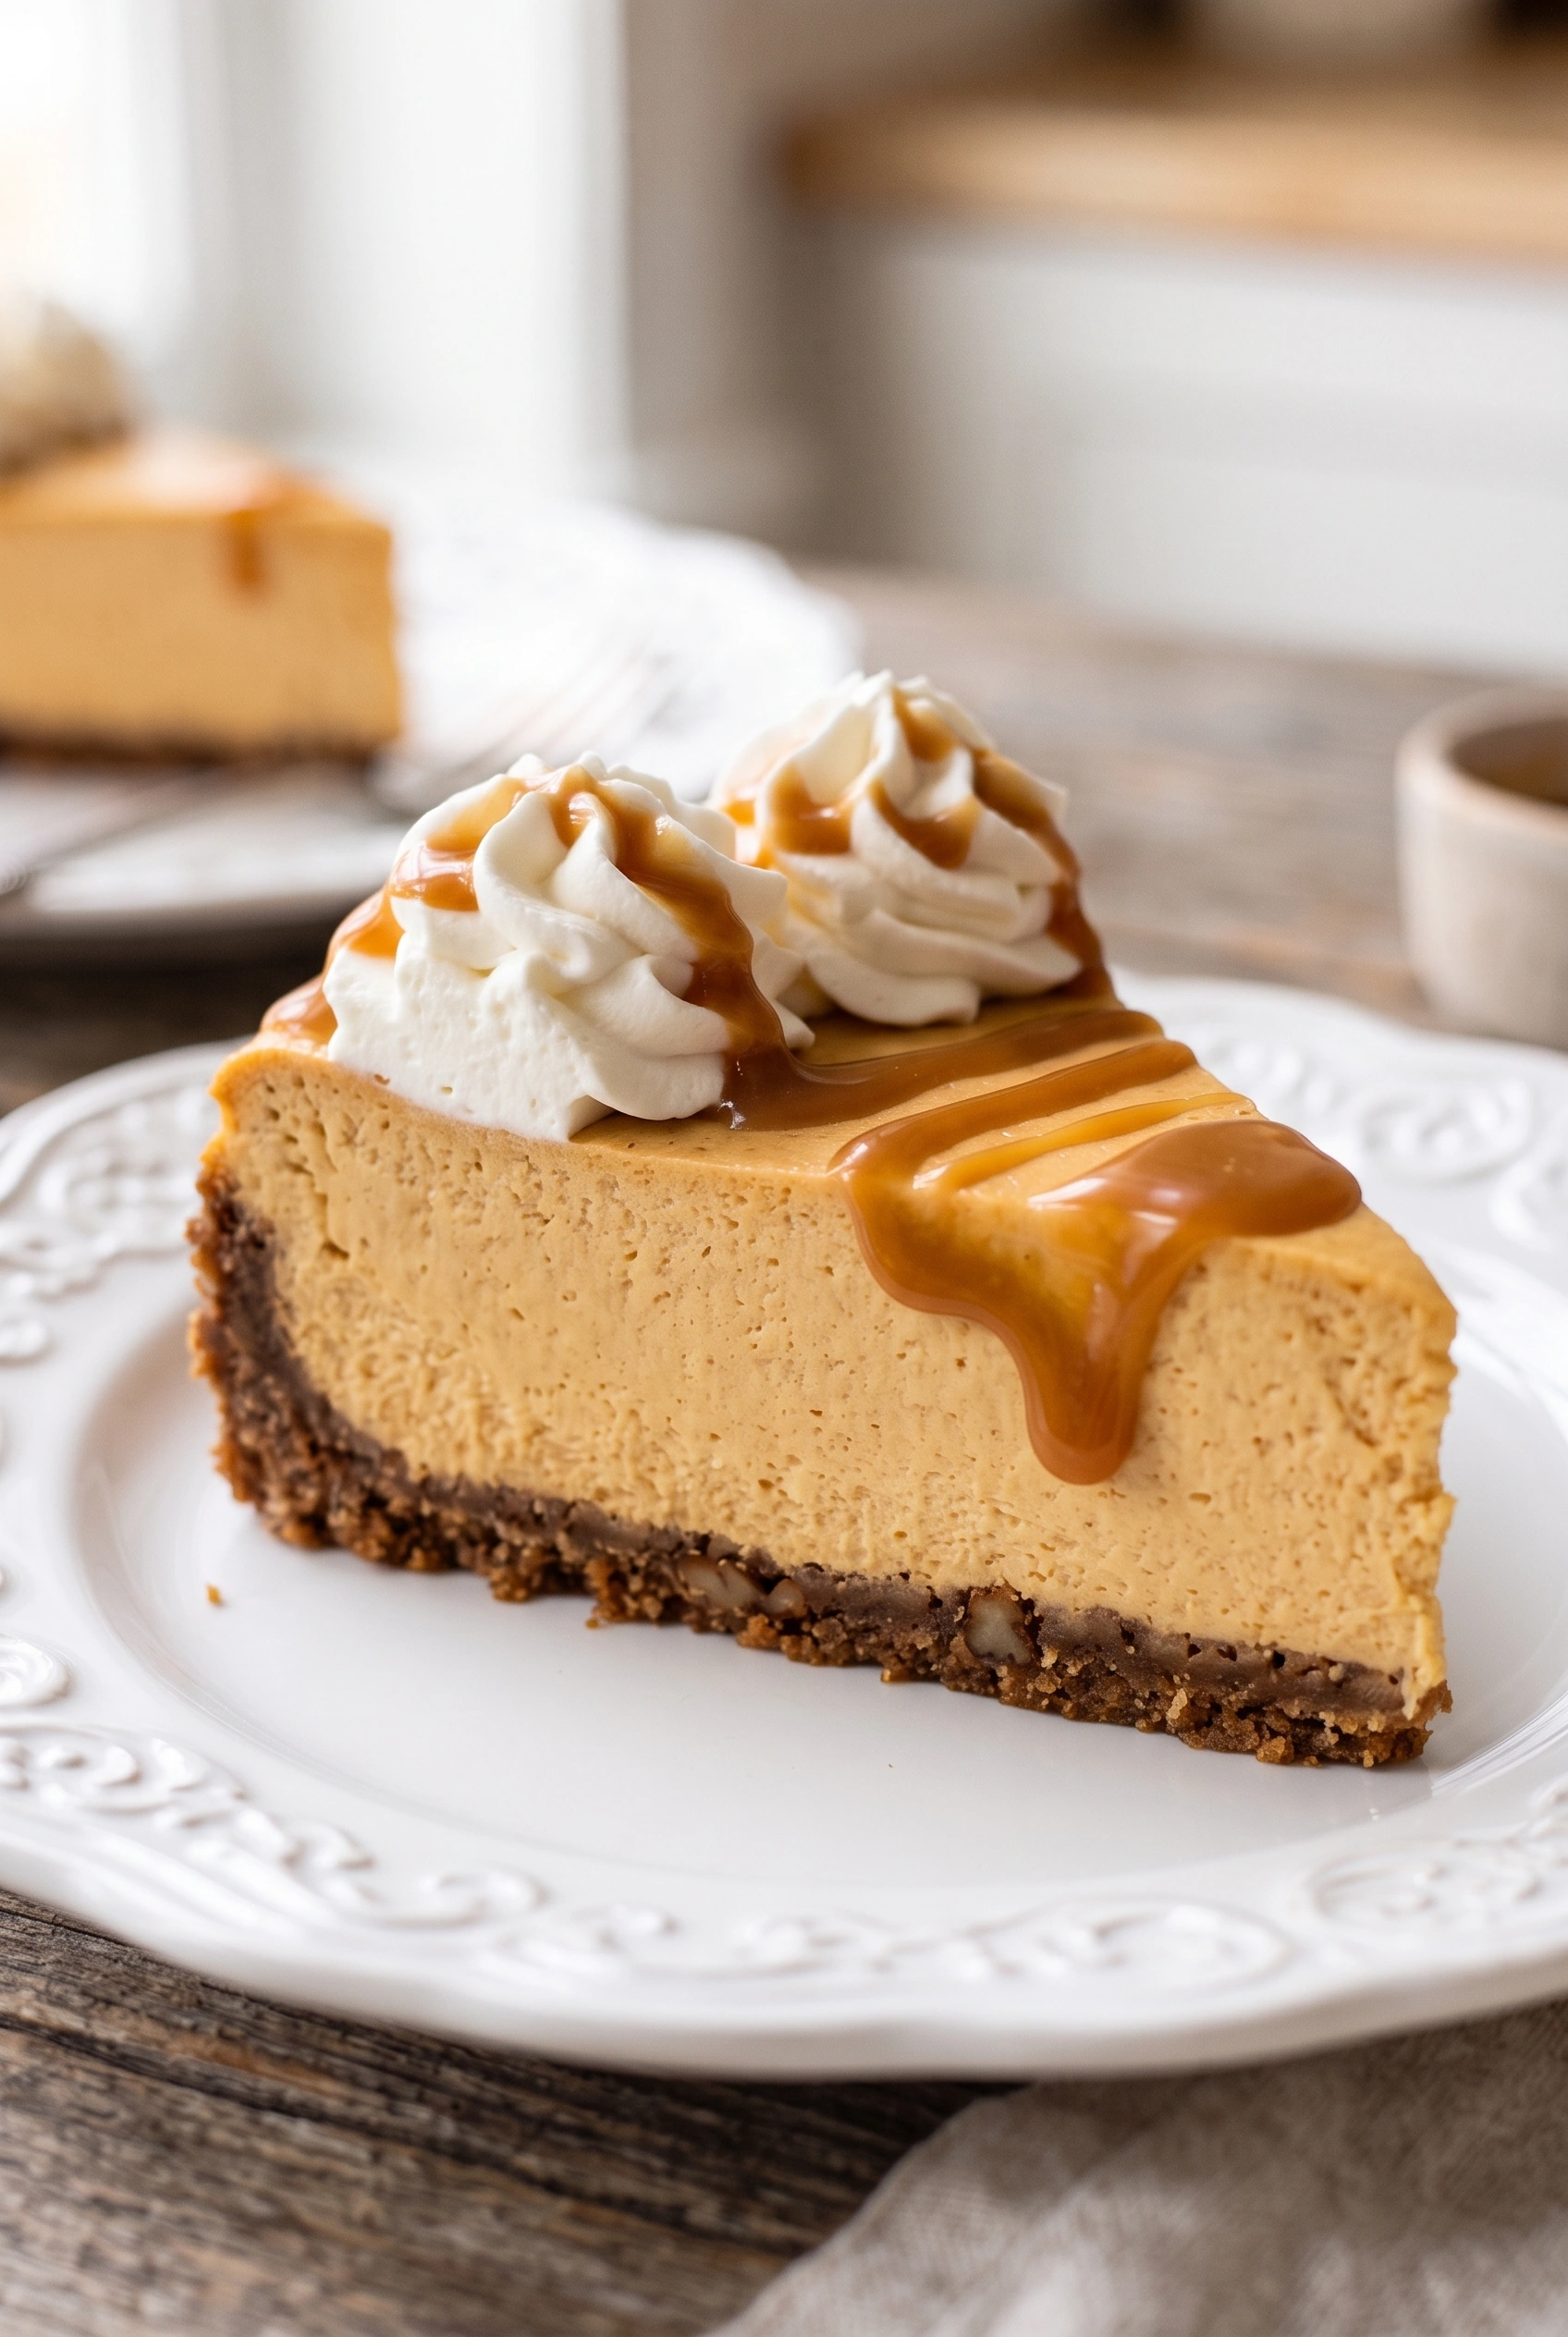
No Bake Pumpkin Cheesecake
Ingredients
Equipment
Method
- Stir the gingersnap crust ingredients together. Pour into a 9-inch or 10-inch springform pan and pack in very tightly. The tighter it’s packed, the less likely it will fall apart when cutting the cheesecake. I recommend using the bottom of a measuring cup to pack it into the bottom and up the sides. You can watch me do this in the video above. Freeze for 10-20 minutes as you prepare the filling.
- Using a hand mixer or a stand mixer fitted with a whisk attachment, whip the cold heavy cream into stiff peaks on medium-high speed, about 4 minutes. Set aside.
- Using a hand mixer or a stand mixer fitted with a whisk or paddle attachment, beat the cream cheese on medium speed until perfectly smooth and creamy. Scrape down the sides and up the bottom of the bowl with a silicone spatula as needed. Add the pumpkin, confectioners’ sugar, and brown sugar and beat on medium-high speed until combined. Scrape down the sides and up the bottom of the bowl as needed to help combine. Add the vanilla extract, pumpkin pie spice, cinnamon, and salt and beat until combined, creamy, and smooth. Make sure there are no large lumps of cream cheese. If there are lumps, keep beating until smooth.
- Using your mixer on low speed or a silicone spatula, fold the whipped cream into the cheesecake filling until combined. This takes several turns of your silicone spatula. Combine slowly as you don’t want to deflate all the air in the whipped cream.
- Remove crust from the freezer and spread filling into crust. Use an offset spatula to smooth down the top.
- Cover tightly with plastic wrap or aluminum foil and refrigerate for at least 8 hours and up to 2 days. For best results, at least 12 hours is best. I chill mine overnight. The longer refrigerated, the nicer the no-bake cheesecake will set up. I don’t recommend using the freezer to set this cheesecake filling.
- Use a knife to loosen the chilled cheesecake from the rim of the springform pan, then remove the rim. Using a clean sharp knife, cut into slices for serving. For neat slices, wipe the knife clean between each slice.
- Serve cheesecake with optional toppings. I used Ateco 849 piping tip for the whipped cream in the pictured cheesecake. Cover and store leftover cheesecake in the refrigerator for up to 5 days.