
Volunteering to bring dessert to my in-laws last year, completely forgetting that traditional cheesecake requires a water bath, which is just a fancy term for sloshing boiling water onto your oven door, is exactly what led to this pumpkin cheesecake pie. In a moment of pure panic at 10 PM, I decided to make this instead. It completely eliminates the anxiety of a traditional cheesecake while delivering that exact pumpkin pie cheesecake hybrid experience everyone expects in November.
I essentially threw a Biscoff cookie crust together, blended up a quick filling, and pretended I slaved away in the kitchen all day. If you want the absolute easiest path to the best pumpkin cheesecake pie for thanksgiving, this is your ticket out of kitchen misery. Here is exactly how I do it.
Why You’ll Love This Recipe
- No water bath required. Nobody needs third-degree burns while baking a dessert.
- The Biscoff crust. It takes about five minutes to make and tastes infinitely better than standard graham crackers.
- Shorter chill time. This easy pumpkin cheesecake pie recipe only needs two hours in the fridge, unlike the overnight hostage situation of a regular cheesecake.
- Crowd-pleaser. It bridges the gap perfectly for the one relative who demands pie and the other who only eats cheesecake.
Tools You’ll Need
Nothing fancy, I promise.
- 9-inch pie dish A basic glass or ceramic one works perfectly. If yours has a chip in the rim, just cover it with whipped cream later.
- Food processor. For obliterating the cookies into fine crumbs, though a zip-top bag and a rolling pin work fine if you have some pent-up frustration.
- Hand mixer. To get the cream cheese completely smooth so you do not end up with weird white lumps in your orange pie.
Ingredients
Biscoff Crust
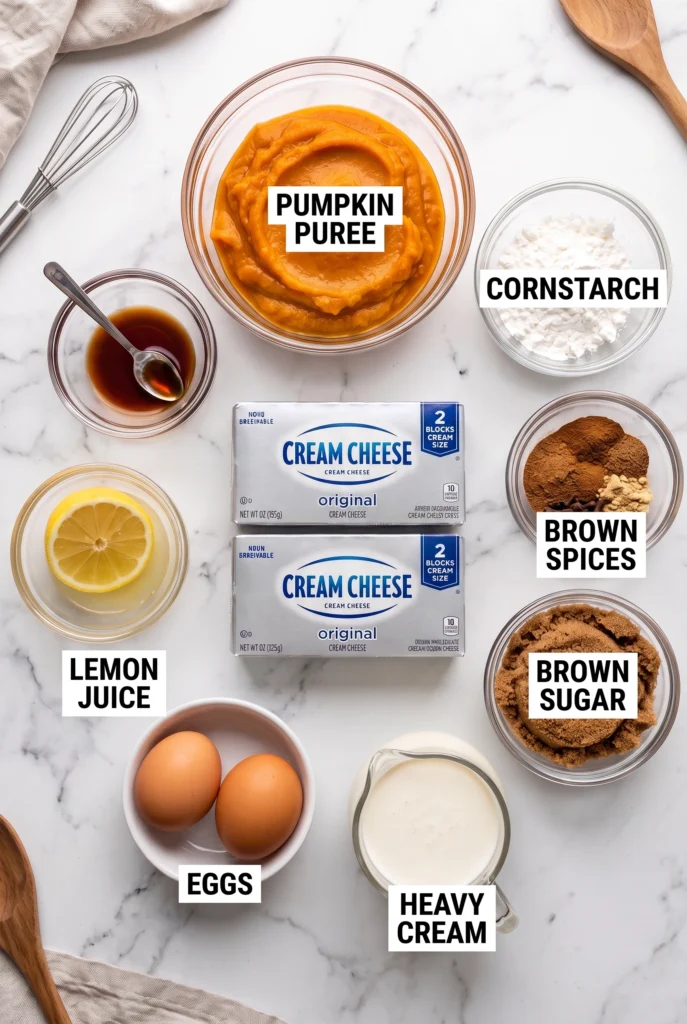
- 32 Biscoff cookies – You will need exactly one standard package, assuming you do not eat three while setting up your ingredients.
- 5 Tablespoons unsalted butter – Melted. This is the delicious glue holding our lazy crust together.
Pumpkin Filling
- 16 ounces full-fat brick cream cheese – Softened to room temperature. Do not buy the tub meant for bagels, or you will end up with pumpkin soup.
- 3/4 cup brown sugar – Light or dark works, just pack it in there.
- 3/4 cup pumpkin puree – Canned is best. Make sure it is pure pumpkin, not pumpkin pie filling, or the spice math gets very weird.
- 1 Tablespoon cornstarch – The secret insurance policy that helps the filling set up.
- 2 Tablespoons heavy cream – At room temperature. This smooths everything out.
- 1 teaspoon pure vanilla extract – Because we are baking, and it is mandatory.
- 1/2 teaspoon lemon juice – Do not skip this; the tiny bit of acid actually makes it taste like cheesecake.
- 1 teaspoon ground cinnamon – The backbone of our fall flavor.
- 1/2 teaspoon ground ginger – For a little warm kick.
- 1/4 teaspoon ground nutmeg – Freshly grated if you have it, but the jar is fine.
- 1/4 teaspoon ground cardamom – If you do not have it, just use a little extra cinnamon.
- small pinch freshly ground black pepper – I know it sounds unhinged, but black pepper adds incredible depth to warm spices without making the dessert taste savory.
- 2 large eggs – At room temperature. Cold eggs will shock the cream cheese into a lumpy mess.
How To Make Pumpkin Cheesecake Pie
Let’s make this completely foolproof, even if your oven temperature is basically a suggestion.
- Crush the cookies: Use a food processor or blender to grind the Biscoff cookies into fine crumbs. You can also place them in a zip-top bag and crush them into fine crumbs using a rolling pin and some arm muscle. If a few stubborn chunks survive, that is between you and the rolling pin, nobody else needs to know.
- Mix and press: In a medium bowl, stir the Biscoff crumbs and melted butter together until combined. Pour the mixture into an ungreased 9-inch pie dish. Pat the crumbs down into the bottom and up the sides to make a compact crust. Do not pack it down with the force of a thousand suns, or you will need a jackhammer to cut a slice later.
- Pre-bake: Bake the crust for 10 minutes at 350°F (177°C). Make the filling in the next step as the crust bakes.
- Beat the base: In a large bowl, using a handheld or stand mixer, beat the cream cheese and brown sugar together on medium-high speed until the mixture is smooth and creamy, about 3 minutes. Scrape down the sides and up the bottom of the bowl with a silicone spatula as needed. If you try to rush this step with cold cream cheese, you will have lumpy pie, and there is no fixing it later.
- Add the flavor: Add the pumpkin, cornstarch, heavy cream, vanilla extract, lemon juice, and spices, and then beat until fully combined and very smooth. Scrape down the bowl again.
- Mix in the eggs: On medium speed, add the eggs one at a time, beating after each addition until just blended. After the second egg is incorporated into the batter, stop mixing. Over-mixing eggs is how you get big ugly cracks on top, so step away from the mixer.
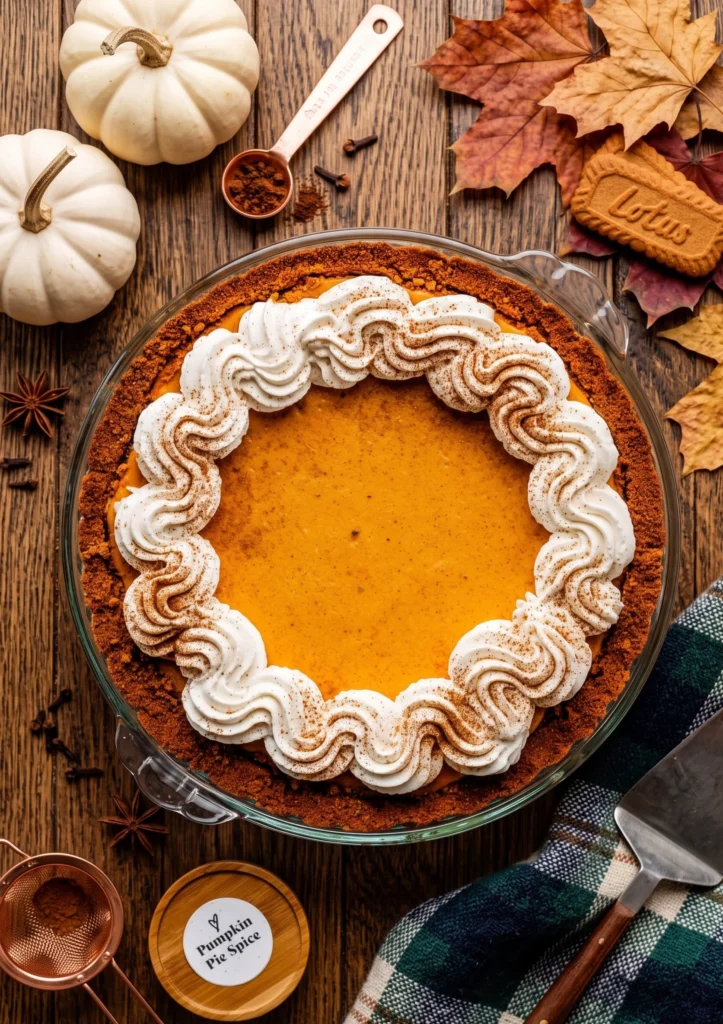
- Bake the pie: Reduce the oven temperature to 325°F (163°C). Spread the pumpkin cheesecake filling into the warm crust. Bake the pie for 40–45 minutes or until the filling is almost fully set with a little wobble in the very center. Give the pie a light tap to check.
- Cool and chill: Set the pie on a wire rack and cool for 1 hour at room temperature. Then place it in the refrigerator and chill for at least 2 hours and up to 2 days before serving. Yes, waiting is the hardest part, but cutting into warm cheesecake is a tragedy I do not recommend experiencing.
♥ The Misfit Tips!
- The cream cheese catastrophe. Microwaving cream cheese once melted it into a greasy puddle, and the pie never set properly, so letting it sit on the counter for two hours naturally stays necessary.
- The crust corner trick. Running the back of a spoon around the bottom corner where the edge and bottom of the pie dish meet makes a sturdy, rounded crust that holds together.
- The foil tent. If your oven runs hot, keeping an eye on the crust at the 30-minute mark and loosely tenting a piece of foil over the whole thing prevents burning.
Make it yours
- Pecan crunch version. You sprinkle chopped toasted pecans over the filling before baking for extra texture in this easy pumpkin cheesecake pie recipe.
- Caramel swirl version. You drizzle warm salted caramel into the filling and swirl it with a knife for a marbled effect in this pumpkin pie cheesecake hybrid.
Perfect Pairings
These go perfectly with your family’s chaotic Thanksgiving dinner, because this thanksgiving dessert will actually make them stop talking for five minutes to eat.
- A strong cup of dark roast coffee cuts through the rich, spiced filling.
- A drizzle of warm salted caramel sauce satisfies the urge to be completely over the top.
How to Store
❤
- Fridge. Up to 5 days tightly covered with plastic wrap or in an airtight container, though the Biscoff crust will soften slightly after day two.
- Freezer. Up to 3 months for the fully baked and cooled pie, wrapped tightly in plastic wrap and then foil, thawed overnight in the fridge before serving.
- Reheat. Do not reheat cheesecake. Eat it cold straight from the fridge, preferably at midnight with a fork.
- Storage note. If you are garnishing with whipped cream, only add it right before serving, since whipped cream will weep and get weird if left on the pie in the fridge for days.
Pumpkin Cheesecake Pie
Ingredients
Equipment
Method
- Preheat oven to 350°F (177°C).
- Use a food processor or blender to grind the Biscoff cookies into fine crumbs. You can also place them in a zip-top bag and crush them into fine crumbs using a rolling pin and some arm muscle. In a medium bowl, stir the Biscoff crumbs and melted butter together until combined. The mixture will be thick, coarse, and sandy. Try to smash/break up any large chunks. Pour the mixture into an ungreased 9-inch pie dish. With medium pressure using your hand, pat the crumbs down into the bottom and up the sides to make a compact crust. Do not pack down with heavy force because that makes the crust too hard. Simply pat down until the mixture is no longer crumby/crumbly. Tips: You can use a small flat-bottomed measuring cup to help press down the bottom crust and smooth out the surface, but do not pack down too hard. And run a spoon around the bottom “corner” where the edge and bottom meet to help make a rounded crust this helps prevent the crust from falling apart. For more shaping technique tips, see the Biscoff pie crust recipe page.
- Bake the crust for 10 minutes. Make the filling in the next step as the crust bakes.
- In a large bowl, using a handheld or stand mixer fitted with a paddle attachment, beat the cream cheese and brown sugar together on medium-high speed until the mixture is smooth and creamy, about 3 minutes. Scrape down the sides and up the bottom of the bowl with a silicone spatula as needed. Add the pumpkin, cornstarch, heavy cream, vanilla extract, lemon juice, and spices, and then beat until fully combined and very smooth. Scrape down the sides and up the bottom of the bowl with a silicone spatula as needed to combine you don’t want any lumps. Then on medium speed, add the eggs one at a time, beating after each addition until just blended. After the second egg is incorporated into the batter, stop mixing. If you still see some lumps at this point, switch to a whisk and whisk by hand just until you break up the large lumps. Some small lumps are OK.
- Reduce the oven temperature to 325°F (163°C). Spread the pumpkin cheesecake filling into the warm crust.
- Bake the pie for 40–45 minutes or until the filling is *almost* fully set with a little wobble in the very center. Give the pie a light tap to check. During bake time, if the pie is browning too quickly on top and around the edges, tent with aluminum foil.
- Set the pie on a wire rack and cool for 1 hour at room temperature. Then place it in the refrigerator and chill for at least 2 hours and up to 2 days before serving. (Cover if chilling it for longer than a few hours.)
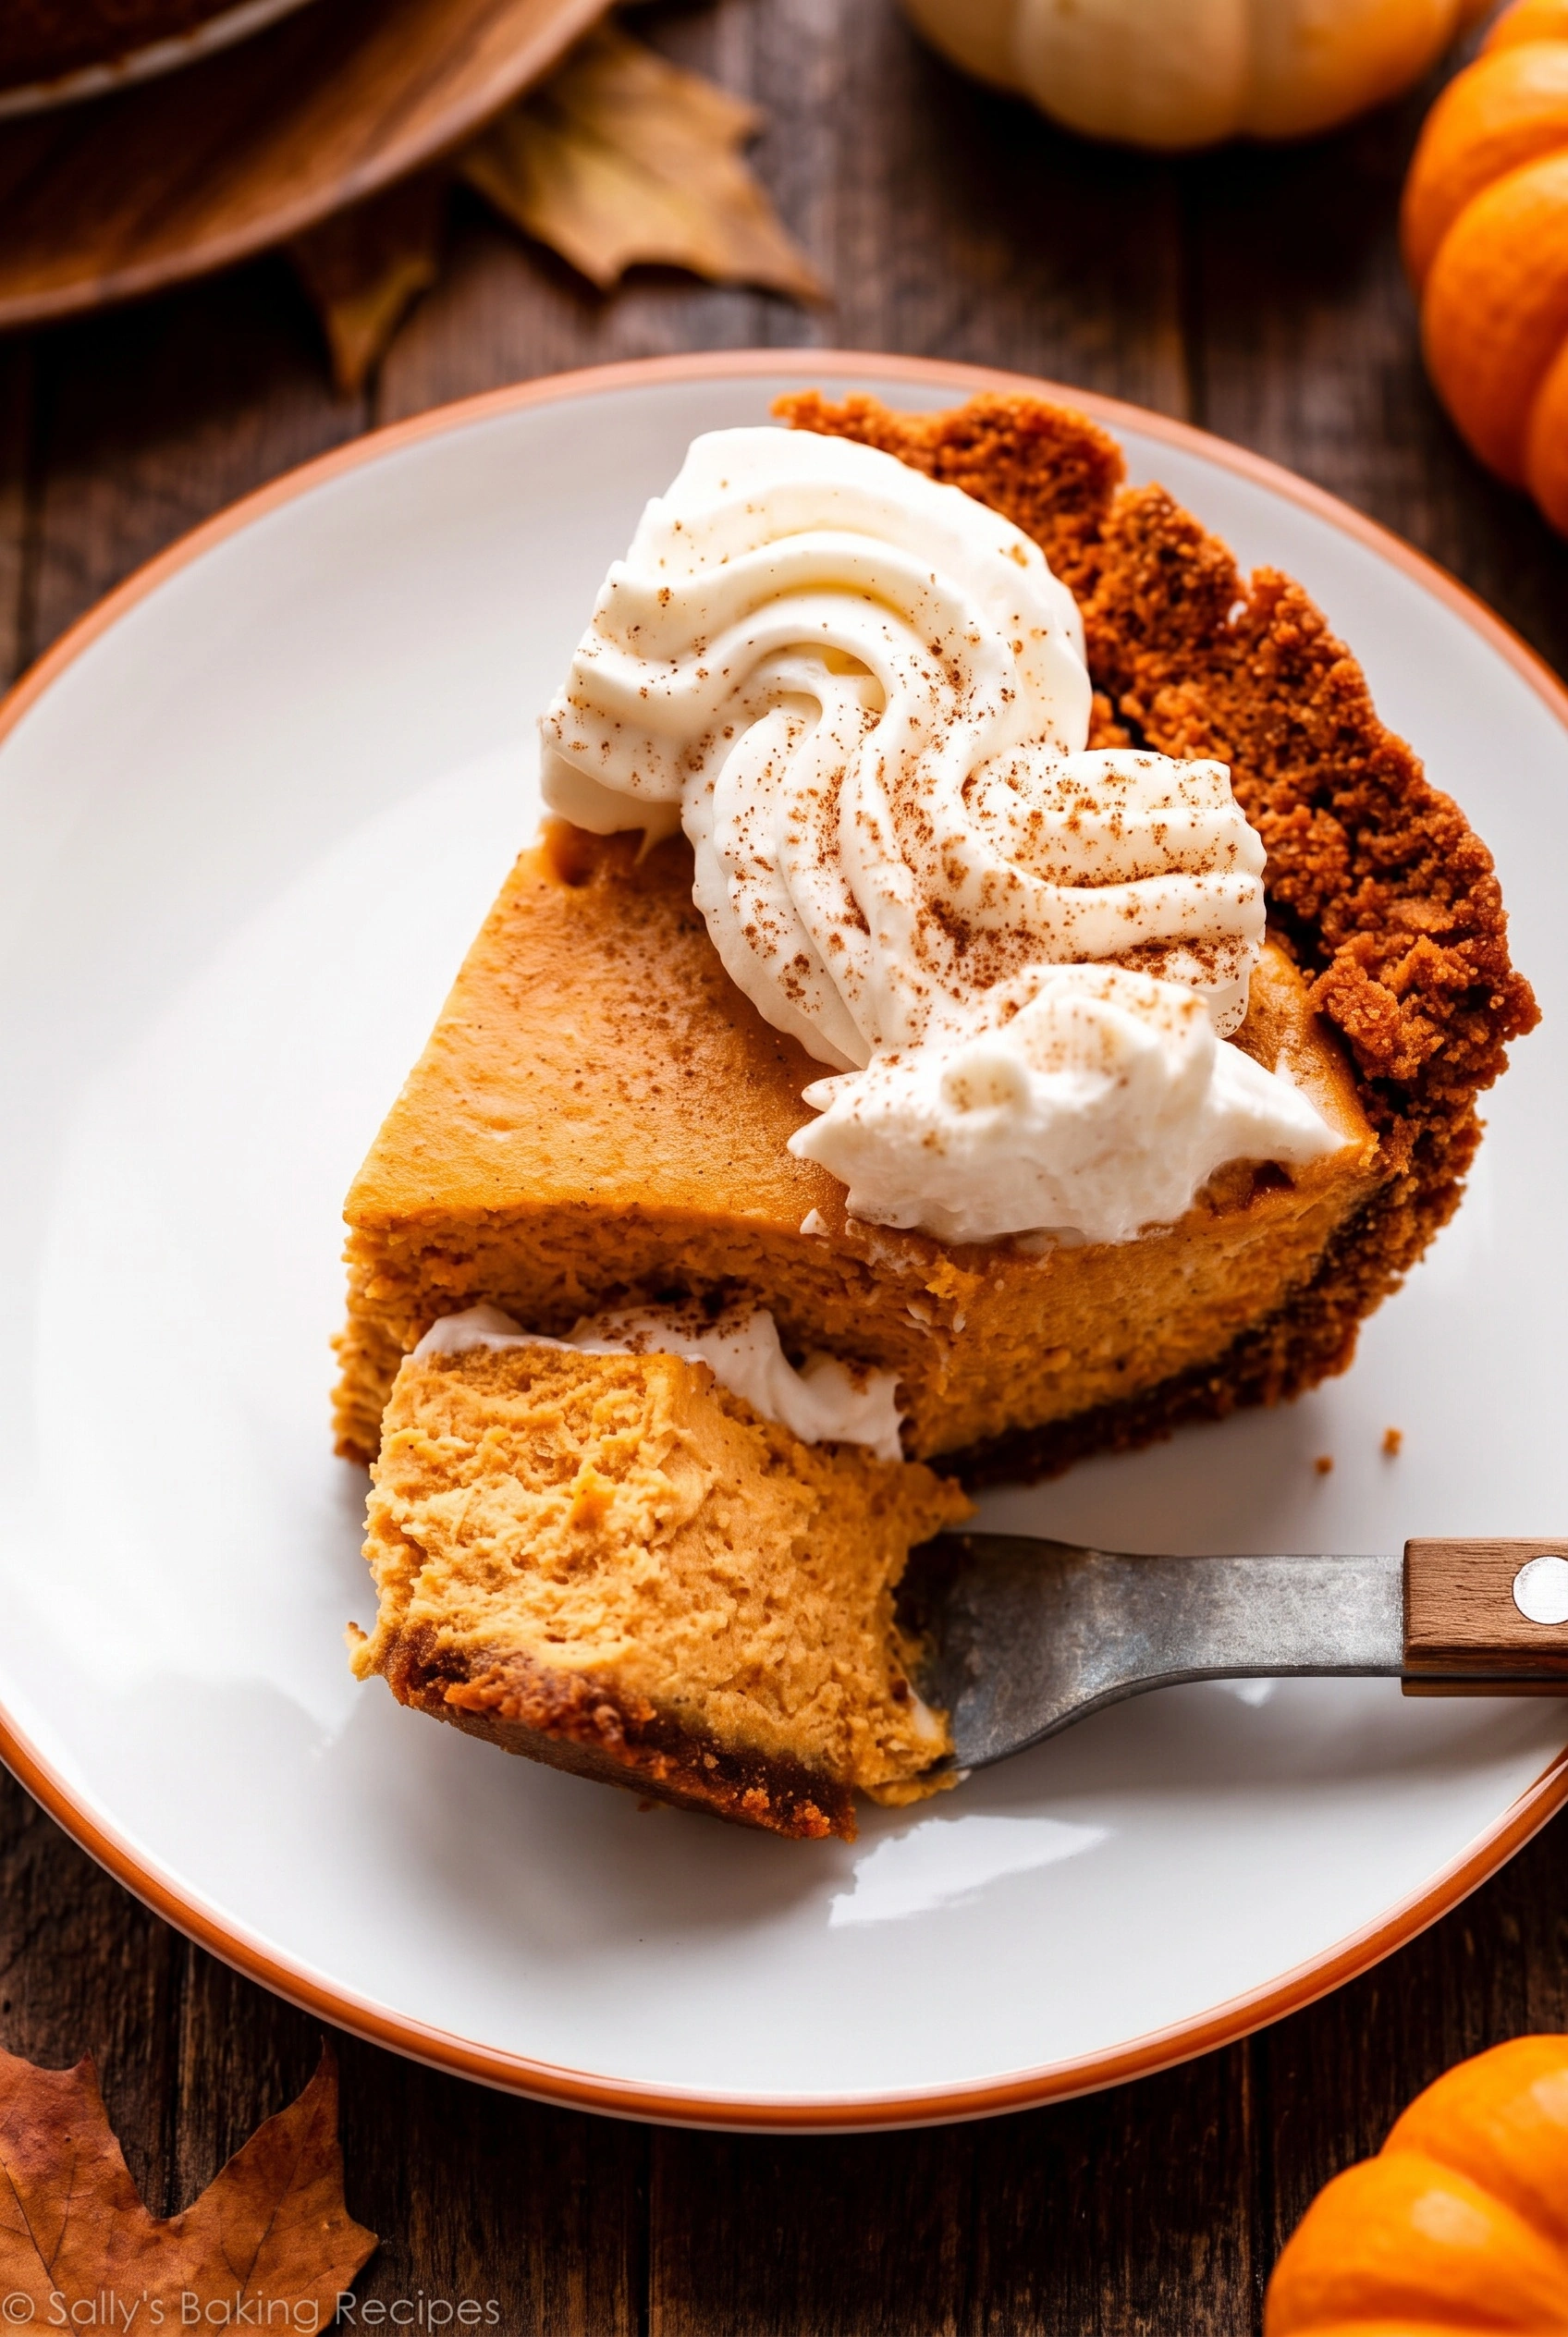
- Feel free to garnish the pie with any of the optional toppings listed in the Notes right before or a couple hours before serving. For the pictured pie, I used a piping bag fitted with Ateco 849 piping tip and piped whipped cream in a zigzag pattern around the chilled pie. For neat slices, use a clean sharp knife, and wipe the knife clean after each cut.
- Cover and store leftover pie in the refrigerator for up to 5 days.