
Wanting a fancy bakery pastry at seven on a Tuesday morning while refusing to put on real pants and interact with society is exactly what led to this pumpkin scones recipe. A spotty track record with pastry dough once produced an entire tray of rock-hard orange hockey pucks after winging it without any real technique.
Learning a few basic rules about cold butter and managing moisture finally cracked the code for a proper flaky scone. Now anyone can eat fancy pastries in pajamas without dropping six dollars a pop at a coffee shop. Here is exactly how I do it.
Why You’ll Love This Recipe
- No pants required. Leaving the house or waiting in a drive-thru line for a morning pastry never becomes necessary.
- Forgiving aesthetics. The maple glaze hides a multitude of shaping sins, so ugly scones are welcome here.
- Surprisingly fast. This easy pumpkin scone recipe with glaze comes together in under an hour from start to finish.
- Ego boost. Pulling a tray of warm, spiced scones from the oven makes anyone look like a domestic god to whoever wakes up in the house.
Tools You’ll Need
Nothing fancy, I promise.
- box grater – You need this to grate the frozen butter. Yes, we are grating butter like cheese. It is the easiest way to get flaky layers without buying a pastry blender.
- Pastry brush. This brushes cream on top before baking, though clean fingers work in a pinch.
- Large baking sheet. This gives the scones room to breathe and bake evenly.
Key Ingredient
For the Scones
- 2 cups all-purpose flour – Spoon and level this. Do not scoop it directly from the bag or your scones will be dry.
- 2 and 1/2 teaspoons baking powder – Make sure it is not expired, or your scones will be flat.
- 1 teaspoon ground cinnamon – For that warm autumn feeling.
- 1 and 1/2 teaspoons pumpkin pie spice – If you do not have a blend, you can throw together your own mix of ginger, nutmeg, and cloves.
- 1/2 teaspoon salt – To balance the sweetness.
- 1/2 cup unsalted butter – This MUST be frozen solid. Not cold, frozen.
- 1/3 cup + 2 Tablespoons heavy cream – Divided use. Do not use regular milk; it is too thin.
- 1 large egg – Cold from the fridge is fine.
- 1/2 cup canned pumpkin puree – You have to blot it dry with paper towels. I know it sounds weird, but do it.
- 1/2 cup light brown sugar – Pack it into the measuring cup.
- 1 teaspoon pure vanilla extract – The good stuff if you have it.
- Coarse sugar – Optional, for sprinkling on top to get that bakery crunch.
For the Maple Glaze
- 2 Tablespoons unsalted butter – Melts down to form the base.
- 1/3 cup pure maple syrup – Use real maple syrup, not pancake syrup.
- 1 cup confectioners’ sugar – Sift it if it looks clumpy.
- Pinch of salt – Just a tiny bit to cut the sugar.
How To Make Pumpkin Scones
Do not let the word “pastry” intimidate you; if you can grate a block of cheese, you can make these.
- Prep the oven: Preheat oven to 400°F (204°C) and line a large baking sheet with parchment paper. If you forget to line it, you will be chiseling baked-on cream and sugar off your pan until Thanksgiving.
- Mix the dry: Whisk the flour, baking powder, cinnamon, pumpkin pie spice, and salt together in a large bowl. Grate the frozen butter into the flour and toss it together until it looks like pea-sized crumbs. Toss it quickly—your hot little hands are the enemy of flaky layers here.
- Mix the wet: Whisk 1/3 cup heavy cream, the egg, blotted pumpkin, brown sugar, and vanilla extract together in a small bowl. Blotting the pumpkin feels ridiculous, I know, but if you skip it, your dough will turn into a swamp.
- Combine: Drizzle the wet mixture over the flour mixture and mix until everything appears moistened. If there is a little dry flour at the bottom of the bowl, that is between you and the mixing bowl, just stop stirring.
- Shape the dough: With floured hands, gently press the dough into an 8-inch disc on a floured surface and cut into 8 wedges. If your circle looks more like a lopsided amoeba, congratulations, you made rustic homemade pumpkin scones from scratch.
- Wash and sprinkle: Place scones 2 inches apart on the baking sheet. Brush with the remaining 2 tablespoons of heavy cream and sprinkle with coarse sugar. This gives them that fancy bakery crunch, do not skip it.
- Bake: Bake for 20-25 minutes or until lightly browned. Remove from the oven and allow to cool for a few minutes while you make the glaze.
- Make the glaze: Melt the butter and maple syrup in a small saucepan over low heat. Remove from heat, whisk in the confectioners’ sugar and salt, then drizzle over the warm scones. If the glaze drips everywhere and makes a sticky mess on the pan, you did it right.
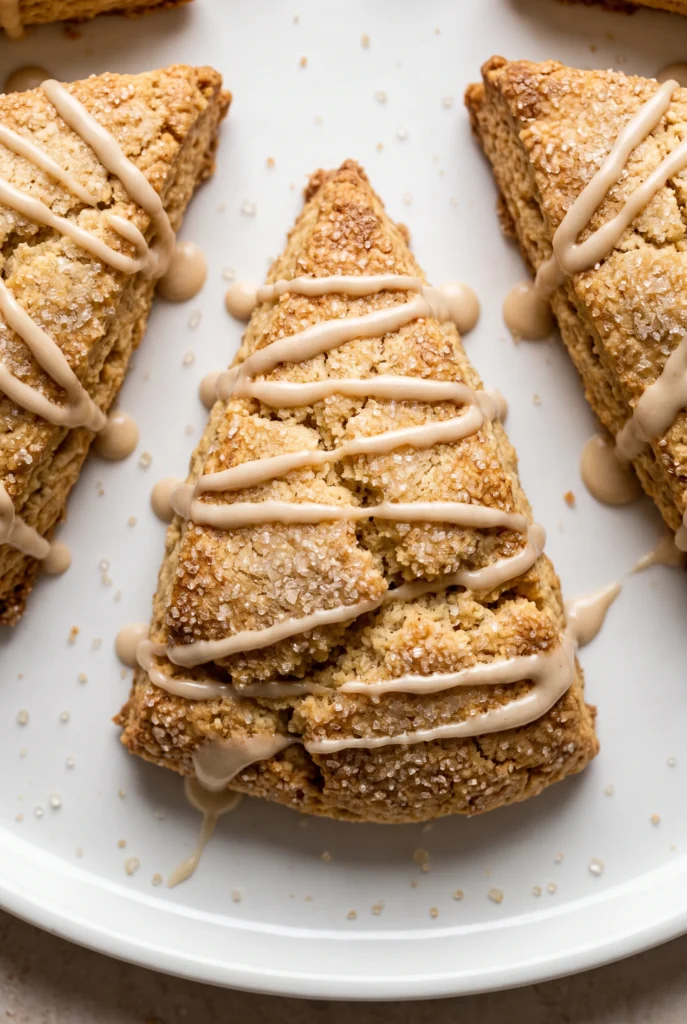
♥ The Misfit Tips!
- Never skip blotting the pumpkin. Skipping this step once left the dough so wet it needed an extra cup of flour and tasted like dusty bread.
- Always freeze the butter. Fridge-cold butter melts too quickly while mixing, losing those flaky pockets that define a proper scone.
- Embrace the ugly shape. Overhandling the dough while chasing a perfect circle melts the butter from body heat alone.
Make it yours
- Chocolate chip version. You fold mini chocolate chips into the dough for a sweeter twist on this pumpkin scones recipe.
- Cream cheese glaze version. You whisk softened cream cheese into the glaze for a tangier finish instead of the classic maple.
Perfect Pairings
These fall breakfast scones suit two specific pairings particularly well.
- A crisp autumn tailgate or neighborhood brunch benefits from exactly this kind of pastry.
- More heavy cream splashed directly into a coffee cup rounds out the whole indulgent morning.
How to Store Pumpkin Scones
❤
- Fridge. Up to three days in an airtight container, though the crisp edge softens.
- Freezer. Up to three months for the baked, unglazed scones, thawed overnight and glazed fresh.
- Reheat. A few minutes in the toaster oven for unglazed scones, or eight seconds in the microwave for glazed ones.
- Storage note. The maple glaze gets weepy in humid environments, so storing scones in a single layer works better than stacking.
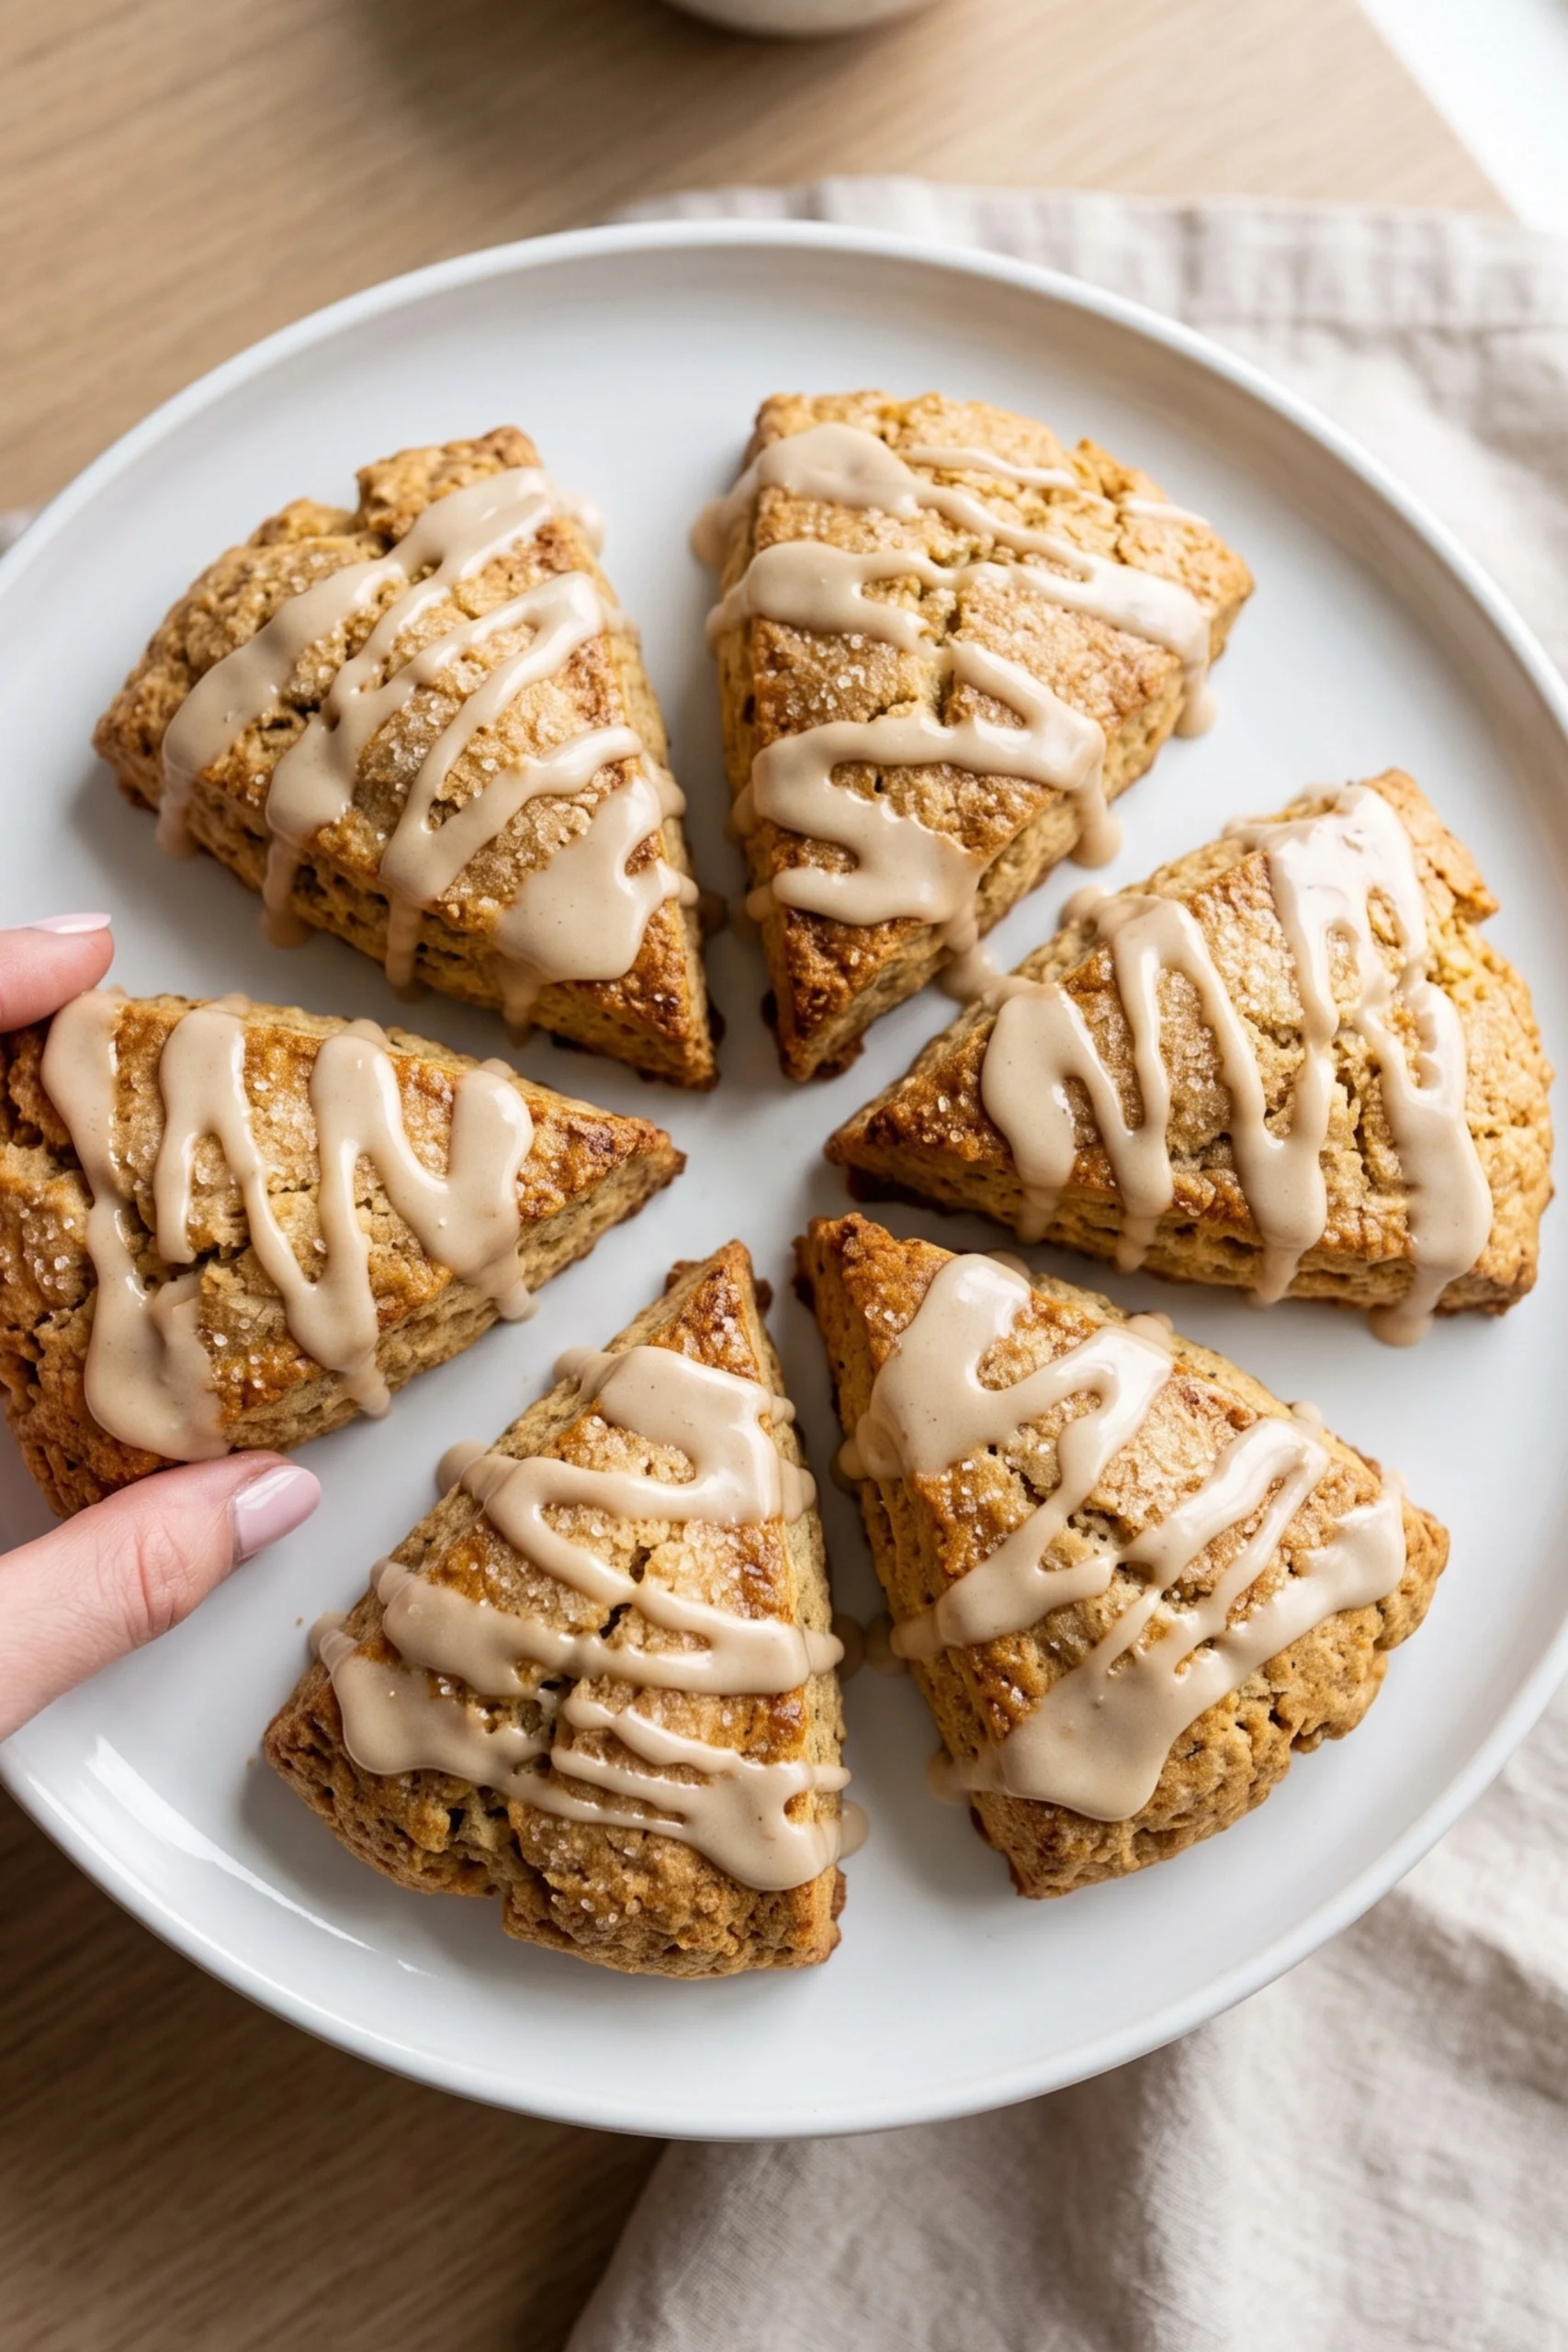
Pumpkin Scones
Ingredients
Equipment
Method
- Preheat oven to 400°F (204°C). Adjust baking rack to the middle-low position. Line 1 or 2 large baking sheets with parchment paper or silicone baking mat(s). If making mini scones, I use 2 baking sheets. Set aside.
- Whisk the flour, baking powder, cinnamon, pumpkin pie spice, and salt together in a large bowl. Grate the frozen butter (I use a box grater). Add the grated butter to the flour mixture and combine it with a pastry cutter, a fork, or your fingers until the mixture comes together in pea-sized crumbs. Set aside.
- Whisk 1/3 cup (75ml) heavy cream, the egg, blotted pumpkin (see note), brown sugar, and vanilla extract together in a small bowl. Drizzle it over the flour mixture and then mix it all together until everything appears moistened.
- With floured hands, work the dough into a ball as best you can and transfer onto a floured work surface. Press into a neat 8-inch disc and, with a very sharp knife, cut into 8 equal wedges. To make smaller scones, press dough into two 5-inch discs and cut each into 8 equal wedges. (Larger scones are pictured in this blog post.)
- Place scones at least 2 inches apart on the prepared baking sheet(s). Using a pastry brush, brush scones with remaining heavy cream and sprinkle with coarse sugar, if desired. (Gives a nice crunch!)
- Bake the larger scones for 20-25 minutes or until lightly browned. If you made 16 smaller scones, bake for 18-20 minutes or until lightly browned. Remove from the oven and allow to cool for a few minutes as you prepare the icing.
- In a small saucepan over low heat, melt the butter and maple syrup together, whisking occasionally. Once the butter has melted, remove from heat and whisk in the sifted confectioners’ sugar. Taste and add a pinch of salt if desired. Drizzle over warm scones.
- Scones are best enjoyed right away, though leftover scones keep well at room temperature or in the refrigerator for 2 extra days.