
I first attempted an apple cheddar pie because I was aggressively procrastinating cleaning my bathroom and found an ancient block of sharp cheddar in the back of my fridge. The idea of an apple pie with cheddar cheese sounded like something a pregnant woman might crave at 3 AM.
I expected one bite, a trash-can funeral, and a pizza order to cope with my failure. Instead, this sweet and savory apple pie became the best accidental dessert I had ever baked. The flaky cheese crust balances gooey cinnamon apples, while shredded cheddar inside the filling adds a salty surprise. Here is exactly how I do it.
Why You’ll Love This Recipe
- The shock factor: Serving an apple pie with cheese crust guarantees at least three confused faces before everyone asks for seconds.
- Zero pre-cooking: You toss the raw apples in a bowl and add them directly to the crust.
- Forgiving dough: Cheddar makes the dough pliable and hides terrible crimping skills.
- Holiday lifesaver: This sweet savory apple cheddar pie for Thanksgiving breaks up the endless pumpkin desserts.
- Balanced flavor: Tart apples, sugar, cinnamon, and sharp cheese keep the pie from tasting flat.
Tools You’ll Need
Nothing fancy, I promise.
- Pastry cutter: A pastry cutter keeps warm hands away from the butter.
- Box grater: Freshly grated cheese melts better than pre-shredded cheese.
- 9-inch pie dish: Glass helps you check whether the bottom crust has browned.
- Rolling pin: A wine bottle works when the rolling pin disappears.
Ingredients
For the Cheddar Pie Crust
- 2 1/2 cups all-purpose flour – Plus a little extra for dusting your counter and inevitably your shirt.
- 2 teaspoons granulated sugar – Just enough to remind you this is still a dessert.
- 1 teaspoon salt – Crucial for balancing the flavors.
- 1 cup unsalted butter – Keep it aggressively cold. If it gets warm, put it in time-out in the fridge.
- 1/2 cup ice water – Actually put ice in the water, don’t just use tap water and hope for the best.
- 1 cup freshly shredded cheddar cheese – A classic apple pie with sharp cheddar demands the block cheese, not the bagged stuff coated in anti-caking dust.
- 1 large egg + 1 Tablespoon milk – For the egg wash that makes it look like you know what you are doing.
For the Apple Pie Filling
- 8 large apples – I use a mix of Granny Smith and Fuji because my grocery store was out of Honeycrisp.
- 1/2 cup granulated sugar – Adjust slightly if your apples are incredibly sweet, but I rarely do.
- 1/4 cup all-purpose flour – To soak up the apple juices so you do not bake an apple soup.
- 1 1/2 teaspoons ground cinnamon – The non-negotiable pie spice.
- 1/4 teaspoon each ground allspice, cloves, and nutmeg – Check your expiration dates, I once used five-year-old nutmeg and regretted everything.
- 1/3 cup freshly shredded cheddar cheese – Yes, more cheese inside. Trust the process.
How To Make Apple Cheddar Pie
Roll up your sleeves and prepare your kitchen counters for a dusting of flour, because we are making a mess today.
- Mix the dry ingredients: Toss the flour, sugar, and salt in a big bowl. Add the cubed butter and cut it in until it looks like pea-sized crumbs. If a few big chunks of butter survive, that is fine, they just turn into flaky layers later.
- Hydrate the dough: Drizzle in the ice water two tablespoons at a time. Stop the second it holds together when you squeeze it. Add the cheese here. If you add too much water, you will have a sticky mess, and nobody wants that.
- Chill out: Form the dough into a ball, cut it in half, and flatten into two discs. Wrap them up and refrigerate for at least two hours. Do not skip this, or your apple pie with cheddar cheese crust recipe will melt into a sad puddle in the oven.
- Make the filling: Toss the sliced apples, sugar, flour, spices, and the extra 1/3 cup of cheese in a bowl. You can learn more about the science of fruit thickeners on King Arthur Baking, but honestly, just don’t skip the flour.
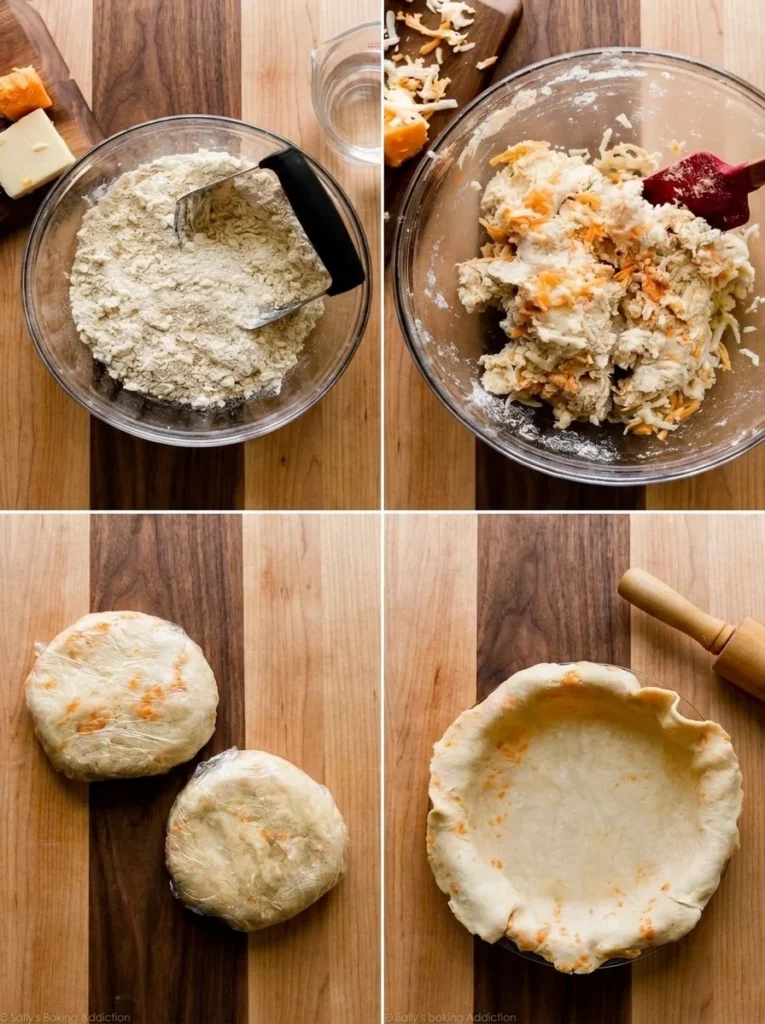
- Roll the bottom crust: Roll one disc out on a floured surface and gently drape it into your pie dish. If it tears, just patch it with your fingers like edible spackle.
- Fill and top: Dump the apple mixture in. Roll out the second crust and put it on top. Crimp the edges however you can manage, brush with the egg wash, and cut a few slits in the top so steam can escape.
- Bake it off: Bake at 400°F for 25 minutes, then turn the oven down to 375°F for another 30-35 minutes. If the edges start looking like they took a trip to the sun, cover them with foil.
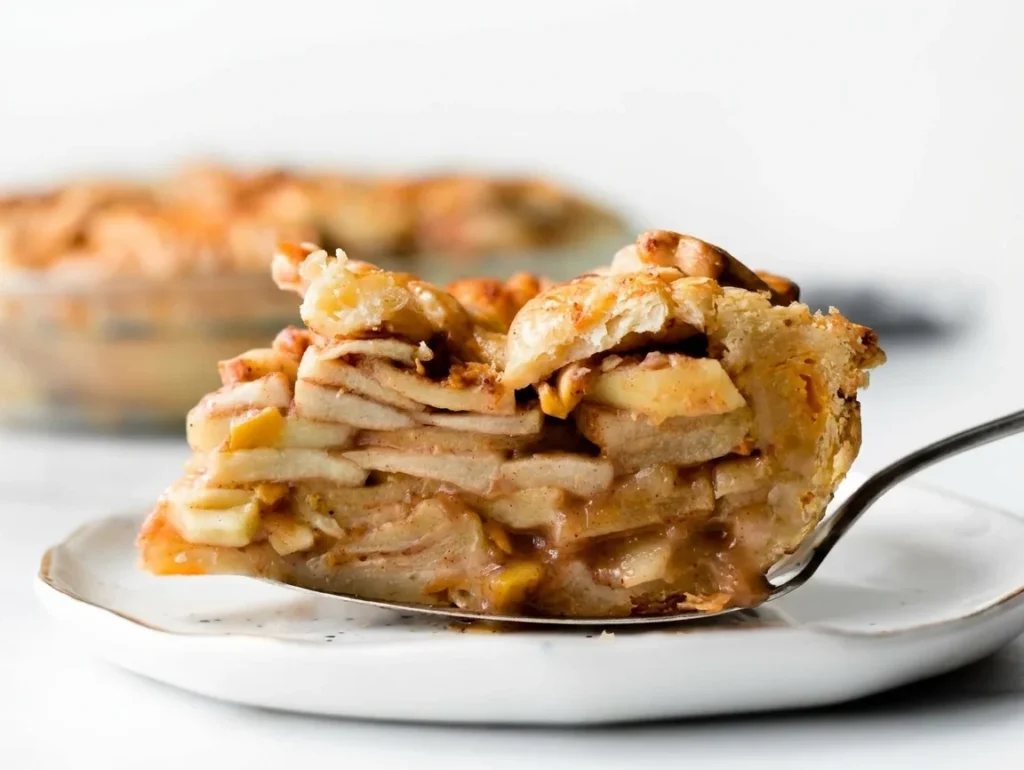
- The hardest part: Let it cool for three full hours before slicing. Cutting a hot pie results in an apple avalanche, and I have the stained oven mitts to prove it.
♥ The Misfit Tips!
- The cheese matters I once used pre-shredded cheddar from a bag because I was feeling lazy. The cheese didn’t melt right, and the crust had a weird, gritty texture. Buy the block and grate it yourself.
- Keep it cold My kitchen gets incredibly hot when the oven is on. If your dough starts feeling greasy or soft while you are rolling it, throw the whole thing in the freezer for ten minutes. Do not fight warm dough.
- Apple selection Use a mix of sweet and tart apples. If you use all sweet apples, the pie becomes cloying and fights with the savory cheese instead of complementing it.
Make It Yours
You can use all Granny Smith apples for a sharper filling or combine Fuji with a tart variety for extra sweetness. You can add a pinch of cayenne to the crust if you enjoy a subtle spicy finish.
This classic apple pie with sharp cheddar delivers the traditional cinnamon apple flavor with a salty cheese crust.
Perfect Pairings
These go perfectly with a complete disregard for your lactose tolerance.
- A giant scoop of vanilla bean ice cream. Cold, sweet cream makes the salty crust taste ridiculous.
- Morning coffee, because pie for breakfast counts as an adult privilege.
- A Thanksgiving dinner spread where you want to silently challenge your aunt’s store-bought pie.
- A slice of sharp cheddar on the side when you have not reached your dairy limit.
How to Store
❤
- Fridge: Cover the pie tightly and refrigerate it for up to five days.
- Freezer: Freeze the baked pie for up to three months.
- Thaw: Thaw the pie overnight in the refrigerator.
- Reheat: Warm individual slices in a 350°F oven for about ten minutes.
- Microwave note: Avoid the microwave because it softens the cheese crust.
- Storage note: The crust loses some crunch in the refrigerator, but the flavors improve.
Apple Cheddar Pie
Ingredients
Equipment
Method
- Mix the flour, sugar, and salt together in a large bowl. Add the cubed butter on top. Using a pastry cutter, food processor, or 2 forks (pastry cutter is ideal, see post above), cut the butter into the dry ingredients until all flour is coated. You’re looking for pea-sized bits of flour-coated butter. A few larger bits of butter is OK.
- Measure 1/2 cup (120ml) of water in a cup. Add ice. Stir it around. From that, measure 1/2 cup (120ml) of water since the ice has melted a bit. Drizzle the cold water in, 2 Tablespoons (30ml) at a time, and stir after each addition. Stop adding water when the dough comes together easily and begins to form large clumps. The dough will feel moist and a little sticky, but not overly wet. Do not add any more water than you need to. I always use about 1/2 cup (120ml) of ice water. Using a silicone spatula, carefully fold in the cheese. Avoid overworking the dough.
- Place pie dough on a lightly floured work surface. Using floured hands, fold the dough into itself until the flour is fully incorporated into the fats. Form it into a ball. Cut dough in half. Using your hands, flatten each half into a 1-inch thick disc. Wrap each disc tightly in plastic wrap and refrigerate for at least 2 hours and up to 5 days.
- In a large bowl, stir the apple slices, sugar, flour, cinnamon, allspice, cloves, nutmeg, and 1/3 cup cheese together until thoroughly combined. Set filling aside as you roll out the pie crust.
- On a floured work surface, roll out one of the discs of chilled dough (keep the other one in the refrigerator). Turn the dough about a quarter turn after every few rolls until you have a circle 12 inches in diameter. Smooth out the edges with your fingers if you notice cracks. Keeping your work surface, rolling pin, and hands lightly floured makes rolling out easier. Carefully place the dough into a 9-inch pie dish. Tuck it in with your fingers, making sure it is smooth. You can watch me do this at the :43 mark in my pecan praline pumpkin pie video. (Also, for a nice thick edge, I usually don’t trim the overhanging dough from the edges of the crust. Instead, fold the excess dough back over the edge and use your hands to mold the edge into a nice thick rim around the pie. You can do this before or after you add the top pie crust.)
- Spoon the filling into the crust.
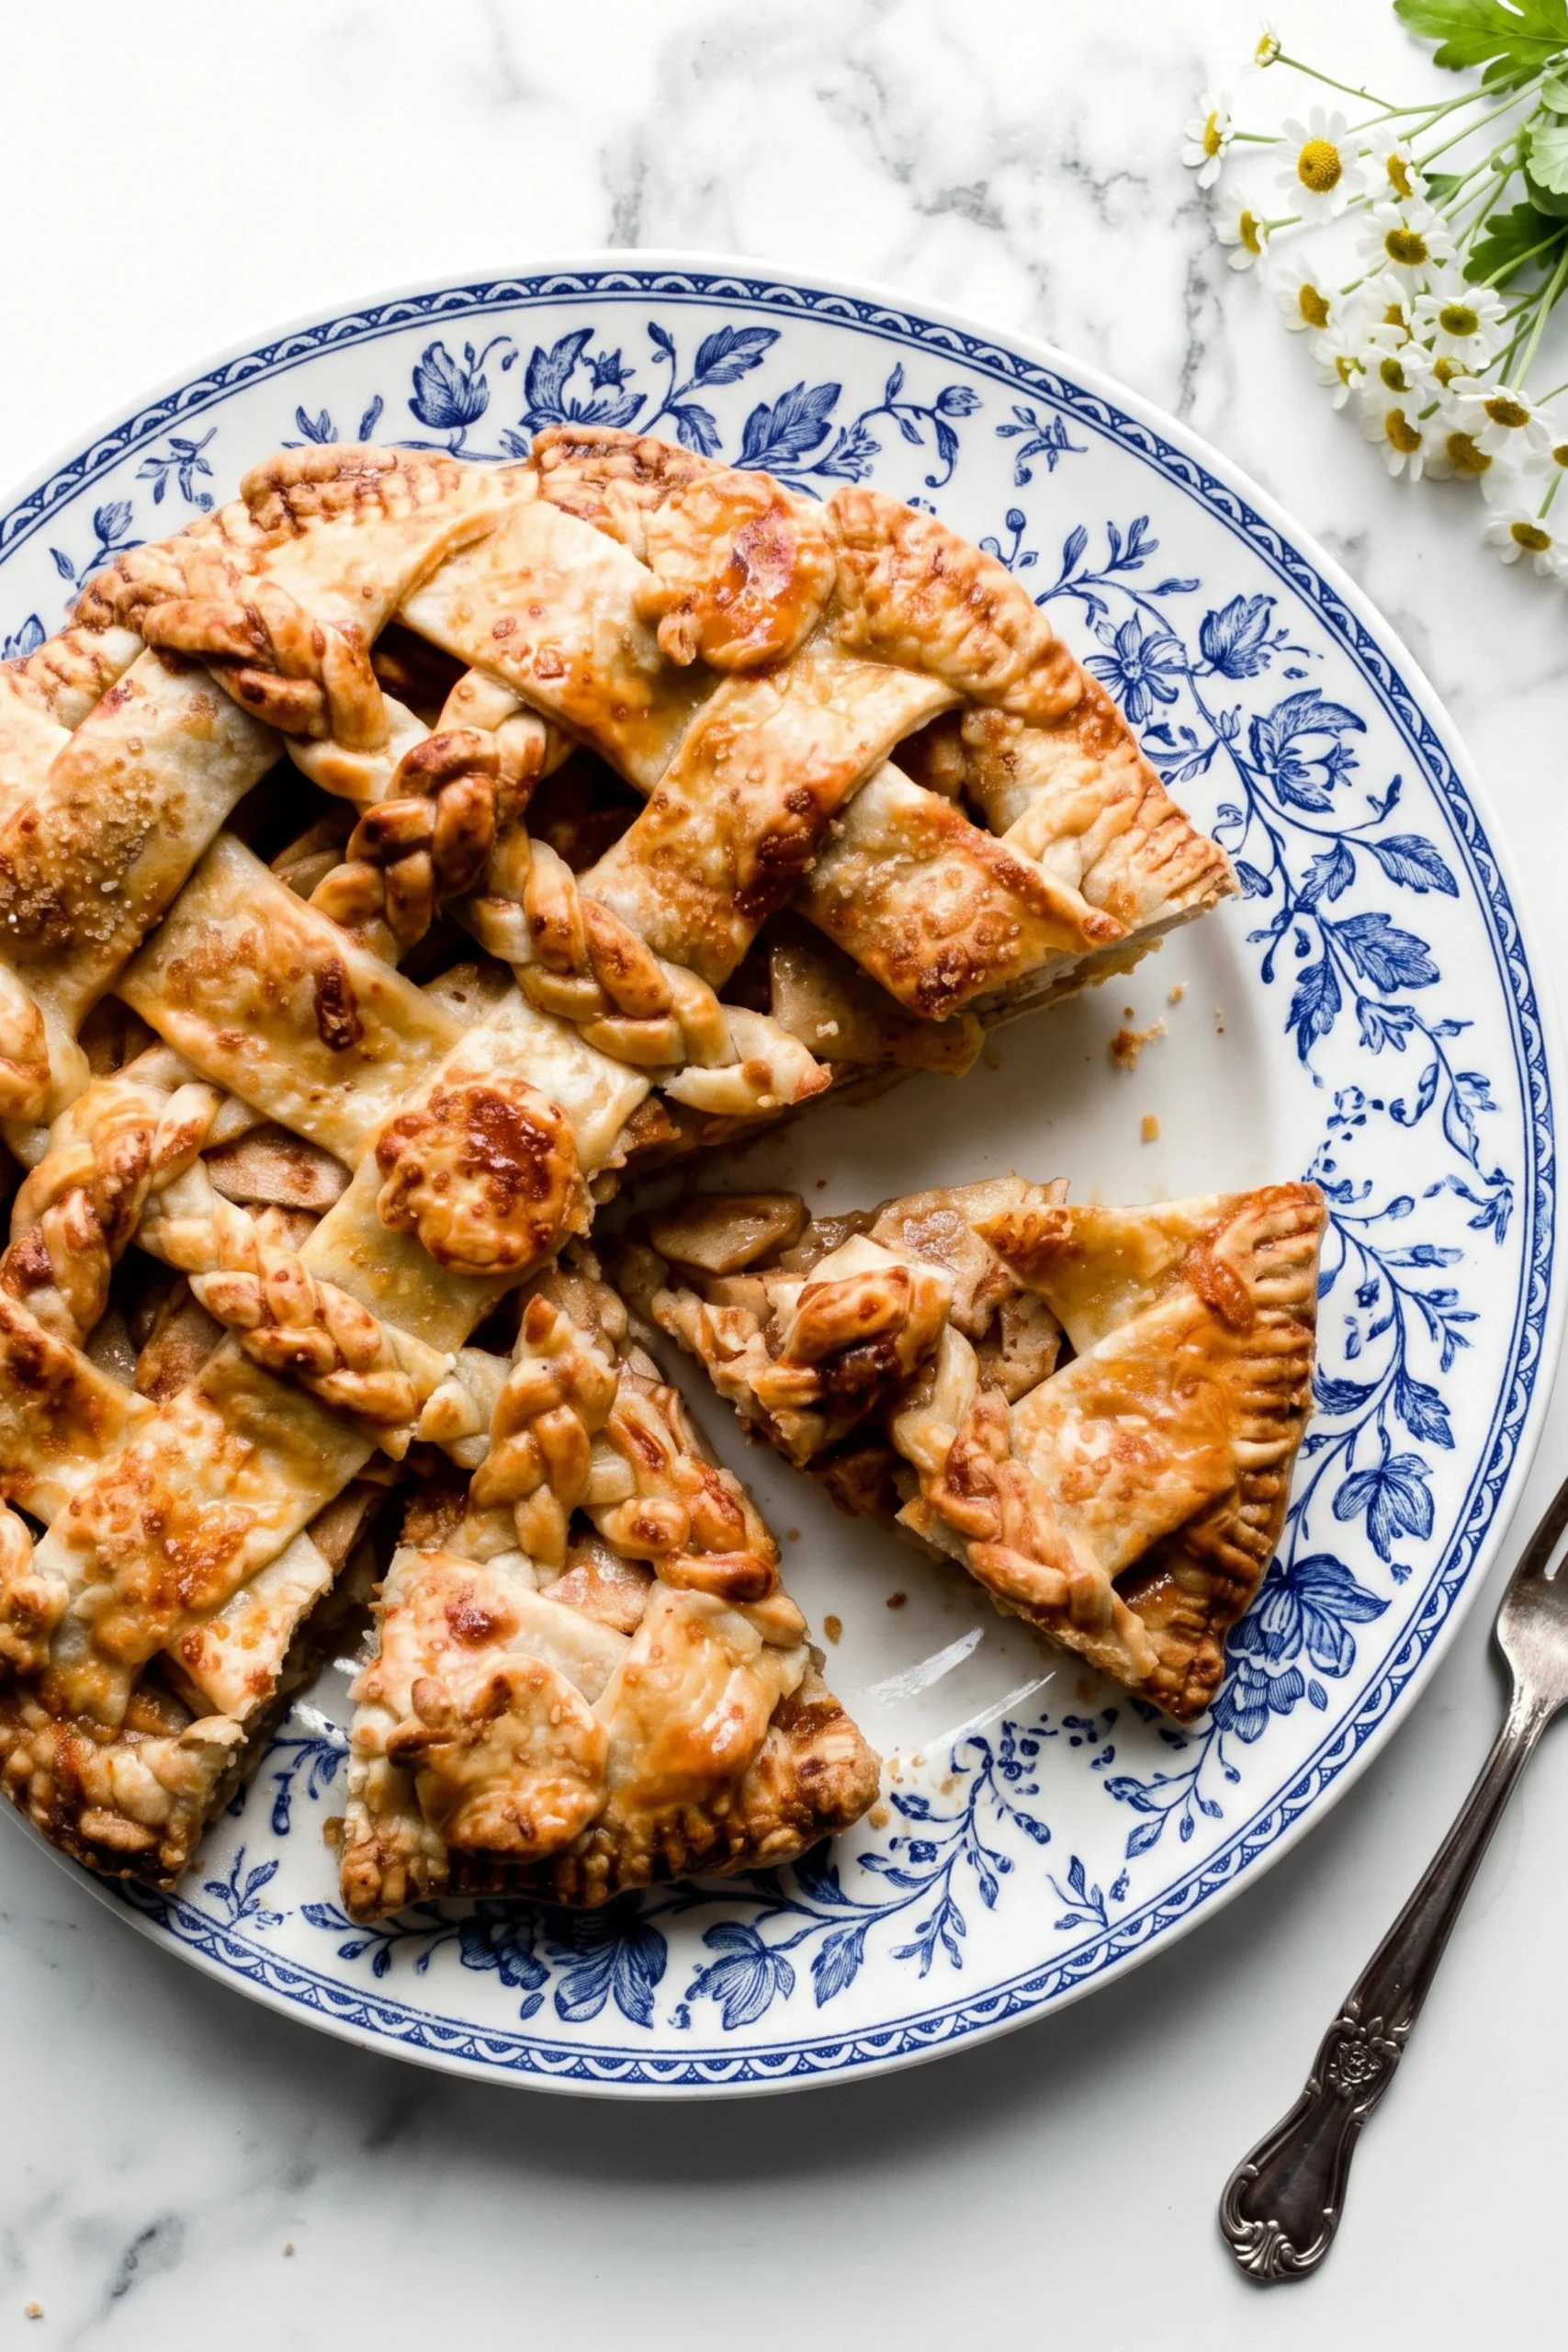
- Roll out the 2nd pie crust just like you rolled out the bottom pie crust. You can simply lay the pie crust on top of the filling to make a double crust pie (slit a few holes in the top for air vents) or you can create a pretty pie crust design on top like a lattice pie crust and/or a braided pie crust. Crimp the edges with a fork or flute the edges with your fingers. (Review my how to crimp and flute pie crust tutorial if you need extra help with this step.) Brush the pie crust with egg wash. Sprinkle with coarse sugar, if desired. This adds a lovely sweet crunch.
- Preheat oven to 400°F (204°C). As the oven preheats, place your pie in the refrigerator or freezer to keep it cold. The colder the pie dough, the more likely it will hold its beautiful shape.
- Place the pie onto a large baking sheet and bake for 25 minutes. Keeping the pie in the oven, turn the temperature down to 375°F (190°C) and bake for an additional 30–35 minutes. After the first 20 minutes of bake time, I place a pie crust shield on top of the pie to prevent the edges from browning too quickly.
- Cool for at least 3 full hours at room temperature before serving. This time allows the filling to thicken up. Cover leftovers tightly and store in the refrigerator for up to 5 days.