
A half-empty box of brownie mix at eleven at night, still in pajamas, is exactly what led to these buckeye brownies. An hour of doom-scrolling “buckeye brownies near me” hoping a bakery would magically deliver to the couch ended with a much more realistic solution instead. A first attempt at this buckeye brownies recipe once involved aggressively stirring peanut butter that refused to cooperate, all because the butter never got melted first.
That arm workout wasn’t part of the plan. Once the process actually came together, an obscenely rich, peanut-buttery layer over a fudgy brownie base made every earlier failure completely worth it. Here is exactly how I do it.
reader review
“Fudgy Fudgy and Fudgy. I used the boxed brownie mix exactly like the recipe suggests and let the whole pan chill the full hour before cutting, and every square sliced perfectly clean. My coworkers assumed I made the brownie base completely from scratch and I let them believe it.” – Fernanda J.
Loved this too? Add your reviewWhy You’ll Love This Recipe
- It uses a boxed mix . Skipping the flour and cocoa powder measuring saves both time and sanity.
- Zero baking for the topping . The peanut butter layer only needs a microwave and tastes like the inside of a giant candy cup.
- It feeds a massive crowd A full pan means 24 squares, which is dangerous to keep unsupervised in the house.
- Minimal dishwashing . A couple of bowls handle the toppings, sparing anyone from scrubbing a dozen pots and pans.
Tools You’ll Need
Nothing fancy, I promise.
- 13×9 baking pan – The standard vessel for all lazy dessert endeavors.
- Offset spatula. Spreading the peanut butter layer becomes far less infuriating with this tool.
- Microwave-safe bowls. Melting chocolate this way skips the fuss of a double boiler entirely.
Ingredients
- 1 package fudge brownie mix (13×9-inch pan size) – Plus whatever oil and eggs the box demands; I am not here to argue with the back of a box.
- 1/2 cup butter plus 6 tablespoons butter, divided – Yes, that is a lot of butter, and no, we are not thinking about it.
- 1 cup creamy peanut butter – Use the cheap, highly processed kind; natural peanut butter will separate and ruin everything.
- 2 cups confectioners’ sugar – Sift it if you have the patience, or just smash the lumps with a spoon like I do.
- 6 ounces semisweet or dark chocolate chips – Dark chocolate helps cut the sweetness, and according to the baking nerds at King Arthur Baking, quality chips actually melt smoother anyway.
Instructions
Set your expectations low for the prep work, because the hardest part is waiting for things to cool down.
- Bake the base: Prepare and bake brownie mix in a greased 13×9-in. baking pan according to package directions. Let cool. Do not try to rush the cooling process; spreading peanut butter on hot brownies results in a horrifying, oily slip-and-slide.
- Mix the peanut butter layer: In a large microwaveable bowl, microwave 1/2 cup butter and peanut butter on high 30-60 seconds or until butter has melted. Stir in confectioners’ sugar; spread over cooled brownies. If the mixture looks a little grainy, just keep stirring aggressively; it is a cheap arm workout.
- Melt the chocolate: In another large microwaveable bowl, microwave remaining 6 tablespoons butter and chocolate chips on high in 30 second increments, stirring between each, until melted. Spread over brownies. Let cool; cut into squares. If you skip the 30-second intervals and nuke it for two minutes straight, the chocolate will seize into a burnt rock, and you will cry.
♥ The Misfit Tips!
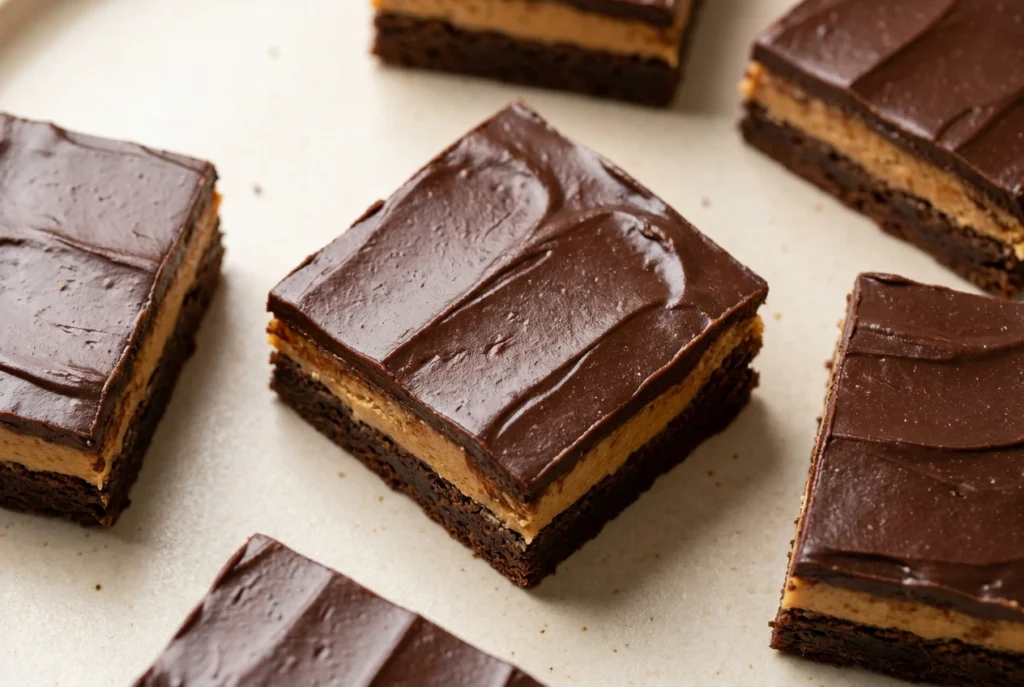
- Chill before cutting. Rushing this step once left chocolate smeared across the knife like a toddler’s finger painting. A full hour in the fridge sets everything properly.
- Try the muffin tin hack. Baking the brownie mix in a muffin tin instead of a pan creates individual buckeye brownie cookies with a much shorter baking time.
- Skip natural peanut butter entirely. Natural peanut butter separates during melting and turns the middle layer into a weird, gritty soup.
Make it yours
- Crumbl-style version. Baking these as thick, individual rounds and topping each one generously creates a buckeye brownie cookie crumbl inspired treat perfect for gifting.
- Espresso version. Stirring a teaspoon of instant espresso powder into the melted chocolate layer deepens the flavor against the sweet peanut butter.
Perfect Pairings
These buckeye brownies suit two specific pairings particularly well.
- A strong cup of black coffee balances out the ridiculous amount of sugar in every square.
- A scoop of vanilla bean ice cream works for anyone who has entirely given up on moderation.
How to Store Buckeye Brownies
❤
- Fridge. Up to five days in an airtight container, though the chocolate develops a nice snap while the brownie base firms up.
- Freezer. Up to three months wrapped tightly in plastic wrap and stored in a freezer bag.
- Reheat. Skipping reheating entirely avoids turning the peanut butter and chocolate layers into molten lava.
- Storage note. Keeping these away from a hot car or sunny kitchen window prevents a literal puddle of chocolate.
Buckeye Brownies
Ingredients
Equipment
Method
- Combine the brownie mix with the eggs and oil. Bake the brownies in a greased 13×9-inch pan according to the brownie package directions. Let the brownies cool completely before proceeding. Editor’s Tip: Line your baking pan with parchment and grease it lightly with cooking spray or butter for easy brownie removal.
- In a large microwaveable bowl, microwave 1/2 cup butter and the peanut butter on high for 30 to 60 seconds, until the butter has melted. Add the confectioners' sugar and stir until smooth. Spread the peanut butter mixture over the cooled brownies. Editor's Tip: An offset spatula one of our Test Kitchen's go-to gadgetsmakes it easy to spread the peanut butter and chocolate layers evenly.
- In another large microwave-safe bowl, microwave the chocolate chips and remaining 6 tablespoons butter on high for 30 seconds and then stir. Continue microwaving in 30-second increments, stirring between each time, until completely melted. Spread the chocolate mixture over the peanut butter layer. Editor's Tip: If you prefer not to use a microwave, melt the chocolate and butter in a double boiler.
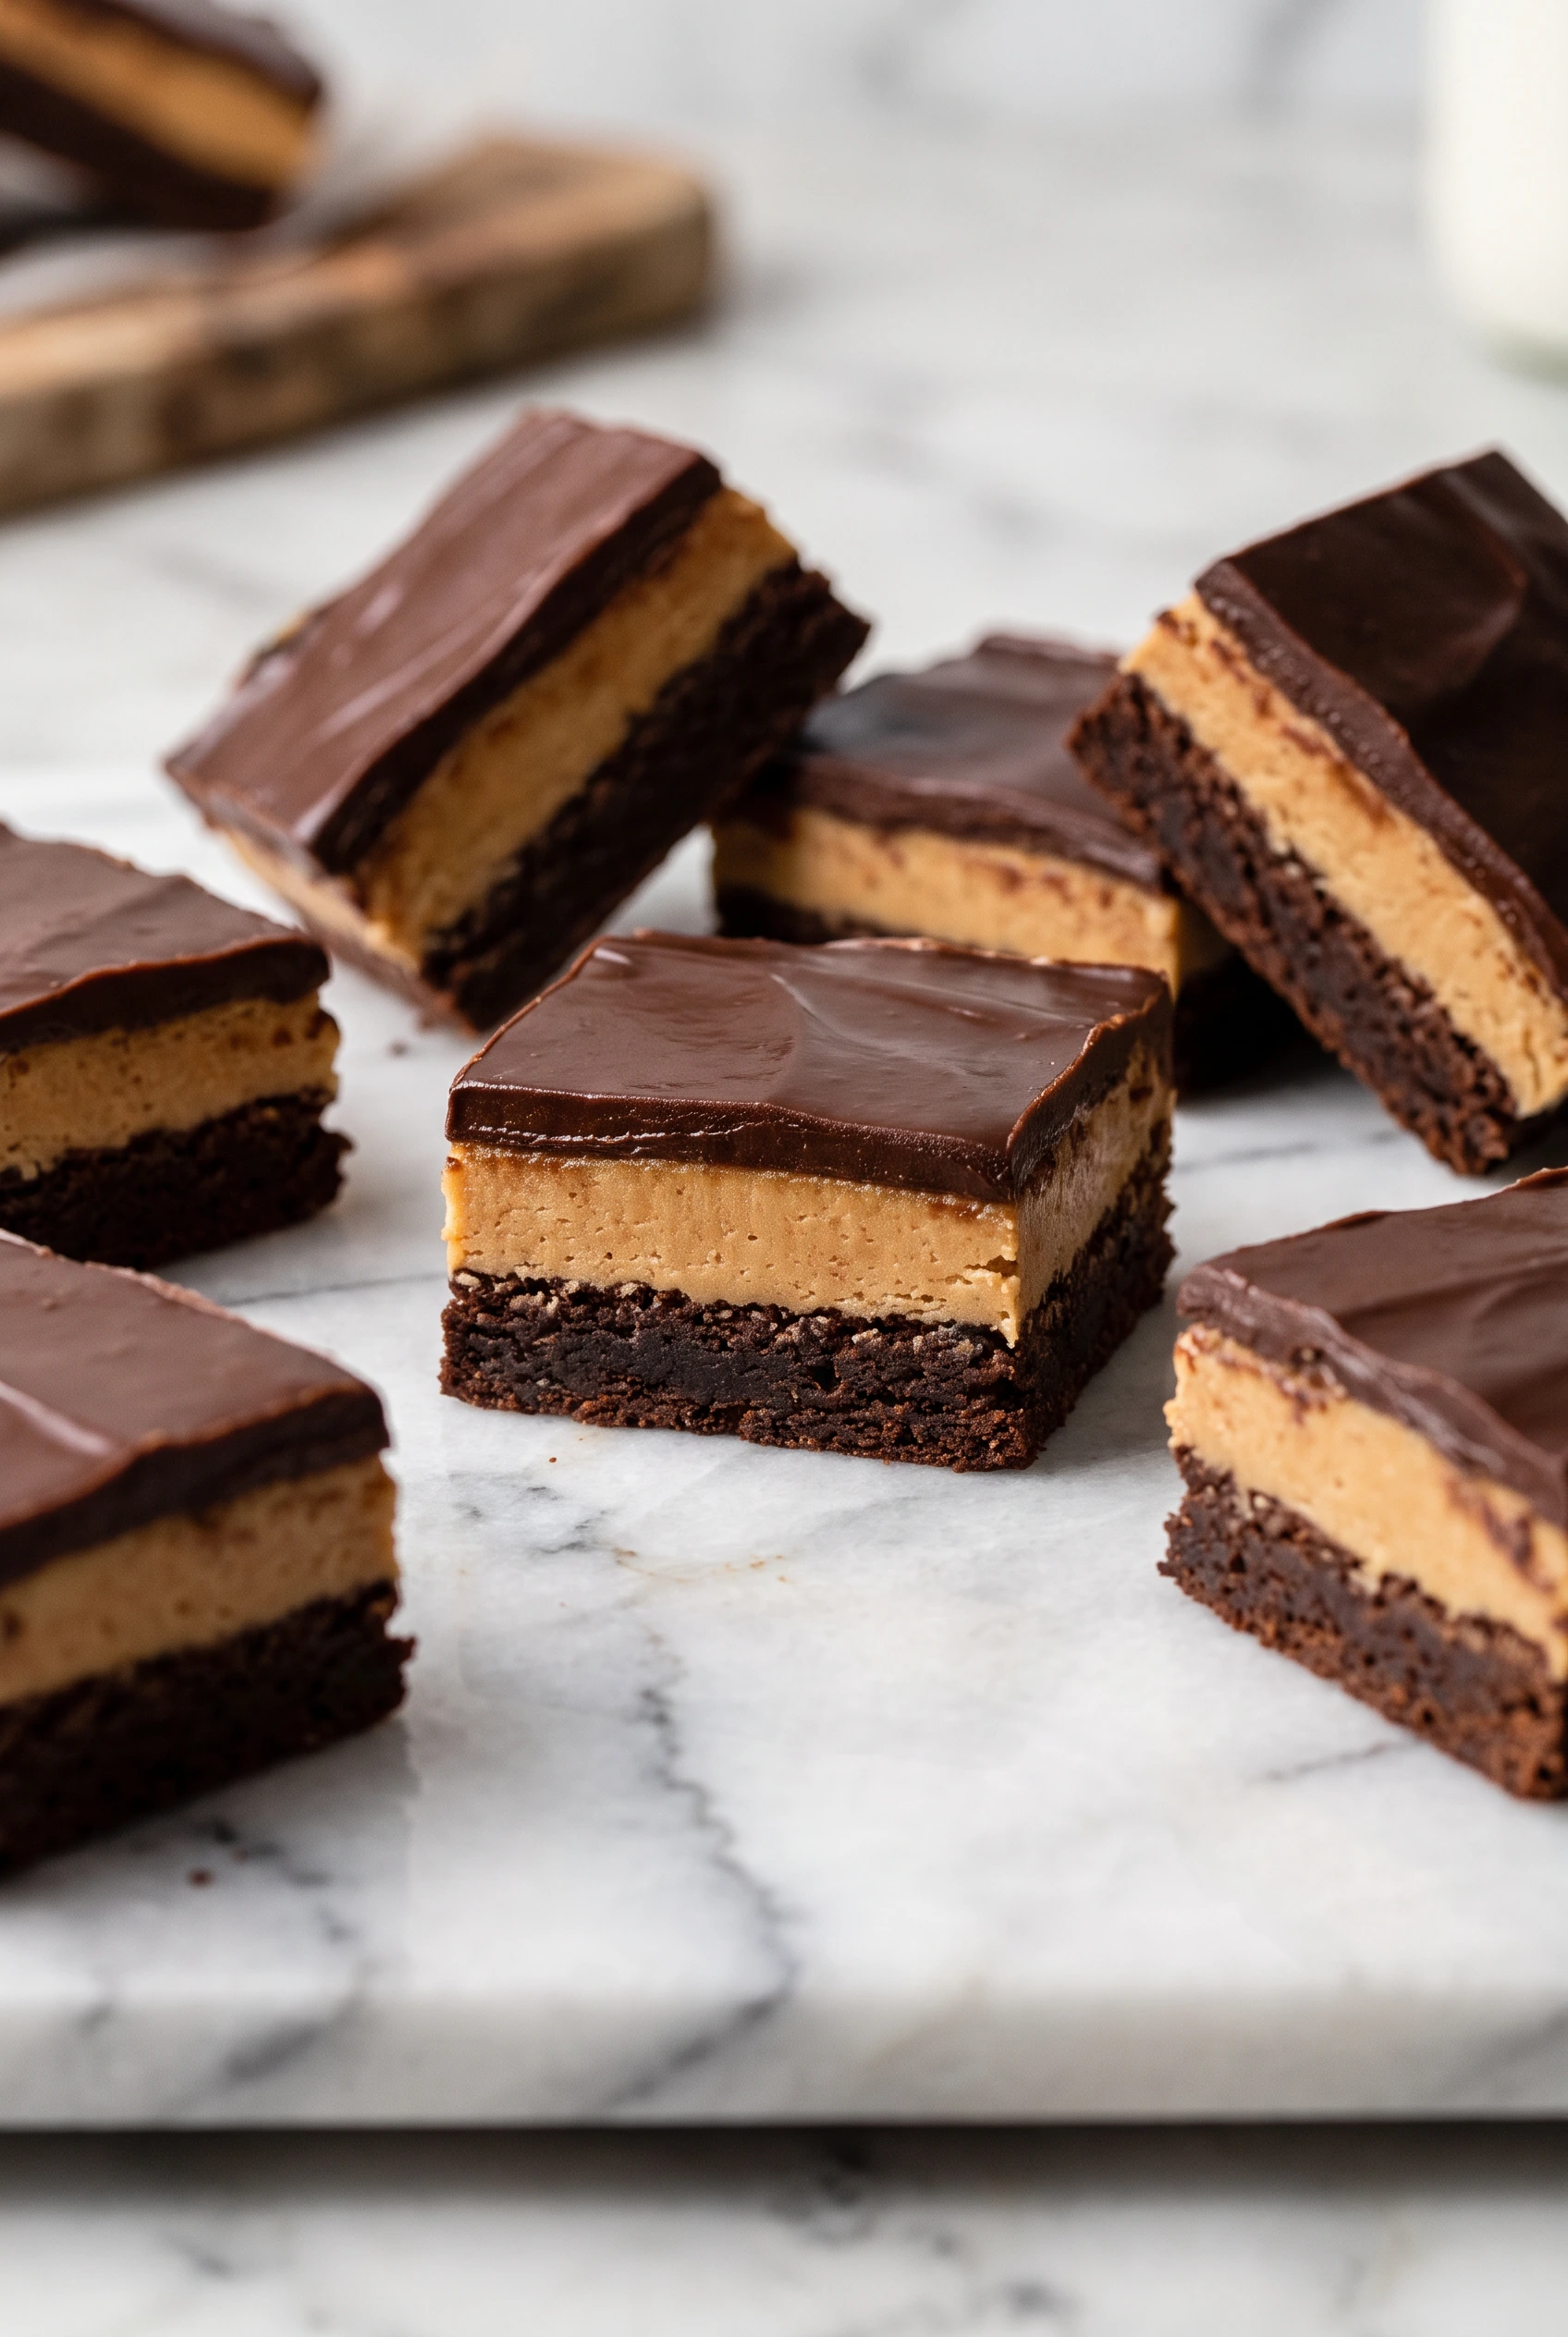
- Let the peanut butter and chocolate layers cool completely. Editor’s Tip: Refrigerate the pan of brownies for at least an hour to help set the peanut butter and chocolate layers. Then, cut the brownies into squares.