
A coffee tasting entirely too healthy on a random Tuesday morning is exactly what led to these Cream Cheese Brownies. Half a block of Philadelphia sitting in the fridge and staring judgmentally at breakfast turned pure guilt into a legitimate excuse to bake chocolate before ten in the morning. Swirling batter has ended in a muddy brown puddle more than once, and mixing brownies and cream cheese together always brings that same risk.
This cream cheese brownie recipe skips the drama with a foolproof swirl technique that turns two separate desserts into one impressive pan. Here is exactly how I do it.
Why You’ll Love This Recipe
- High reward, low effort. This looks like two separate desserts took hours, but the actual prep runs under 15 minutes.
- Pantry friendly. Only eight basic ingredients are needed, and most already sit in the kitchen.
- Intensely chocolatey. The chocolate layer turns out so unapologetically fudgy it basically doubles as a truffle.
- Crowd pleaser. Choosing between a chocolate dessert and a cheesecake stops being necessary entirely.
Tools You’ll Need
Nothing fancy, I promise.
- square 8×8 baking pan – This is non-negotiable unless you want paper-thin brownies.
- Hand mixer. A whisk works for the brownie batter, though whisking cold cream cheese by hand is a workout nobody asked for.
- Parchment paper. Scrubbing baked-on chocolate off a pan ranks as a personal nightmare avoided entirely here.
Ingredients
For the Cheesecake Batter
- 6 ounces cream cheese – Softened! If you ignore this, you will have weird white lumps in your dessert.
- 1/4 cup + 2 tbsp granulated sugar – To sweeten the tanginess.
- 1 large egg – Room temperature, so it actually mixes in smoothly.
- 1 tsp vanilla extract – The cheap stuff is honestly fine here.
For the Brownie Batter
- 1/2 cup unsalted butter – If you only have salted, just skip the extra salt later.
- 2/3 cup semi-sweet chocolate chips – We are melting these, so do not stress about the brand.
- 3/4 cup granulated sugar – For that classic crackly top.
- 2 large eggs – The glue that holds our chocolate dreams together.
- 2 tsp vanilla extract – Because measuring vanilla with your heart is a lifestyle.
- 1/2 cup all-purpose flour – Spoon and level this, or your dessert will taste like a chocolate loaf of bread.
- 1/2 cup unsweetened cocoa powder – To give this cream cheese chocolate brownie its rich depth, we use unsweetened cocoa powder for maximum impact.
- 1/2 tsp salt – Just enough to cut the sweetness.
How To Make Cream Cheese Brownies
Turn on the oven, grab your bowls, and prepare to make your kitchen smell illegally good.
- Prep the pan: Line a square 8×8 baking dish with parchment paper hanging over all sides and preheat the oven to 350 F/180 C. If you skip the parchment paper sling, getting these out of the pan will require a chisel and a prayer.
- Mix the cheesecake: Cream the sugar and cream cheese together until smooth and combined, then scrape down the sides and bottom of the bowl. Mix in the egg and vanilla until smooth, then set the bowl aside. If the cream cheese is still a little lumpy, just pretend it is rustic—it will still taste fine.
- Melt the chocolate: Melt the butter and chocolate chips together until smooth, and set aside. Do this in the microwave in 30-second bursts unless you enjoy the smell of burnt chocolate.
- Whisk the eggs: In a medium bowl, whisk together the eggs, vanilla, and sugar until pale and fluffy. Whisking constantly, stream the melted butter and chocolate mixture into the bowl until combined. Do not stop whisking, or you will accidentally scramble the eggs with hot butter.
- Add the dry ingredients: Fold in the flour, cocoa powder, and salt with a rubber spatula until just combined. Stop mixing as soon as the flour disappears; we are making brownies, not bread.
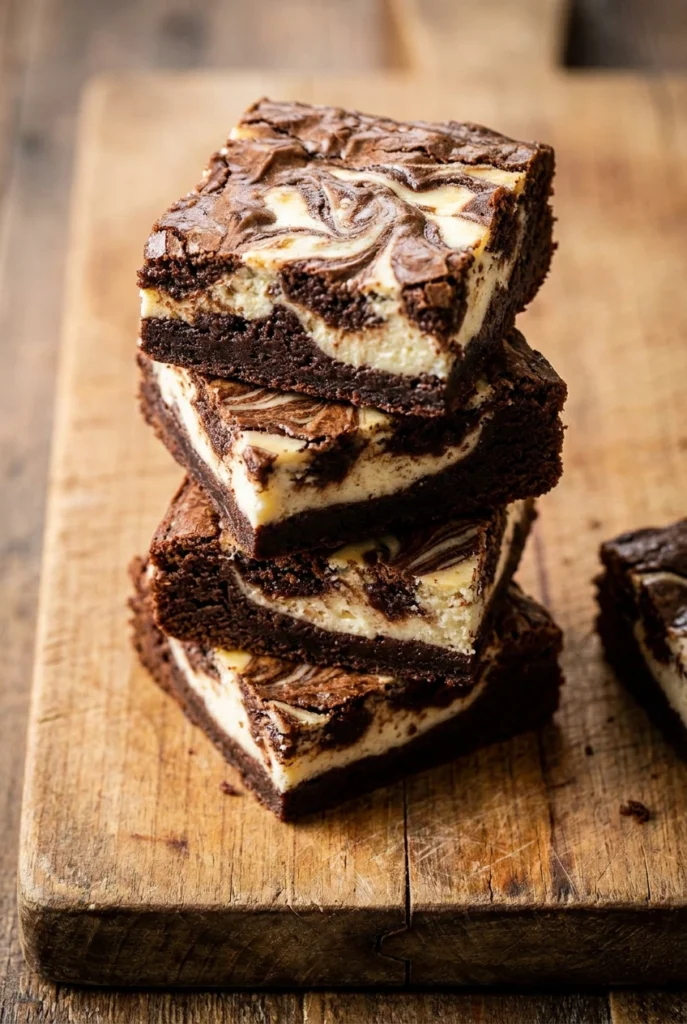
- Assemble and swirl: Scoop half of the brownie batter into the prepared baking dish, leaving some space in between each scoop, then do the same with the cheesecake batter. Continue alternating batters, then use a toothpick or butter knife to swirl them together. Do not over-swirl, or you will lose the marble brownies effect and just have a weird beige blob.
- Bake: Bake the brownies in the preheated oven for 26 minutes, or until a toothpick inserted into the center comes out covered in a few moist crumbs. They might look slightly underdone in the center, but trust the process—they firm up as they cool.
- Cool and cut: Let the brownies cool completely on a wire rack, then cut with a very hot knife into 16 servings. Waiting for them to cool is torture, but cutting them hot will turn them into a delicious, unphotogenic mush.
♥ The Misfit Tips!
- Never rush the softening step. Microwaving cold cream cheese too long once turned it into a weird hot soup instead of a smooth, workable texture.
- Skip the glass pan. Glass takes longer to heat and holds onto heat afterward, which leads to overbaked, dry edges compared to metal.
- Chill before cutting. Sticking the fully cooled pan in the fridge for 30 minutes produces the cleanest possible cuts.
Make it yours
- Raspberry swirl version. You add small dollops of raspberry jam alongside the cheesecake batter before swirling for a fruity contrast.
- Espresso version. You stir a teaspoon of instant espresso powder into the brownie batter for a deeper chocolate flavor against the tangy cheesecake layer.
Perfect Pairings
These Cheesecake Marble Brownies suit two specific pairings particularly well.
- A dangerously strong cup of black coffee balances out the sugar with every sip.
- Vanilla bean ice cream turns an already indulgent square into something completely over the top
How to Store Cream Cheese Brownies
❤
- Fridge. Up to four days in an airtight container, and the chilled texture turns even fudgier.
- Freezer. Up to a month wrapped individually in plastic wrap.
- Reheat. Eating these cold or at room temperature works best, since microwaving makes the cheesecake layer turn slightly odd.
- Storage note. Leaving these out on a warm counter for days risks spoiling the cream cheese layer.
Cream Cheese Brownies
Ingredients
Equipment
Method
- Line a square 8×8 baking dish with parchment paper hanging over all sides and preheat the oven to 350 F/180 C.
- Make the cheesecake batter. Cream the sugar and cream cheese together until smooth and combined, then scrape down the sides and bottom of the bowl. Mix in the egg and vanilla until smooth. Set the bowl aside.
- Add the egg and vanilla and mix until smooth and combined, about 1 1/2 minutes on medium speed. Set the bowl aside.
- Make the brownie batter. Melt the butter and chocolate chips together until smooth, set aside.
- In a medium bowl, whisk together the eggs, vanilla, and sugar until pale and fluffy. Whisking constantly, stream the melted butter and chocolate mixture into the bowl until combined.
- Fold in the flour, cocoa powder, and salt with a rubber spatula until just combined.
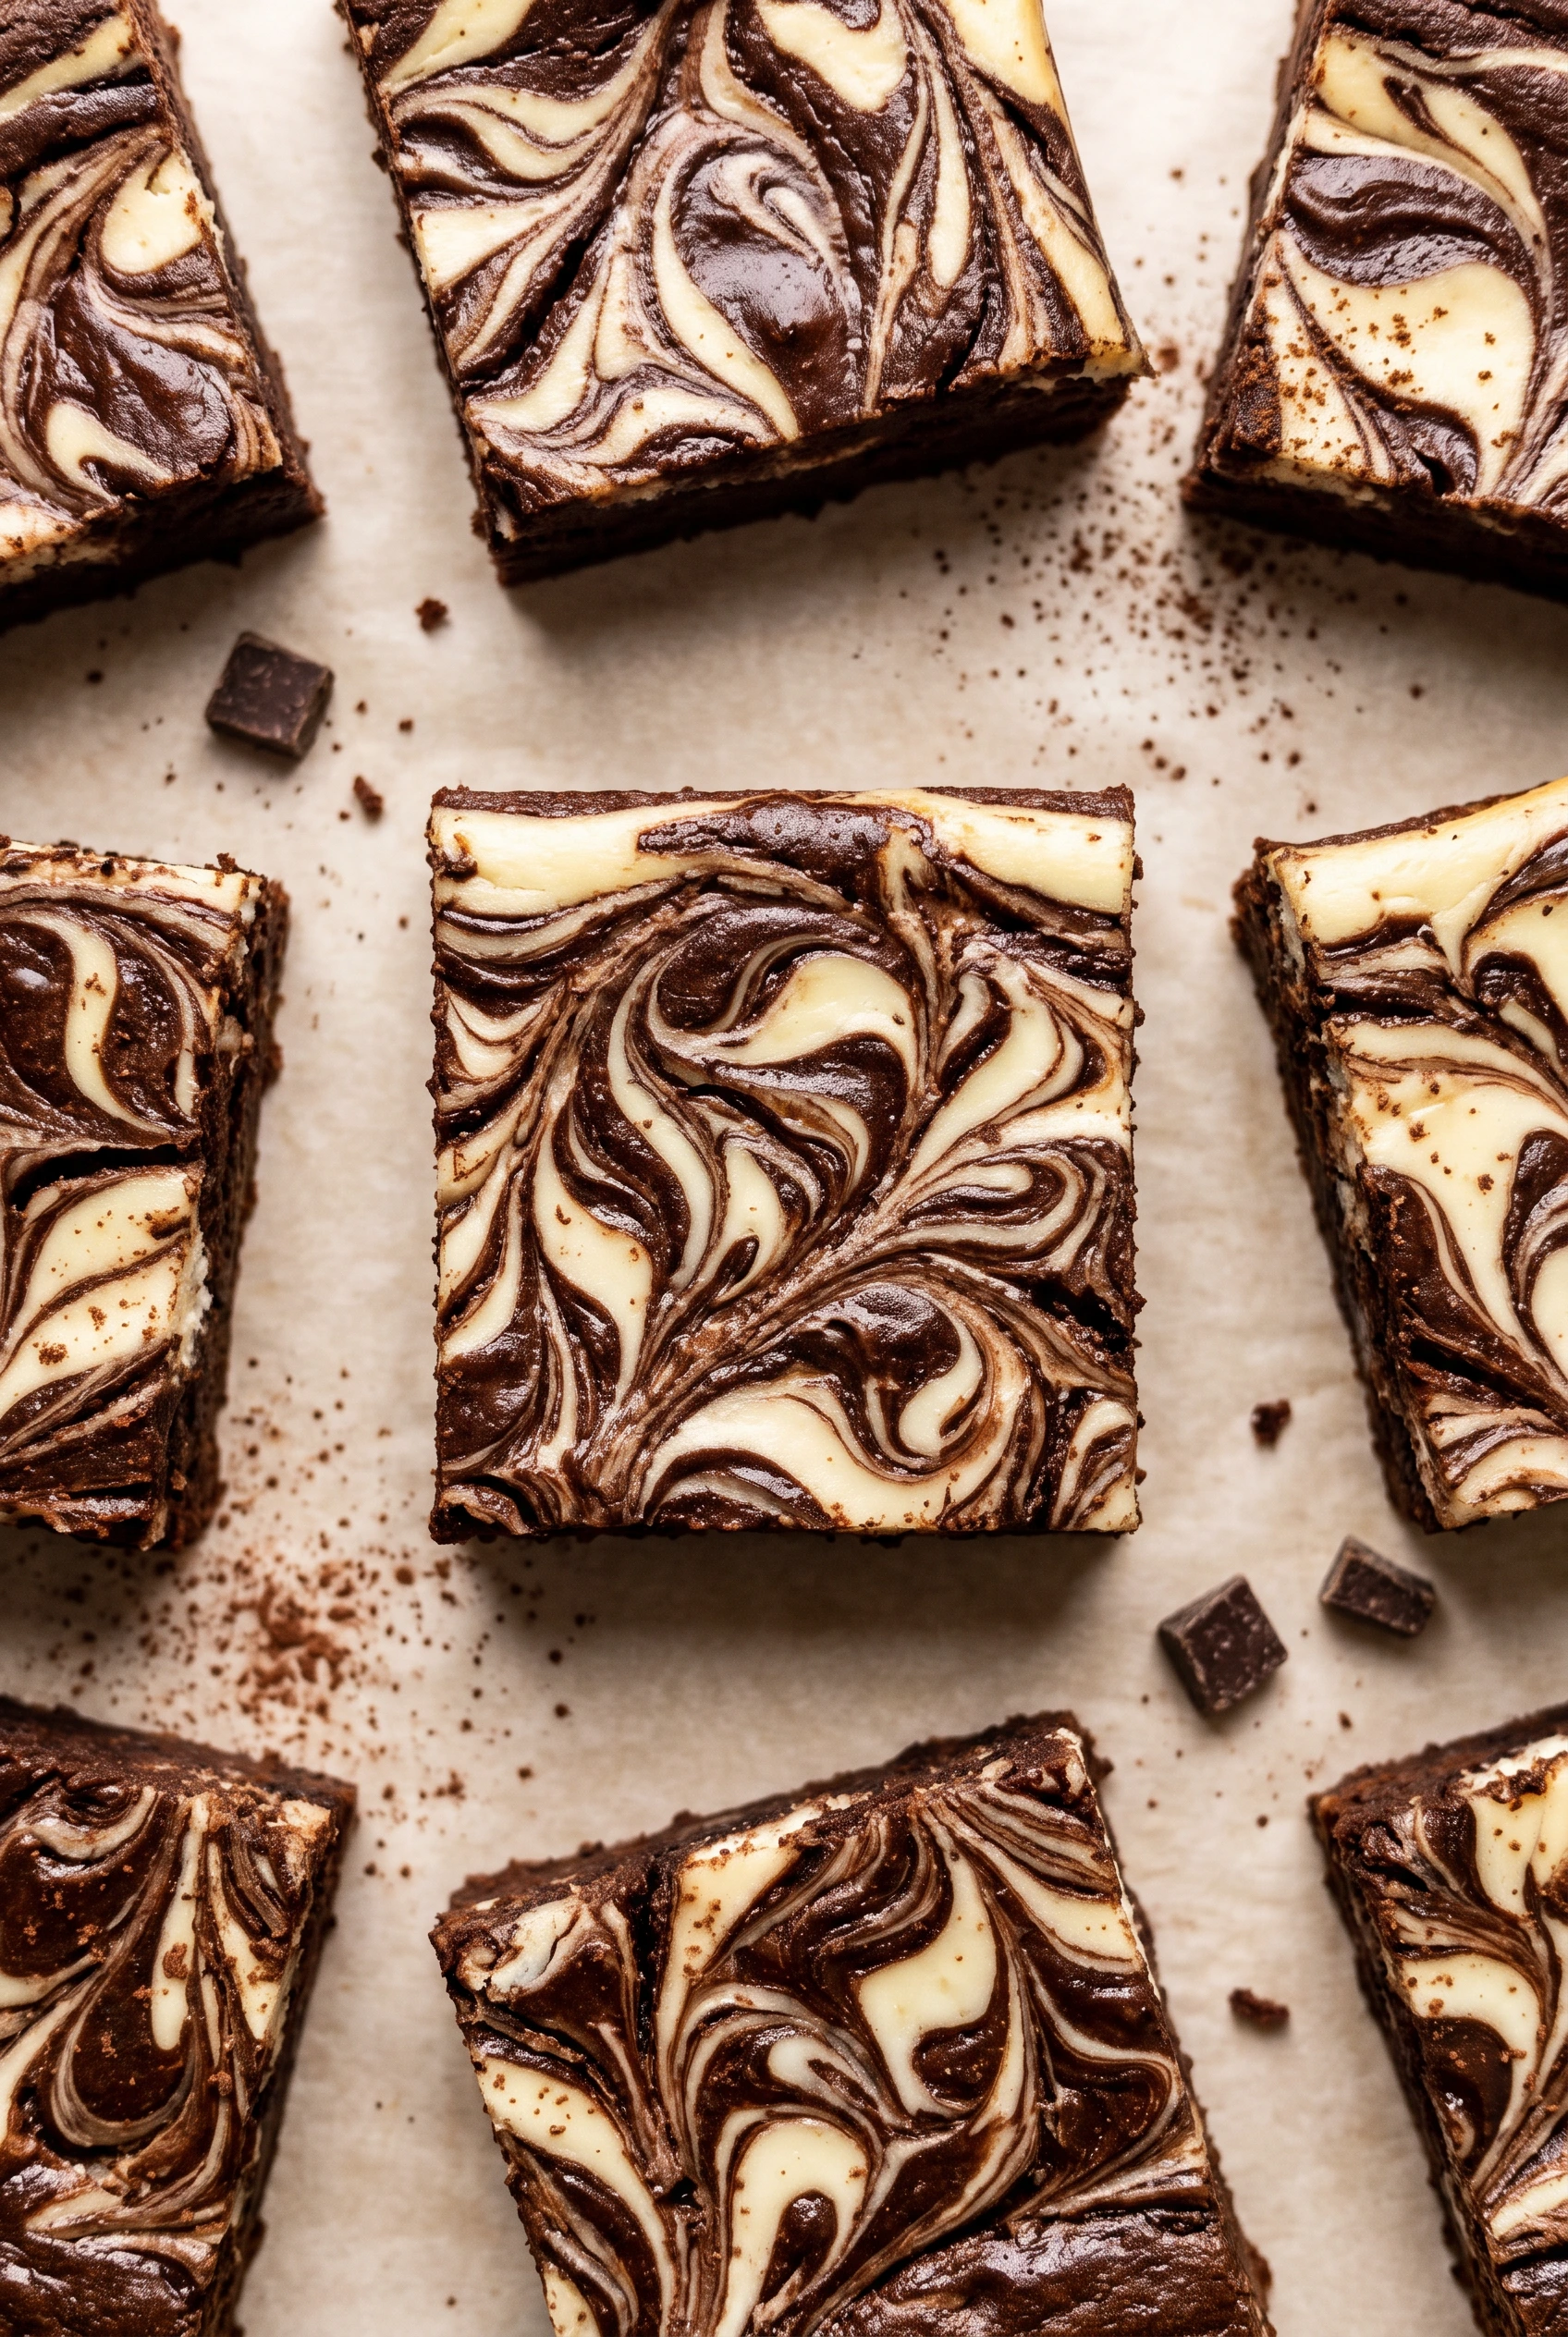
- Scoop half of the brownie batter into the prepared baking dish, leaving some space in between each scoop. Then do the same with the cheesecake batter. Continue alternating batters, then use a toothpick or butter knife to swirl them together. Don't swirl the batters too much or you will lose the distinct marbled look!
- Bake the brownies in the preheated oven for 26 minutes, or until a toothpick inserted into the center comes out covered in a few moist crumbs.
- Let the brownies cool completely on a wire rack, then cut with a very hot knife into 16 servings. Store leftover brownies in an airtight container at room temperature for 3-4 days. You can also freeze them for up to 1 month!