
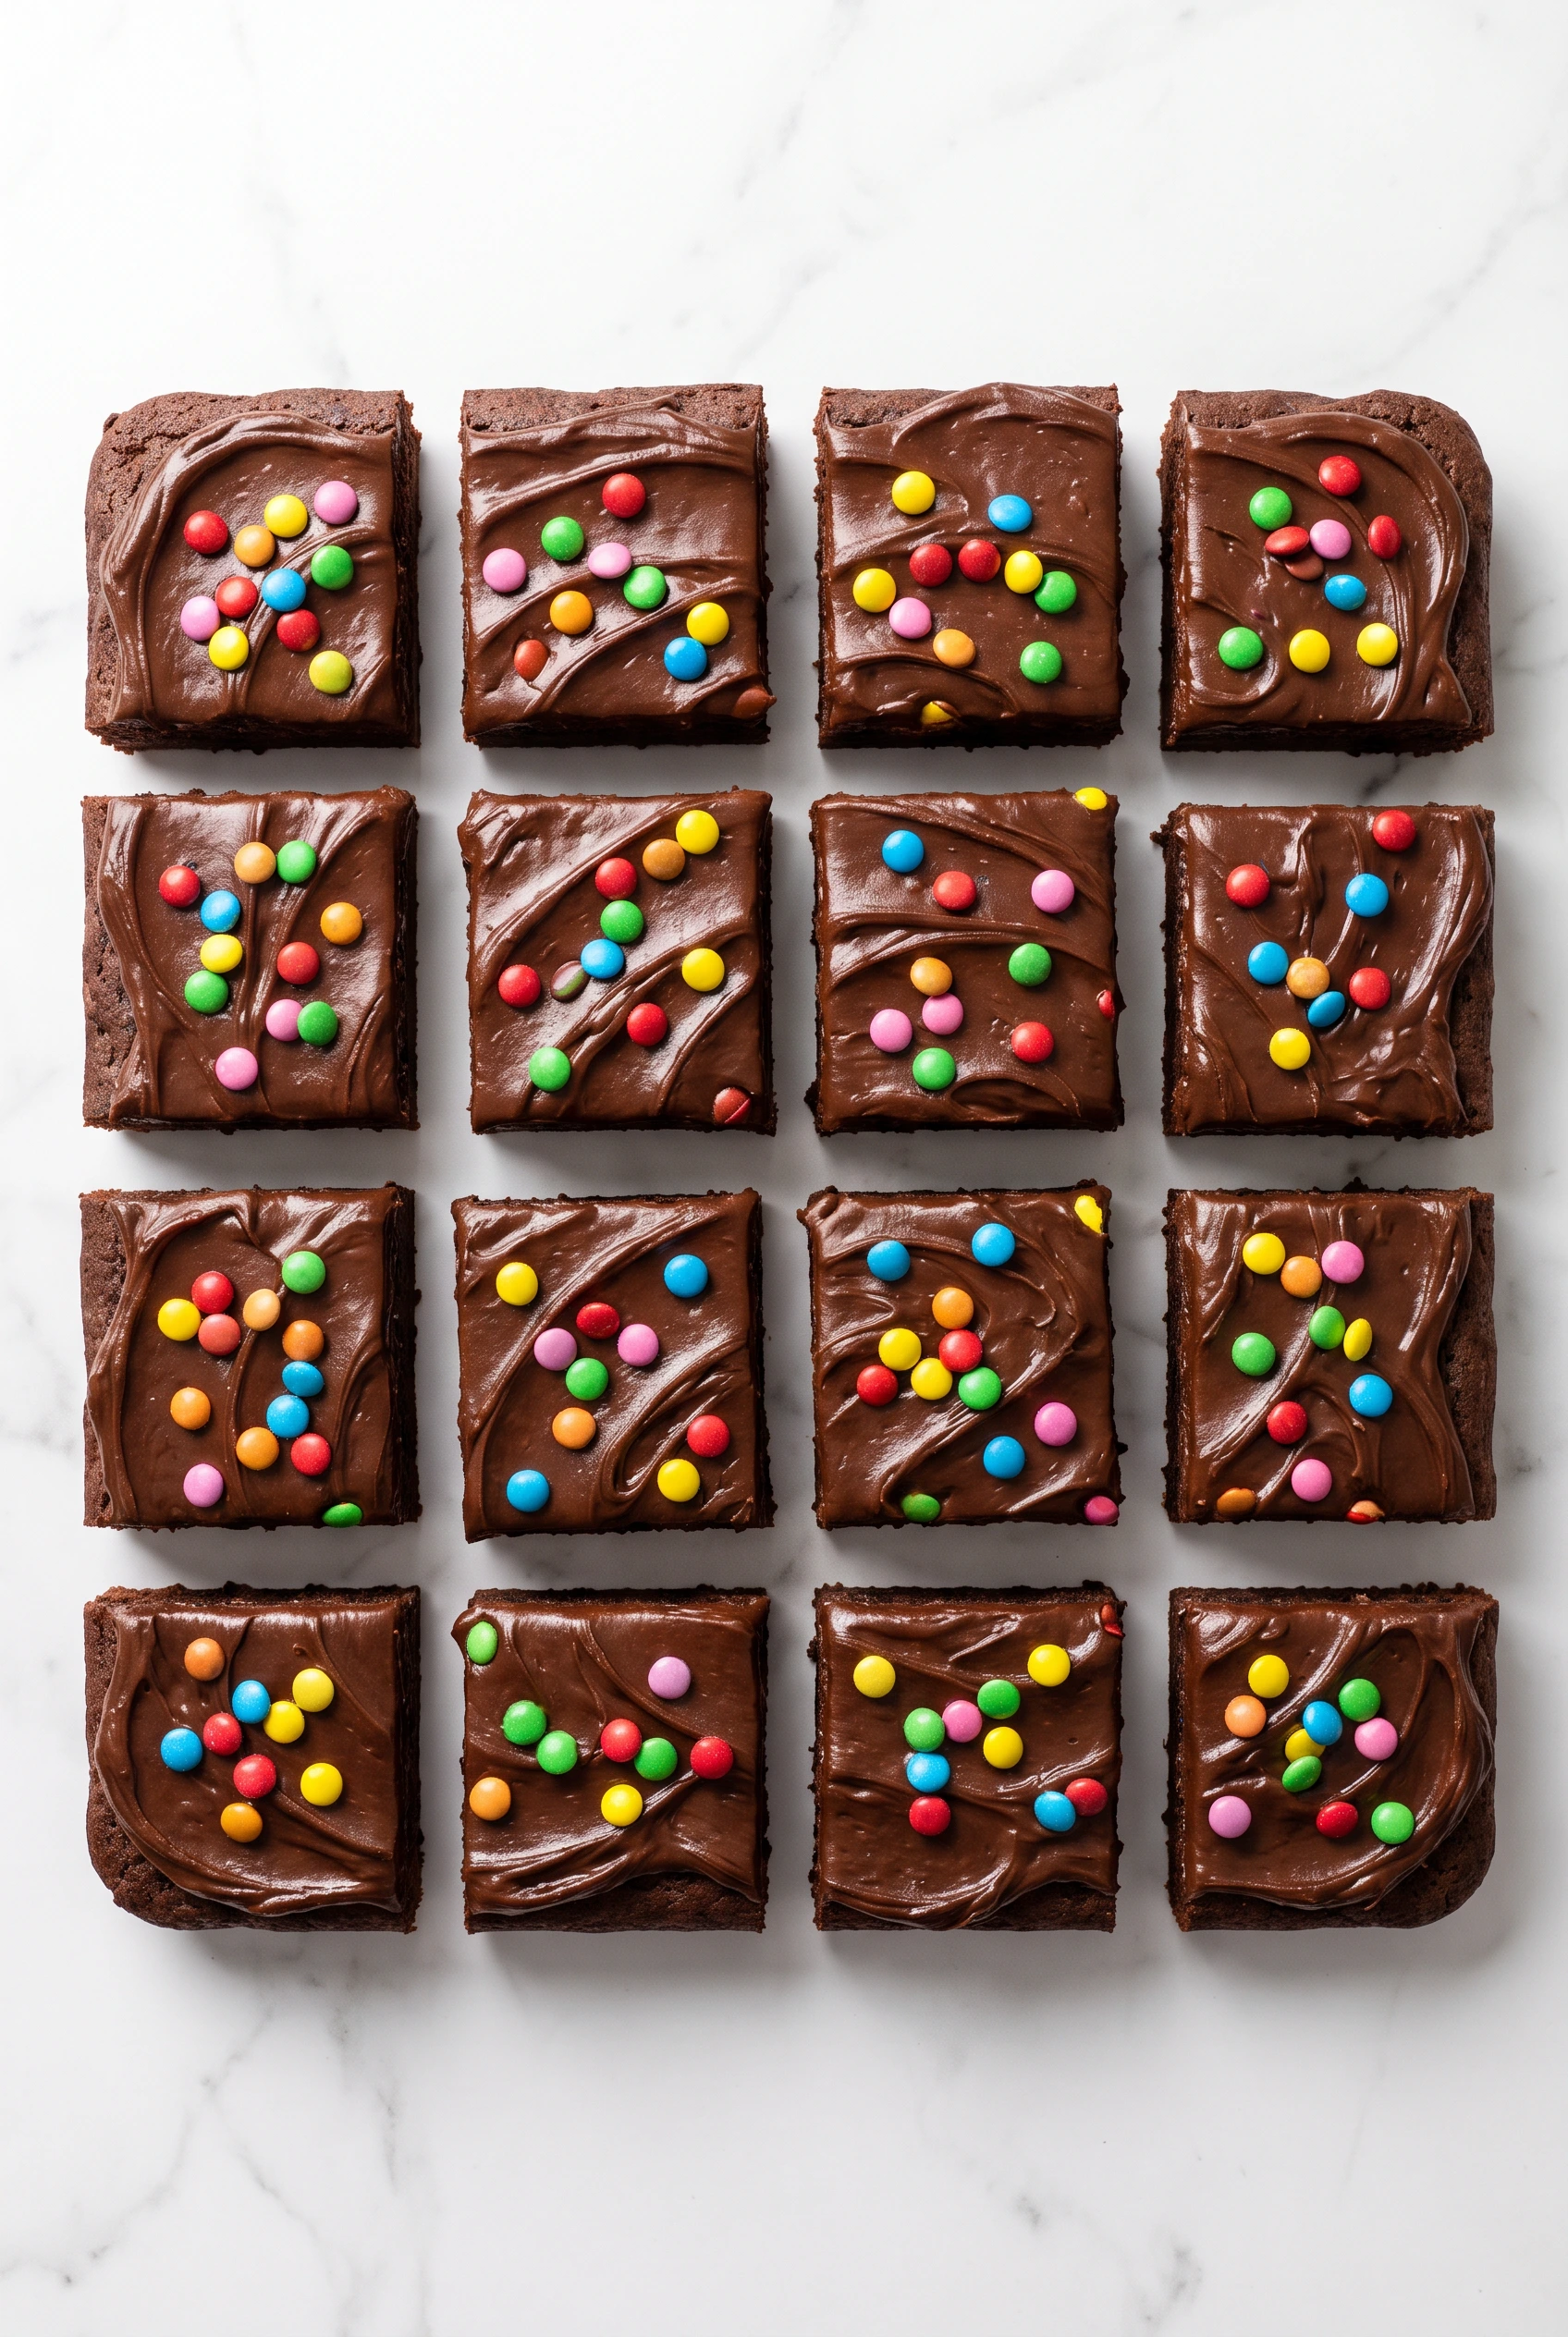
A sudden, aggressive craving for a 1998 lunchbox at ten on a random Tuesday night is exactly what led to these cosmic brownies. Driving to the gas station in slippers felt like a new low, so a homemade cosmic brownies recipe became the far more dignified option instead.
The original little debbie cosmic brownies mostly deliver wax and nostalgia, but this version turns out dangerously good by comparison. The first batch once hit the floor straight out of the oven, forcing a second round in the same night, and the sleep deprivation was worth every bite. Here is exactly how I do it.
Why You’ll Love This Recipe
- No weird preservatives. Real, recognizable chocolate replaces whatever science experiment lives inside the wrapper.
- Aggressively fudgy texture. This completely avoids that dry, crumbly cake situation.
- Zero fancy equipment. This cosmic brownie recipe needs nothing beyond a bowl and a whisk.
- Pure nostalgia. This scratches that 90s kid itch without any plastic wrapper aftertaste.
Tools You’ll Need
Nothing fancy, I promise.
- 8×8 metal baking pan – Glass pans take forever to bake and make the edges weirdly gummy, trust me on this.
- Microwave-safe bowl. This melts the butter and makes the ganache the lazy way.
- Whisk. Eggs incorporate smoothly with this, no heavy machinery required.
Ingredients
For the Brownies
- 10 tablespoons unsalted butter – Melted. Yes, 10 tablespoons. Do not look at me like that.
- 1 cup granulated sugar – For sweetness and the crispy top crust.
- 1/3 cup packed light brown sugar – The molasses adds chewiness.
- 3/4 cup plus 2 tablespoons unsweetened cocoa powder – Dutch-processed or regular cocoa solids work, just sift the lumps out so you do not bite into a pocket of dry dust.
- 1/2 teaspoon vanilla extract – The required background singer of baking.
- 2 large eggs plus 1 egg yolk – The extra yolk is the secret to maximum fudginess. Save the white for an incredibly tiny omelet.
- 1 tablespoon corn syrup – This is what gives little debbie brownies that signature chewy bite.
- 2/3 cup all-purpose flour – Measure carefully, too much flour equals dry sadness.
- 1 tablespoon cornstarch – Helps keep things soft and tender.
- 1/4 teaspoon fine sea salt – To balance the aggressive amount of sugar.
For the Frosting
- 1/2 cup heavy cream – Do not try to use milk, it will be a watery disaster.
- 1 1/2 cups semisweet chocolate chips – The better the chocolate, the better the frosting.
- Rainbow candy-coated chocolate chips – The absolute most important part of any recipe cosmic brownies style. Mini M&Ms work if you cannot find the flat ones.
Instructions
Put down the boxed mix and prepare to dirty exactly two bowls.
- Prep the pan: Preheat the oven to 350°F and line your 8×8 metal pan with parchment paper. Leave an overhang so you can lift them out later – if you skip the parchment, you will be eating these straight out of the pan with a spoon, which I have done, but it is not ideal for sharing.
- Melt the base: Microwave the butter in a large bowl for about 90 seconds until melted, then stir in both sugars and the sifted cocoa powder. The mixture will look a bit gritty, and that is totally fine.
- Add the wet ingredients: Let the mixture cool for a minute, then whisk in the vanilla, eggs, egg yolk, and corn syrup. If you add the eggs while the butter is boiling hot, you will make chocolate scrambled eggs, which is a tragedy.
- Fold the dry ingredients: Stir in the flour, cornstarch, and salt just until combined. The batter will be thick, so use some arm muscle to spread it evenly into your prepared pan.
- Bake: Bake for 25 minutes, then let them cool completely in the pan. Trying to frost warm brownies will just melt the ganache into a sad puddle.
- Make the frosting: Microwave the heavy cream for 1 minute until hot, add the chocolate chips, and let it sit untouched for 3 minutes. If you get impatient and stir immediately, it will be lumpy.
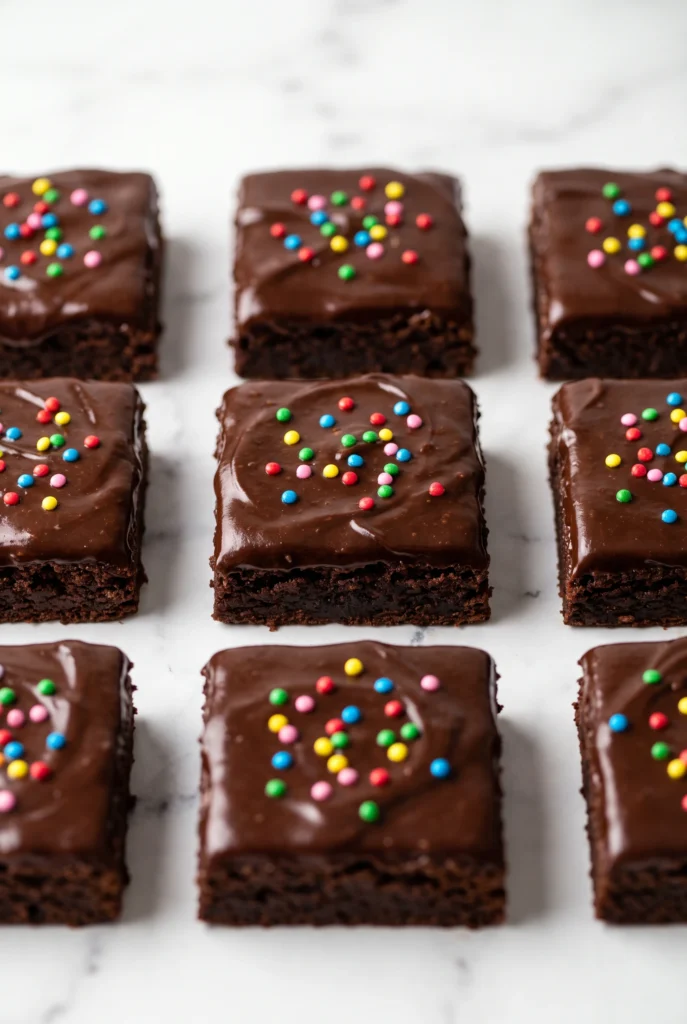
- Frost and decorate: Stir the ganache until smooth, pour it over the cooled brownies, and scatter your rainbow candies on top.
- Chill out: Refrigerate for 1 to 2 hours to let the frosting set. The waiting is the hardest part, but cutting them warm is a sticky nightmare.
♥ The Misfit Tips!
- Never eyeball the flour. Scooping directly from the bag once produced dry, crumbly bricks instead of a fudgy base.
- Consider the corn syrup debate. Golden syrup substitutes in a pinch, though the single tablespoon of corn syrup really is the trick behind the chewy texture.
- Let the ganache set fully. Rushing the chilling step once left a batch that looked fine going in but turned messy coming out.
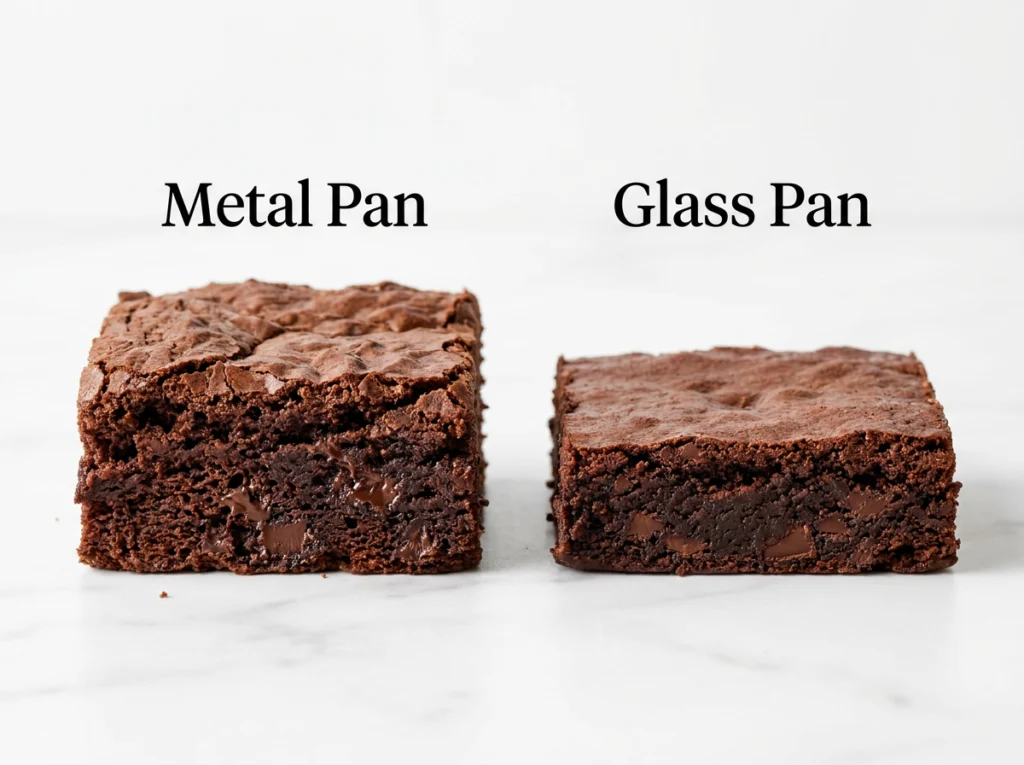
Metal Pan vs. Glass Pan: Does It Matter?
Yes, and the difference is bigger than you’d expect. Brownies baked in a metal pan come out taller with a crackly, well-defined top, while the same batter in a glass pan spreads out flatter and bakes up denser.
Metal conducts heat faster, so the edges and bottom set quickly, trapping that fudgy middle before it has a chance to overbake. Glass heats more slowly and holds onto that heat longer after you pull the pan out of the oven, which means your brownies keep cooking a bit even while they cool. That extra time can push the texture toward gummy instead of fudgy.
If you only own a glass pan: pull the brownies out a few minutes earlier than the recipe states, and let them finish setting as they cool on the counter.
My pick: a light-colored metal pan, every time. Dark metal pans work too, but they absorb more heat and can dry out the edges.
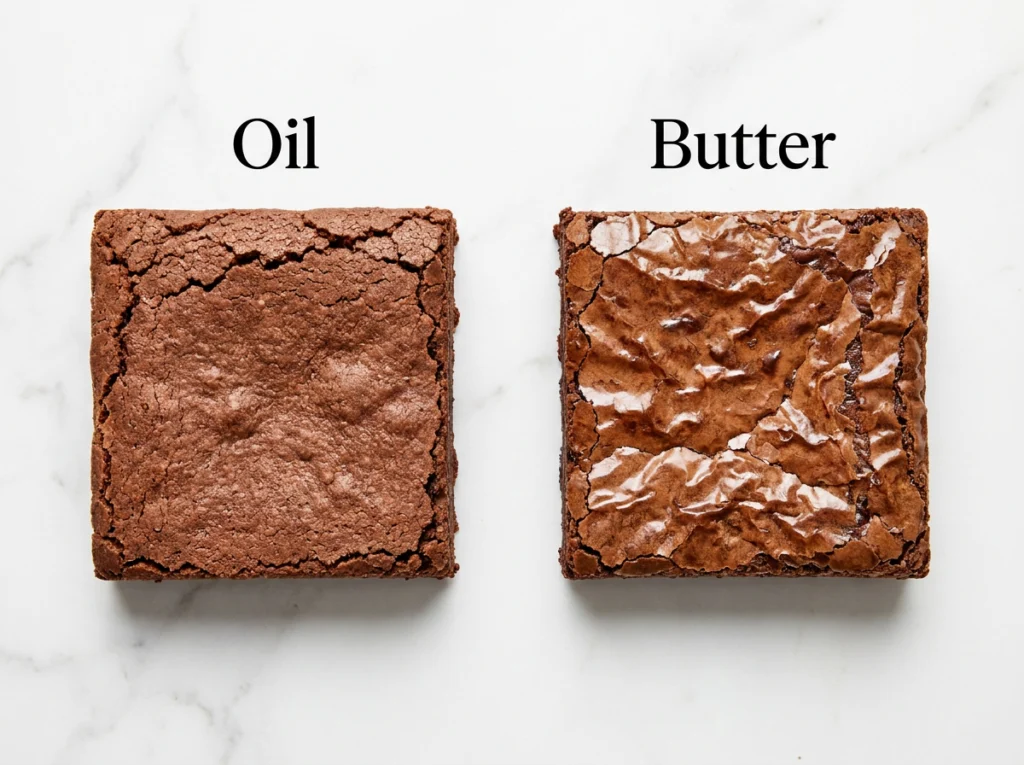
Oil vs. Butter: Which Makes a Better Brownie?
Both work, but they give you two different brownies. Oil brownies bake up with a smooth, matte top and a soft, tender crumb all the way through. Butter brownies develop that shiny, crackly top everyone chases, along with deeper flavor thanks to the milk solids browning as they bake.
The trade-off: oil stays liquid at room temperature, so oil brownies stay soft and moist for days. Butter solidifies as it cools, which is part of why butter brownies get that rich, dense bite, but it also means they can firm up more in the fridge.
Want the shiny crinkle top? Use melted butter and whisk it hard with the sugar and eggs before adding the dry ingredients. That vigorous whisking is what helps create the crackly top layer.
Want the softest, most forgiving brownie? Stick with oil, especially if you’re baking ahead or shipping brownies somewhere.
Perfect Pairings
These cosmic brownies suit two specific pairings particularly well.
- A very strong cup of black coffee balances out the intense sugar rush.
- A Friday night movie marathon calls for exactly this kind of ridiculous, over-the-top dessert.
Make it yours
- Peanut butter swirl version. You dollop peanut butter over the batter before baking and swirl it through with a knife.
- Espresso version. You stir a teaspoon of instant espresso powder into the batter for a deeper chocolate flavor under the ganache.
How to Store Cosmic Brownies
❤
- Fridge. Up to a week in an airtight container, and these actually taste best served chilled for maximum dense fudginess.
- Freezer. Up to three months wrapped tightly in plastic wrap, thawed in the fridge overnight.
- Reheat. Skipping the microwave entirely avoids a molten lava situation that destroys the rainbow candies.
- Storage note. The rainbow candies may bleed a small amount of color into the frosting if left at room temperature too long, though the flavor stays just as good.
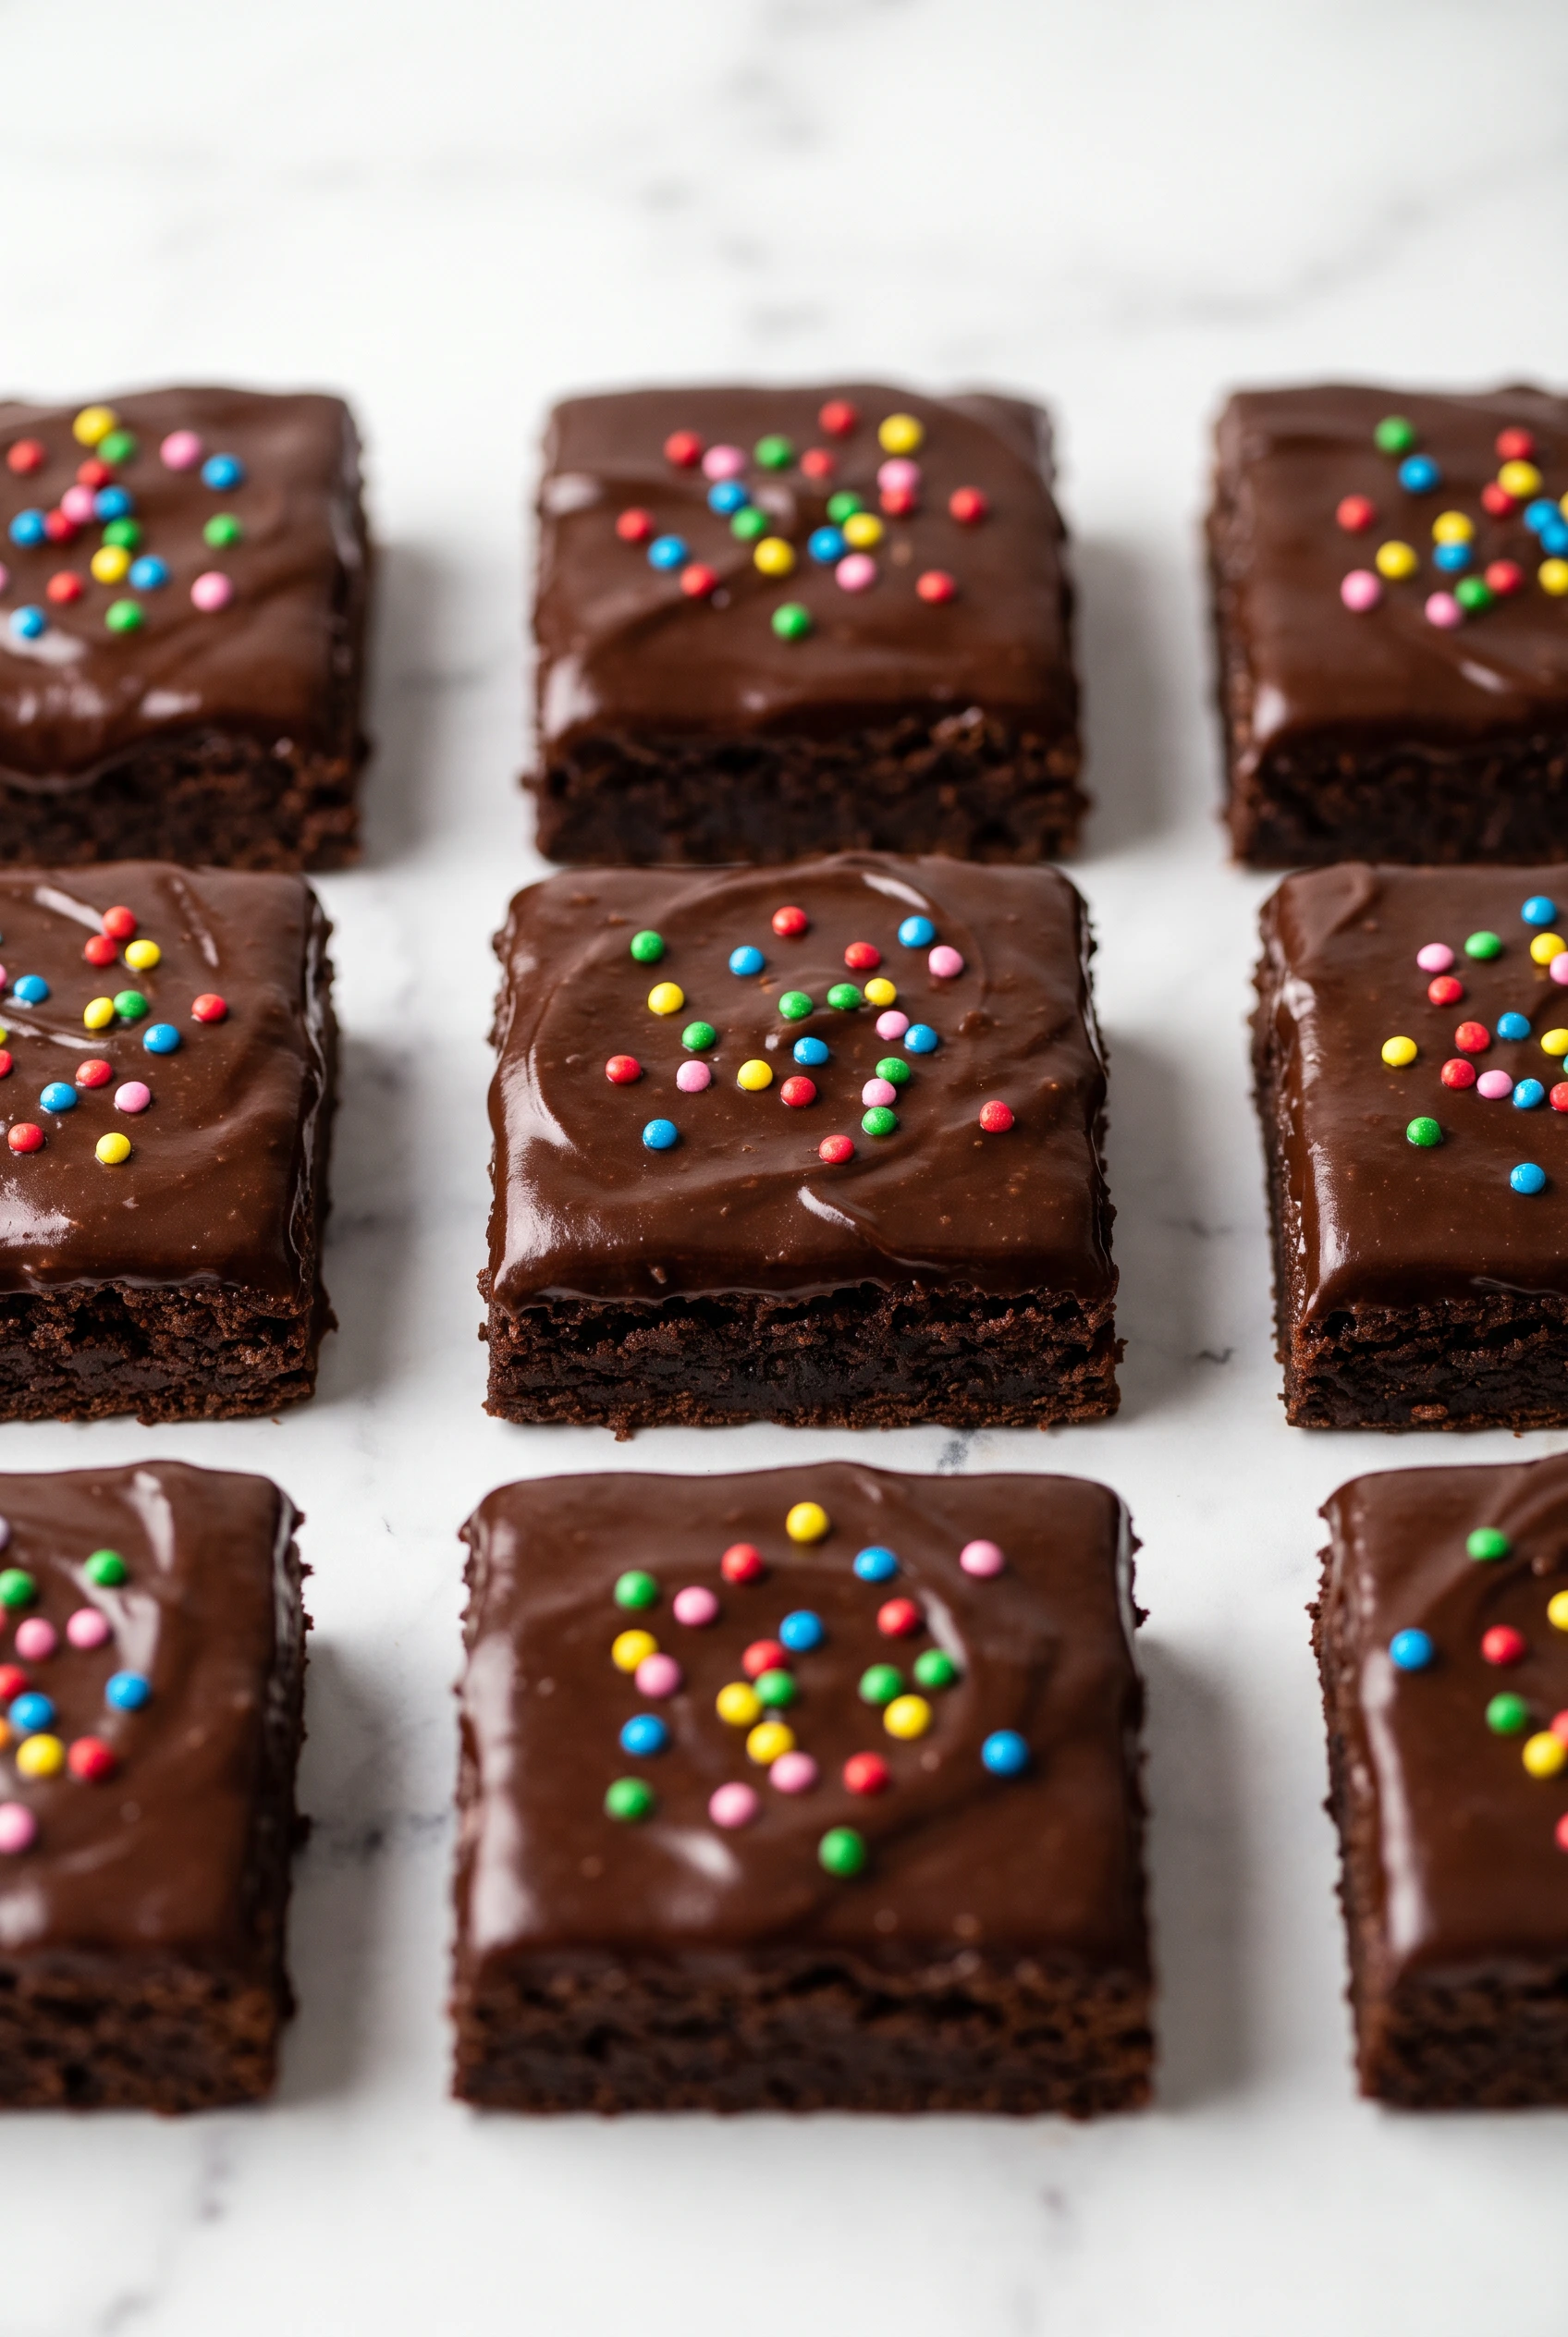
Cosmic Brownies
Ingredients
Equipment
Method
- Preheat the oven to 350°F. Line an 8-by-8-inch metal baking pan with parchment or foil and spray with cooking spray.
- In a large microwave-safe bowl, melt the butter for about 90 seconds on high power. Stir in the granulated sugar, brown sugar, and cocoa powder. If still very hot, let cool slightly before adding in the vanilla, eggs, egg yolk, and corn syrup. Stir until very well combined. Add in the flour, cornstarch, and salt and stir until just combined. Batter will be thick. Pour into the prepared pan and bake for 25 minutes. Let cool completely in the pan.
- Place the cream in a small microwave-safe bowl and microwave on high for 1 minute. Add in the chocolate chips. Let stand for 3 minutes before stirring until smooth. Pour over the cooled brownies and smooth evenly. Sprinkle with the Rainbow Candy-Coated Chocolate Chips. Refrigerate for 1 to 2 hours, or until the frosting is set, before cutting.
- Brownies can be stored in an airtight container for 3 days at room temperature and for 1 week in the fridge. Brownies are best served chilled.