
Mismatched socks, ten at night, and a desperate need for chocolate that made leaving the house feel genuinely offensive is exactly what led to this chewy brownie recipe. Boxed mixes used to handle every chocolate craving, since homemade attempts always turned out like dry, sad bricks.
This recipe ruined the boxed stuff for good the moment it revealed the real secret behind that crinkly bakery top. Melting the butter and sugar together, rather than creaming them cold, turns out to be the actual trick behind chewy brownies with a shiny crust. Here is exactly how I do it.
Why You’ll Love This Recipe
- Ridiculously fast prep. Only 12 minutes of active time stand between this batter and the oven.
- One bowl cleanup. Doing dishes ranks as the absolute worst part of baking, and this recipe skips most of it.
- The guaranteed crackly top. Melting the butter and sugar delivers that beautiful bakery-style crust every single time.
- Zero fancy equipment. A stand mixer never enters the picture for these chewy brownies.
Tools You’ll Need
Nothing fancy, I promise.
- 9×13 baking pan – Metal is best for crispy edges, but glass works fine if that is all you have.
- Microwave-safe bowl – A large one, because we are mixing everything right in here.
- Sturdy whisk – You will need to use a little arm muscle to get the batter smooth.
Ingredients
- 1 cup (2 sticks) unsalted butter – If you only have salted butter, just omit the extra salt in the recipe.
- 2 1/4 cups granulated sugar – Yes, it is a lot of sugar. No, you should not reduce it unless you want cakey brownies.
- 1 1/4 cups Dutch-process cocoa – This gives them a super dark, rich flavor, but regular unsweetened cocoa works in a pinch.
- 1 teaspoon salt – Essential for balancing the intense sweetness.
- 1 teaspoon baking powder – Gives them just enough lift so they aren’t completely flat.
- 1 tablespoon vanilla extract – Do not measure this, just let your heart tell you when to stop pouring.
- 4 large eggs – Make sure they are at room temperature so they mix in easily.
- 1 1/2 cups all-purpose flour – Spoon and level this so you don’t end up with dry brownies.
- 1 cup chocolate chips – Optional, but highly recommended for extra gooey pockets.
How To Make Chewy Brownie
Put down the electric mixer, you just need a whisk and a little bit of arm strength.
- Prep your pan: Preheat the oven to 350°F and grease a 9×13 pan. Use parchment paper with an overhang if you want to actually remove them from the pan without a chisel.
- Melt the base: In a large microwave-safe bowl, melt the butter, then add the sugar and stir to combine. Microwave it briefly again until it is hot but not bubbling. It will look grainy and weird, do not panic, you haven’t ruined it yet.
- Add the flavor: Stir in the cocoa powder, salt, baking powder, and vanilla extract. The mixture is going to be very thick and smell amazing, just keep stirring until it comes together.
- Whisk in the eggs: Add the eggs one at a time, whisking well after each addition. This is where the batter gets shiny and pretty, so enjoy the brief moment of feeling incredibly competent.
- Fold the dry ingredients: Gently stir in the flour and chocolate chips until just combined. If you eat a spoonful of batter right now, that is between you and your conscience, nobody else needs to know.
- Bake it off: Spread the batter into your prepared pan and bake for 28 to 32 minutes. Better slightly underbaked than overbaked, trust me on this.
♥ The Misfit Tips!
- Never skip the hot sugar step. Creaming room-temperature butter and sugar instead once produced fine-tasting brownies that completely lacked that iconic shiny, crackly top.
- Let them cool completely. Cutting these straight out of the oven once caused them to fall apart into a lava-like mess.
- Try the cookie hack. Chilling the batter for an hour and scooping it onto a baking sheet turns this recipe into chewy brownie cookies instead of bars.
Make it yours
- Espresso version. You stir a teaspoon of instant espresso powder into the cocoa mixture for a deeper chocolate flavor.
- Peppermint version. You add a few drops of peppermint extract to the batter for a holiday twist.
Perfect Pairings
These chewy brownies suit two specific pairings particularly well.
- A giant scoop of vanilla bean ice cream melts right on top of a warm square.
- A strong cup of black coffee balances out all that sugar.
How to Store Chewy Brownies
❤
- Fridge. Up to a week in an airtight container, and the chilled texture turns even denser and fudgier.
- Freezer. Up to three months wrapped tightly in plastic wrap and stored in a zip-top bag.
- Reheat. Ten to fifteen seconds in the microwave brings back that fresh-out-of-the-oven gooey texture.
- Storage note. Cheap chocolate chips may develop a slight white bloom in the freezer, though the brownies stay safe to eat.
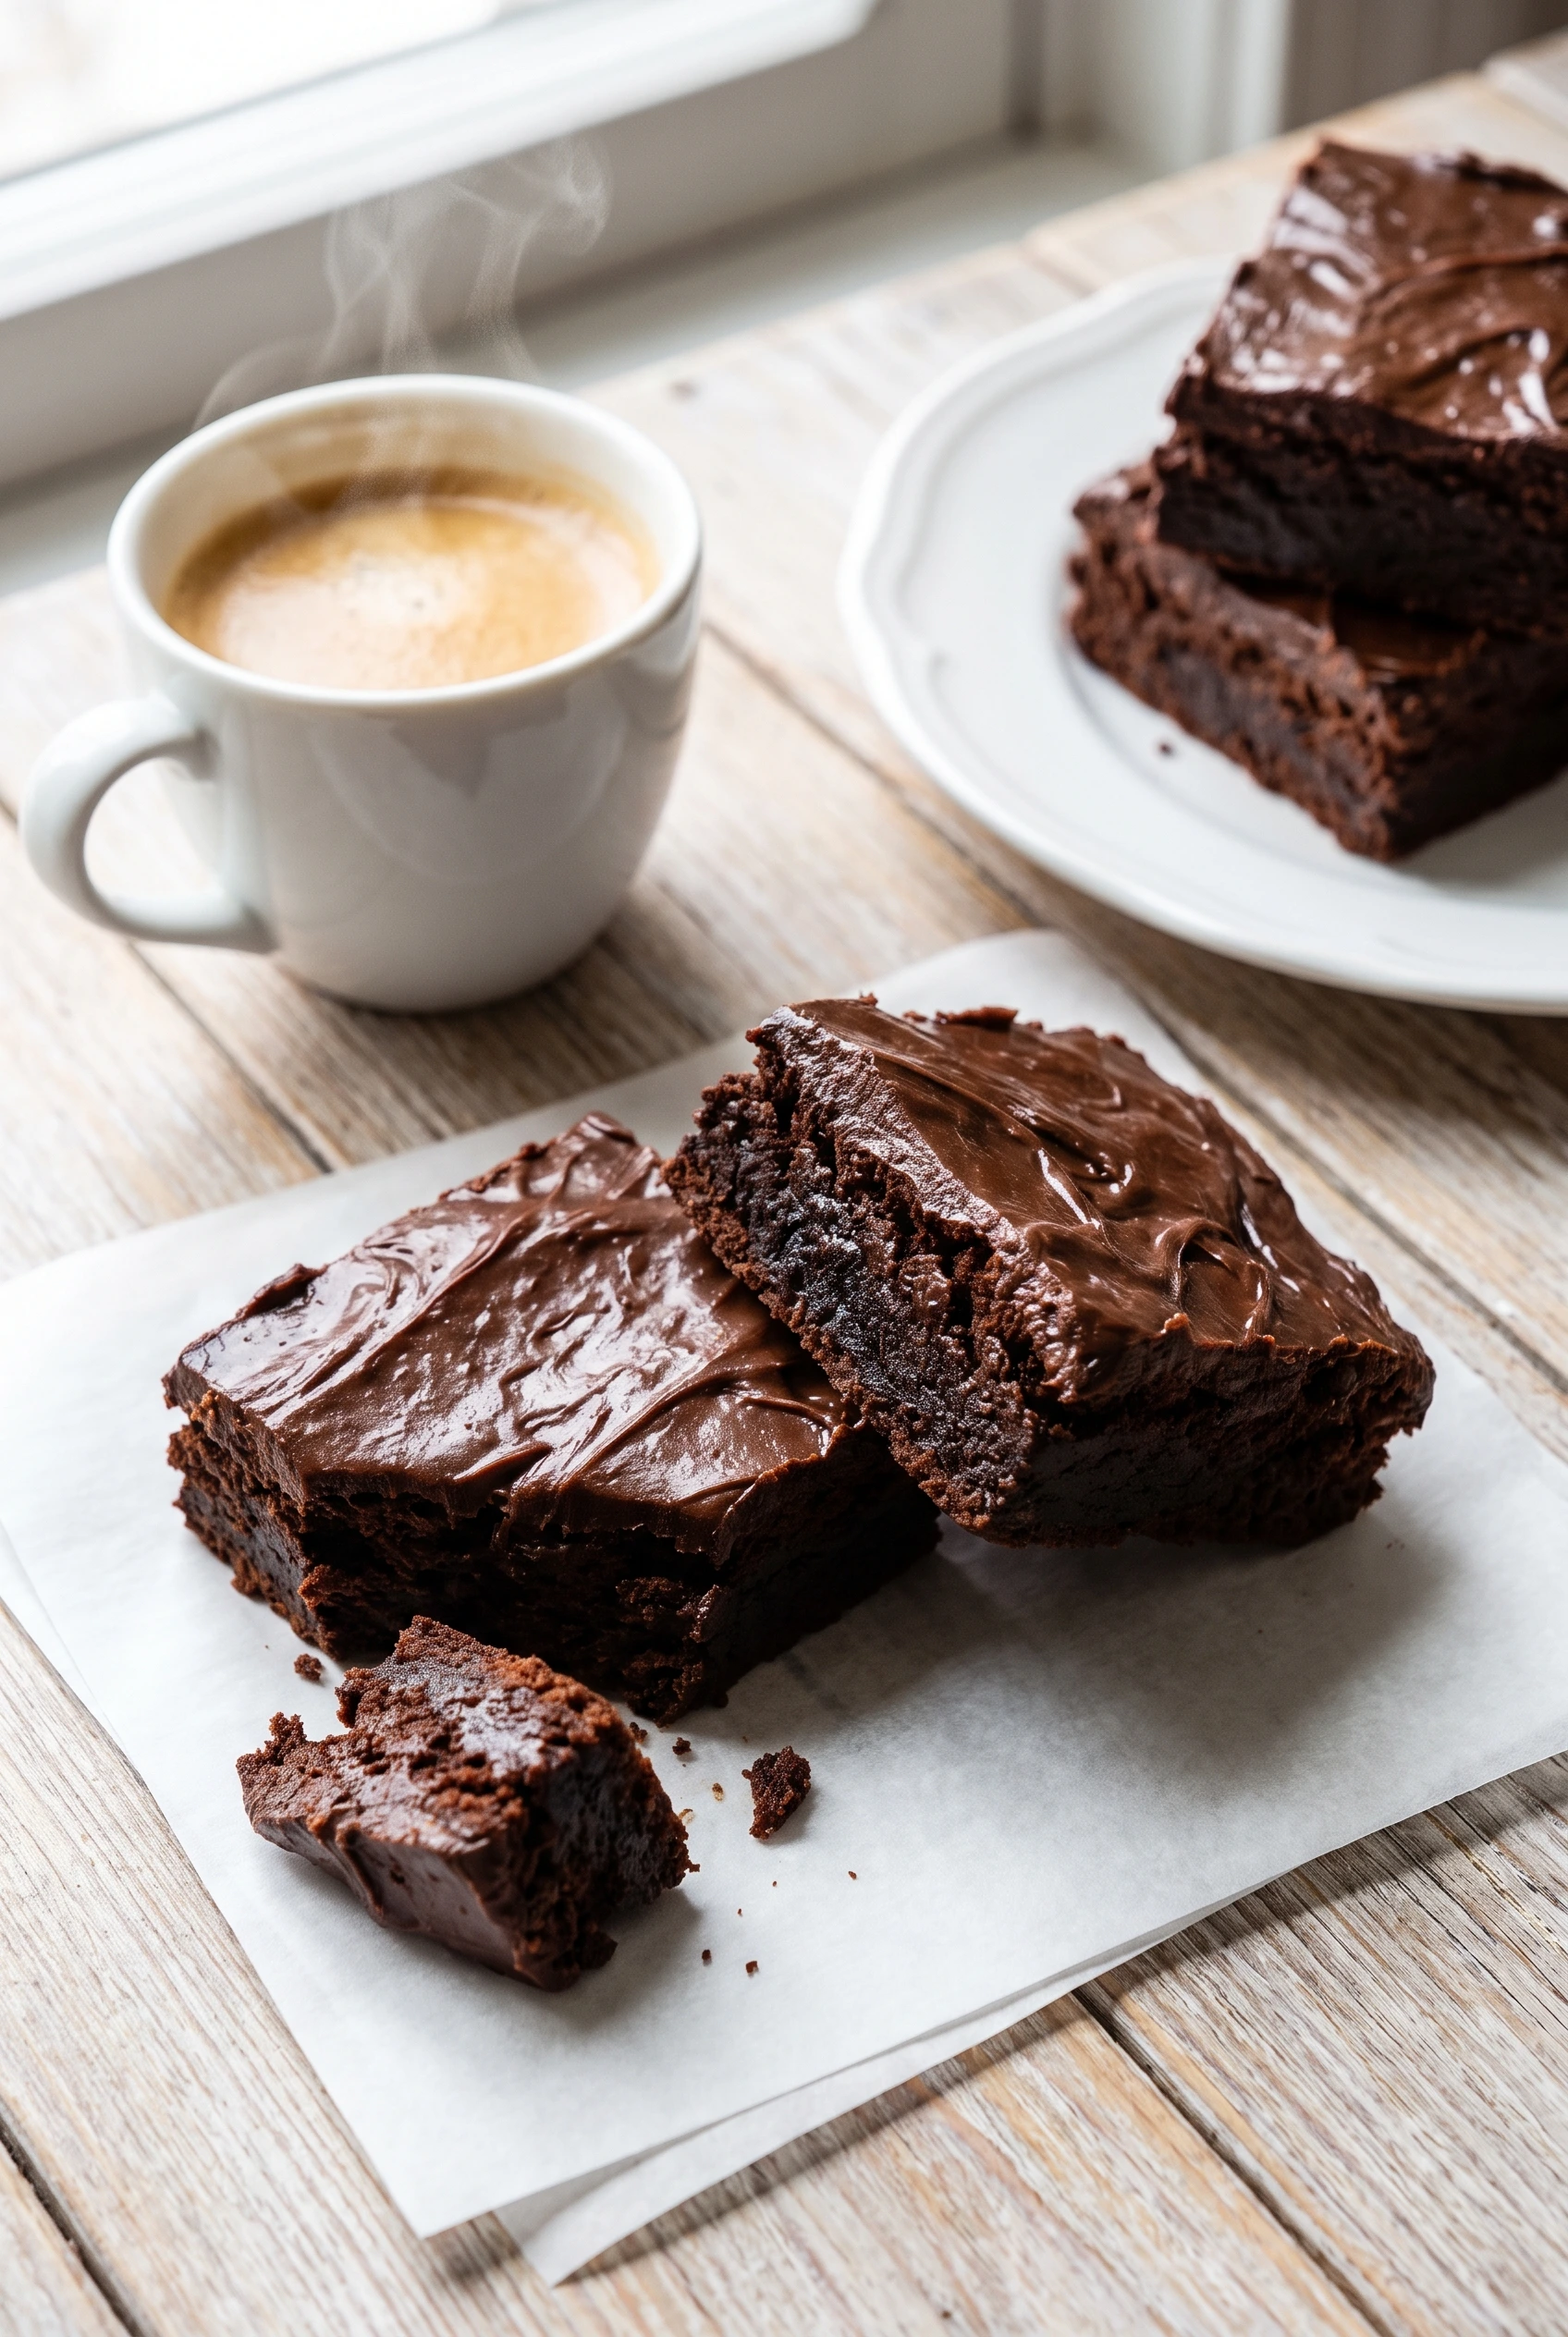
Chewy Brownies
Ingredients
Equipment
Method
- Preheat the oven to 350°F. Lightly grease a 9″ x 13″ pan. If you plan to turn the whole sheet of Fudge Brownies out of the pan at once, grease the pan, line it with parchment, and grease the parchment.
- In the bowl of a stand mixer fitted with the flat beater attachment or in a large bowl working with an electric hand mixer, combine the eggs, cocoa, salt, baking powder, espresso powder, and vanilla. Beat on medium speed for about 1 minute, or until combined and mostly smooth; the mixture will be quite thick.
- In a saucepan set over low heat or in a medium-sized microwave-safe bowl, melt the butter, then add the sugar and stir to combine. Continue to heat (or microwave) the mixture briefly, just until it’s hot (about 110°F to 120°F), but not bubbling; it’ll become shiny as you stir. Heating the mixture to this point will dissolve some of the sugar, which will help produce a shiny top crust on your brownies.
- Add the hot butter/sugar mixture to the egg/cocoa mixture, stirring until smooth. (A dough whisk is a helpful tool here.)
- Add the flour and chocolate chips, stirring until smooth. Be sure to scrape the sides and bottom of the bowl to incorporate all the ingredients.
- Transfer the batter to the prepared pan and spread it into an even layer, smoothing the top.
- Bake the brownies for 28 to 32 minutes, until the edges feel set and the center looks moist but not uncooked. When testing to see if brownies are done, take a toothpick or the tip of a sharp knife and carefully poke it into the center of the pan, digging around just enough to see the interior. You should see moist crumbs, but no uncooked batter. Yes, you’ll be left with a small divot in the center of your brownies; just cut around it when you’re cutting the brownies into squares — baker’s treat!
- Remove the brownies from the oven and cool on a rack before cutting and serving.
- Store any leftover Fudge Brownies, well-wrapped, at room temperature for 5 to 6 days. Freeze for longer storage.