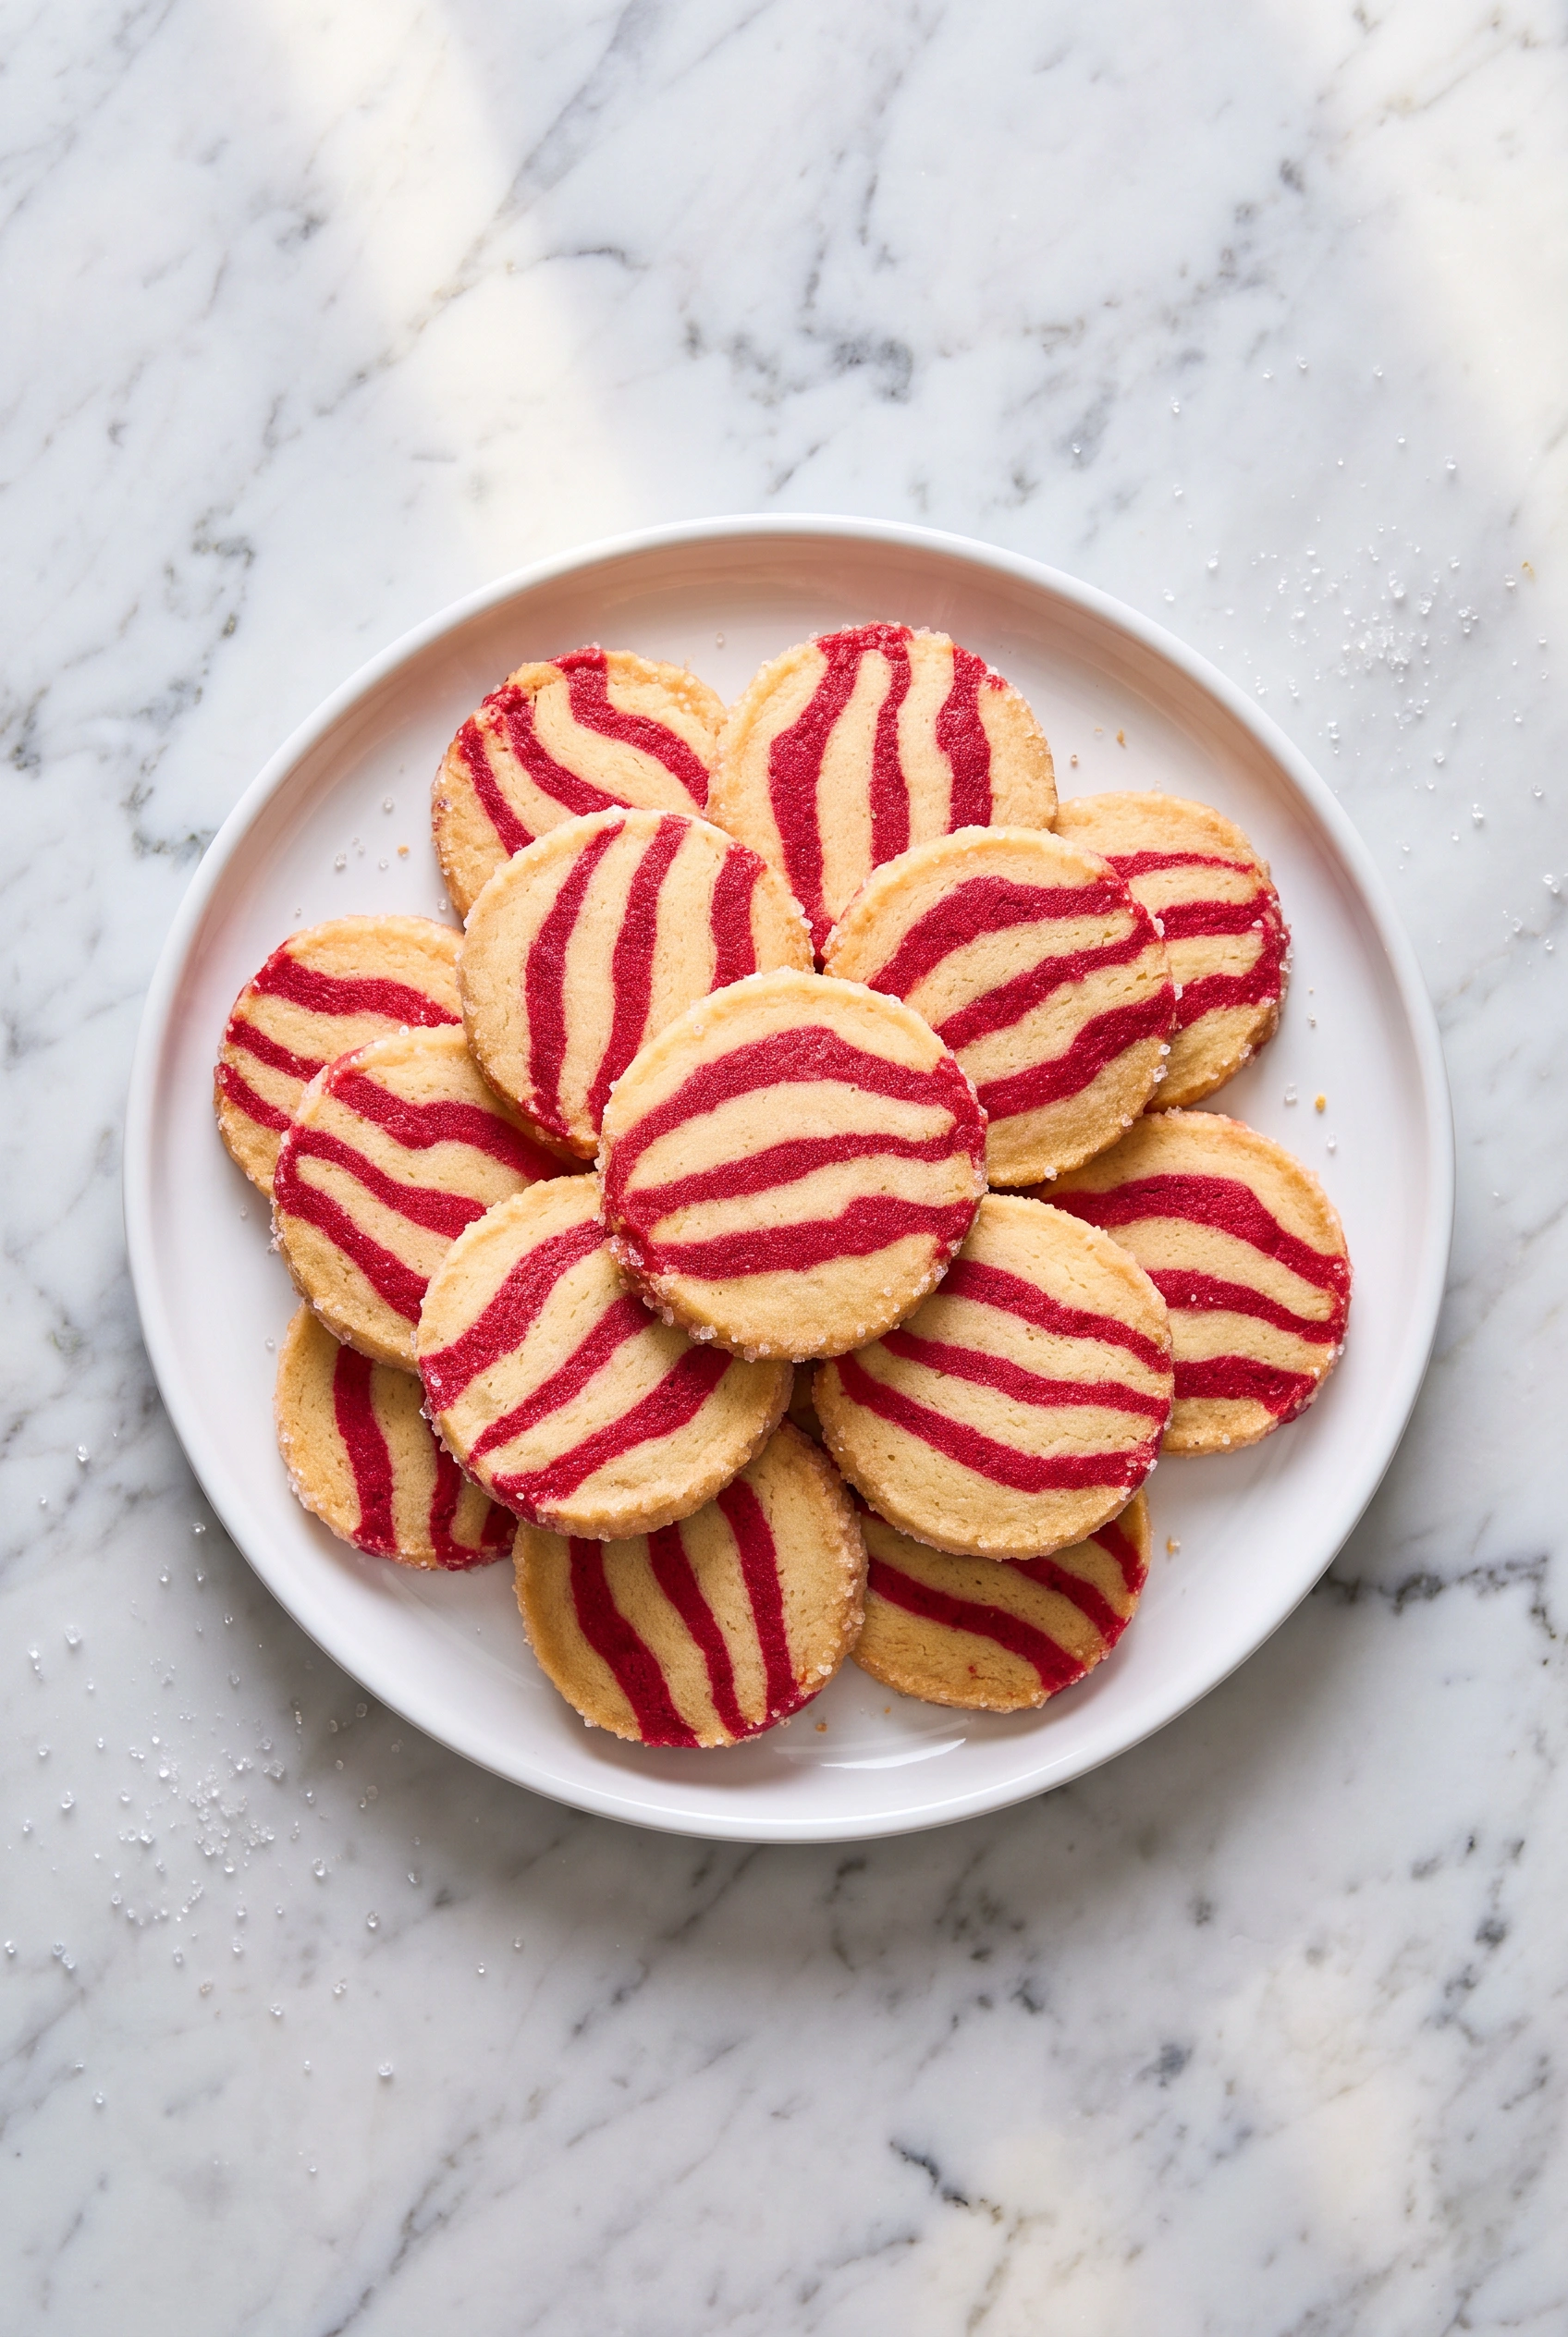
- 12 tablespoons (170g) unsalted butter
- 1/2 cup (99g) granulated sugar
- 1/4 teaspoon plus 1/8 teaspoon table salt
- 1 large egg yolk
- 2 teaspoons vanilla bean paste or King Arthur Pure Vanilla Extract
- 2 cups (240g) King Arthur Unbleached All-Purpose Flour
- 1 packet natural red food coloring
- 1/4 teaspoon water
- 1/8 teaspoon peppermint oil
- 1/4 cup (57g) coarse sparkling sugar
stand mixer
Kitchen scale
Cookie scoop
Parchment paper
Make the Cookie DoughIn the bowl of a stand mixer fitted with the flat beater attachment, or in a large bowl using an electric hand mixer, beat the butter, sugar, and salt on medium speed until light and fluffy, about 2–5 minutes. The exact time will depend on the temperature of your butter.Add the egg yolk and vanilla extract. Beat until fully incorporated, stopping to scrape down the sides of the bowl as needed. Add the flour and mix on low speed just until a crumbly dough forms.Transfer the dough to a clean work surface and gently bring it together into one mass. Using a kitchen scale, divide the dough into two portions: one weighing 355g and the other 175g. If you don't have a scale, divide the dough into thirds and combine two portions to make the larger piece. Shape the larger portion into a smooth ball. This will be the vanilla dough. Place the smaller portion back into the mixer bowl to prepare the peppermint dough. Make the Peppermint DoughIn a very small microwave-safe bowl, combine the red food coloring packet, water, and peppermint oil. Microwave in 2-second intervals, stirring between each interval, until the food coloring dissolves and the mixture is smooth. Add the red mixture to the smaller portion of dough in the mixer bowl. Mix on low speed until the color is evenly distributed and the dough comes together. Assemble the Dough LogPlace a piece of parchment paper on your work surface, or lightly flour a clean surface. Divide the vanilla dough into four equal pieces, about 88g each. Roll each piece into a ball, then shape it into a log approximately 10 inches long. Divide the peppermint dough into three equal pieces, about 58g each. Roll each piece into a ball, then shape it into a log approximately 10 inches long.Using your hands, gently flatten one vanilla dough log until it is about 1½ inches wide. Place a peppermint dough log on top and flatten it slightly to match the width of the vanilla layer. Repeat with the remaining dough logs, alternating between vanilla and peppermint layers until all the logs are stacked.Gently roll the stacked dough between your hands to round the edges and form one large log about 10 inches long. Twist the two ends of the log in opposite directions to create a swirled pattern throughout the dough. Shape a Smooth, Round LogFor a neat, symmetrical cookie log, place the dough on a sheet of parchment paper and fold the parchment over it to encase the dough. Hold a straight object, such as a ruler or bench knife, between the dough and the work surface with your nondominant hand. With your dominant hand, gently pull the parchment away from you. This helps push the dough against the straight edge, smoothing the surface and creating a more evenly rounded log. Coat with Sparkling SugarSpread the sparkling sugar on a piece of parchment paper in a strip approximately 2 inches wide and 10 inches long. Roll the dough log in the sugar, gently pressing as needed so the outside is evenly coated. Chill the DoughWrap the sugar-coated log tightly in plastic wrap, or place it in a slice-and-bake cookie dough keeper. Refrigerate until very firm, at least 2 hours and up to 4 days. Chilling makes the dough easier to slice and helps the cookies maintain their shape during baking. Slice and BakeWhen ready to bake, preheat the oven to 350°F, positioning the racks in the upper and lower thirds. Line two baking sheets with parchment paper. Remove the dough log from the refrigerator and unwrap it. Using a sharp knife, slice the log into rounds about ¼ inch thick.Rotate the log approximately 90 degrees after every three to four slices. This helps prevent the dough from flattening on one side and keeps the cookies as round as possible. Arrange the slices on the prepared baking sheets, spacing them about 2 inches apart.Bake for 15–20 minutes, rotating the baking sheets from top to bottom and front to back halfway through baking. The cookies are ready when their edges turn golden brown. Remove the baking sheets from the oven and let the cookies cool for about 10 minutes before transferring them to a wire rack to cool completely.