- 1 - 10 ounce package Oreo Thins (35-40 cookies)
- 2 - 10 ounce bags white chocolate melting wafers
- 1 - 10 ounce bag chocolate melting wafers
- 1/4 cup peppermint bits
Sheet pan
Parchment paper or foil
Heatproof bowls
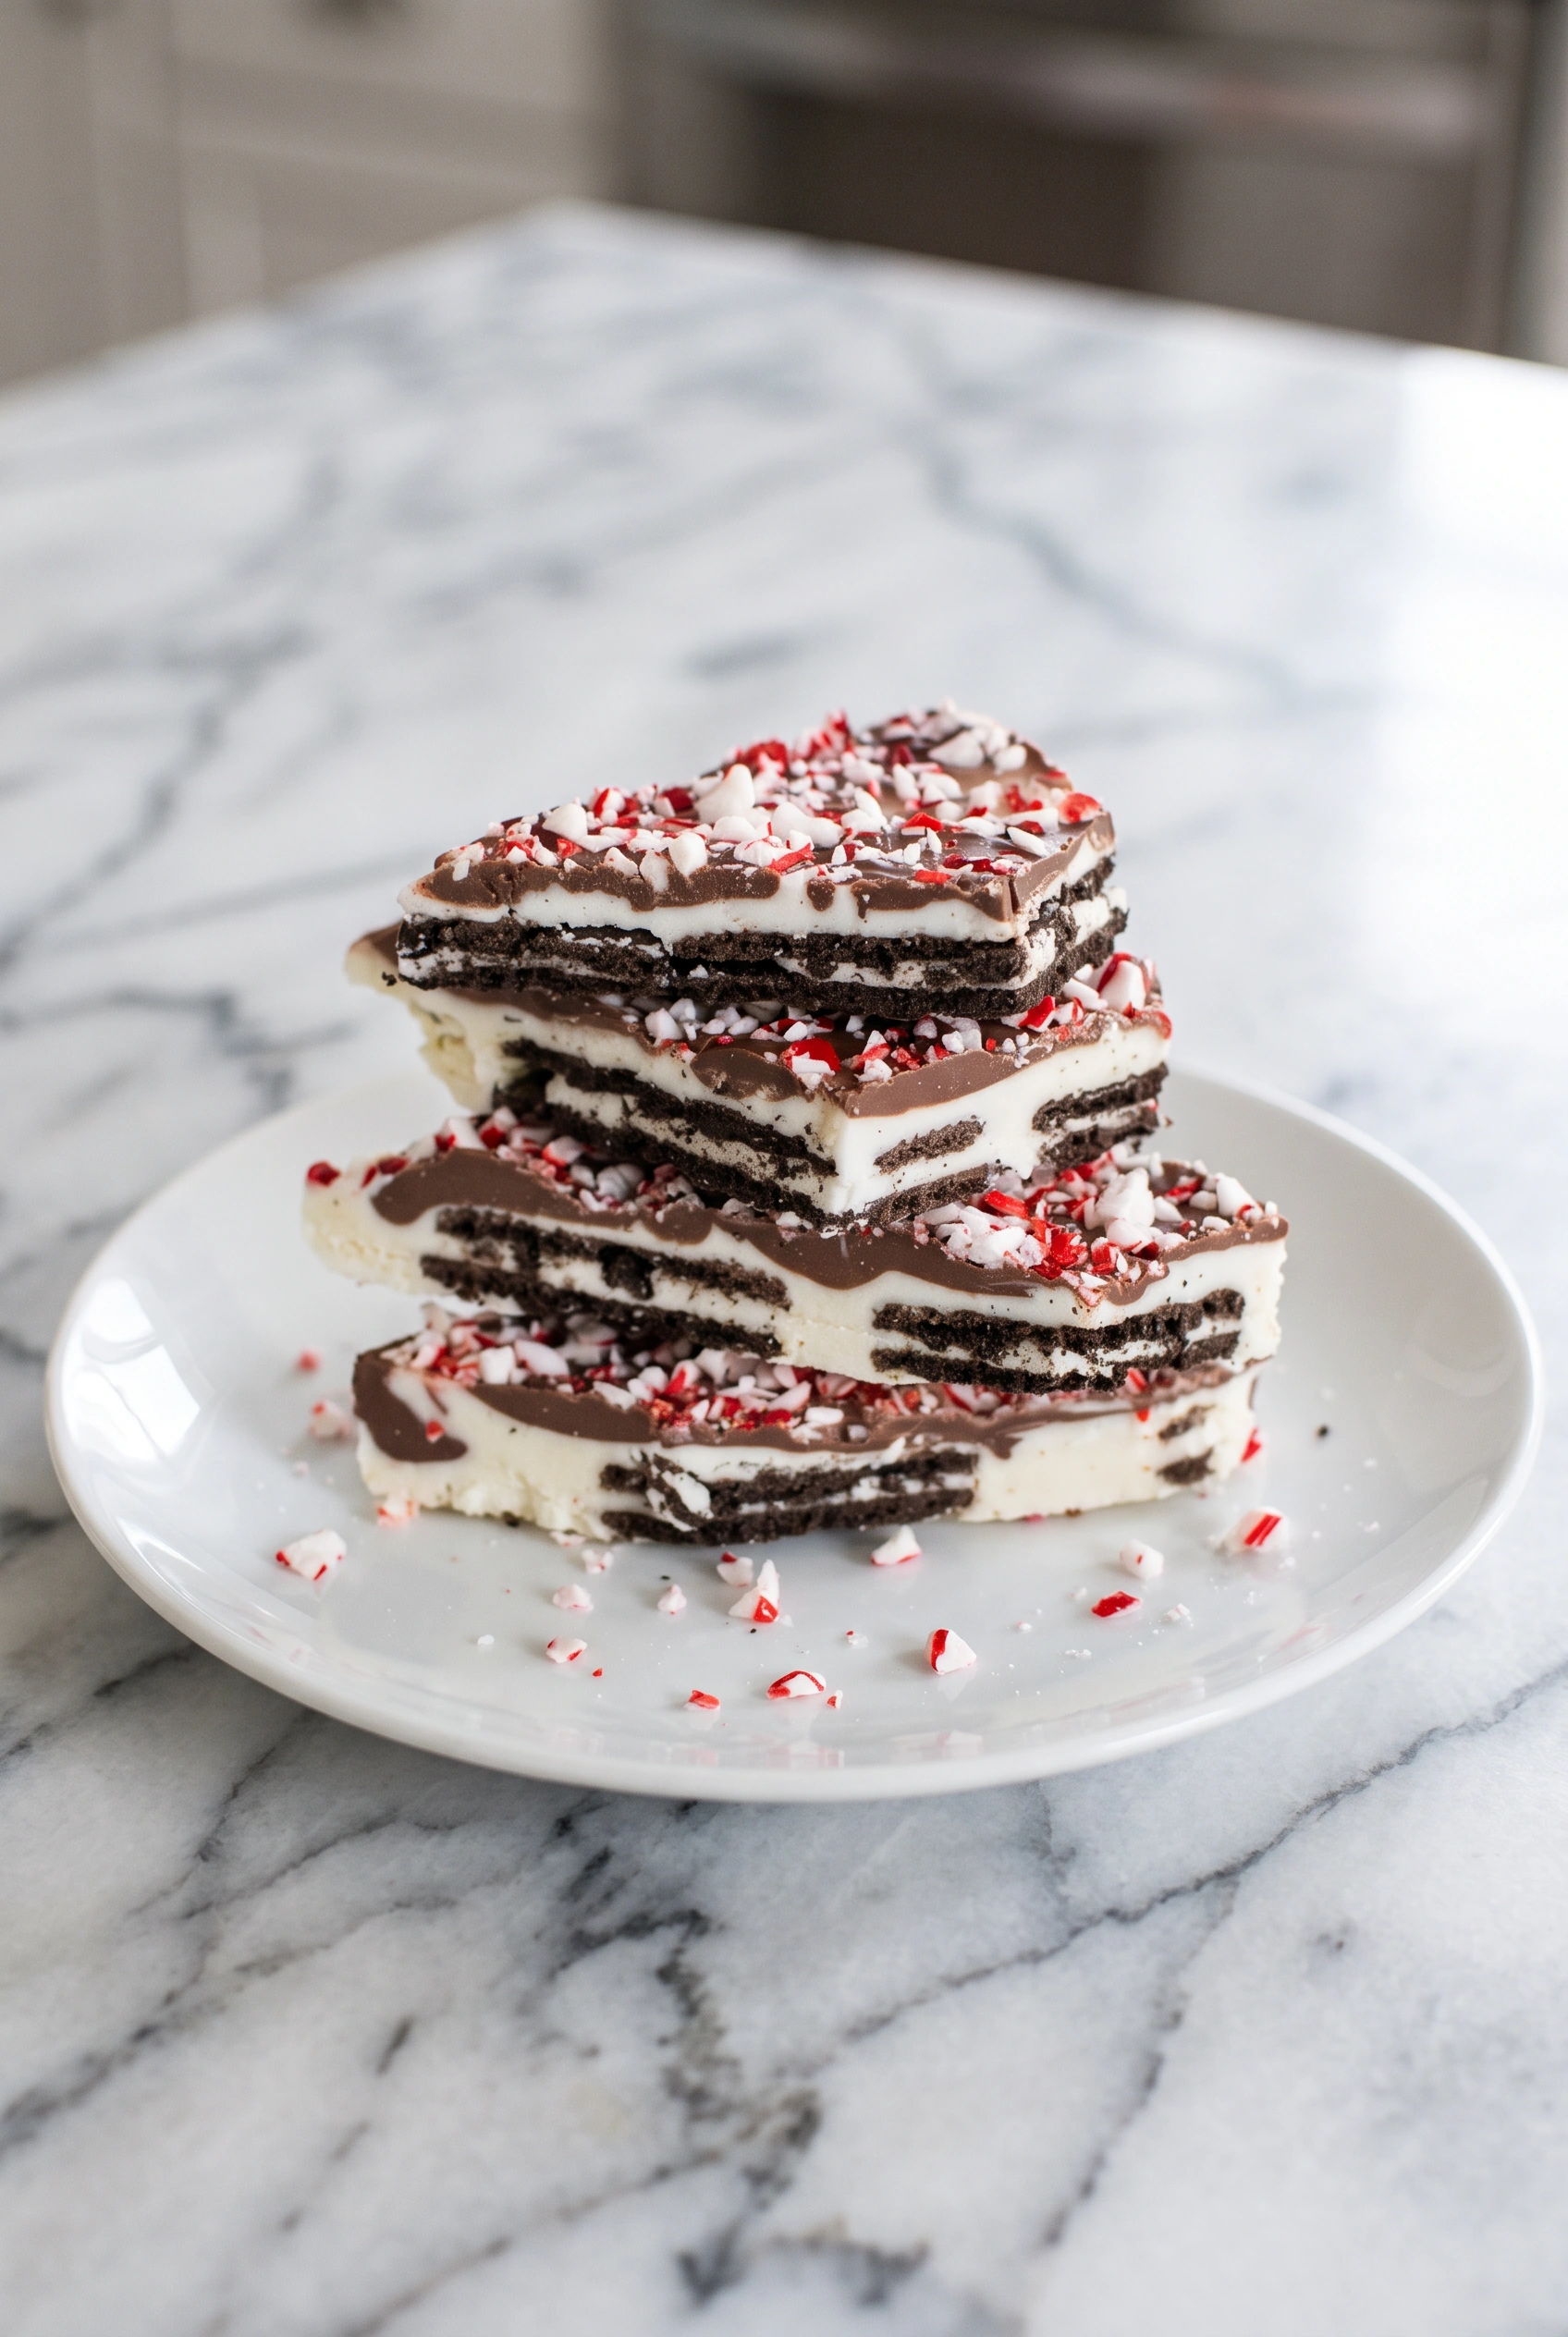
Prepare the PanLine an 11 × 15-inch sheet pan with aluminum foil, making sure it lies as flat as possible. If you prefer parchment paper, smooth out any wrinkles before starting. Wrinkles can show in the finished chocolate bark, while foil is generally more forgiving and easier to work with. Melt the ChocolatePlace 2 1/2 cups of white chocolate melts in one microwave-safe bowl and 1 cup of dark chocolate melting wafers in a separate bowl. Melt each bowl according to the package instructions. If using the microwave, heat the chocolate in 30-second intervals, stirring well between each burst until smooth. Be careful not to overheat the chocolate. Burnt chocolate develops an unpleasant smell and cannot be salvaged. Dip the CookiesDip the bottoms of the cookies into the melted white chocolate, then arrange them flat and side by side on the foil-lined sheet pan. Continue until all the cookies are arranged across the pan. This step helps anchor the cookies in place so they do not slide around when you spread the remaining chocolate over them. A little overlapping is fine if needed. Cover with White ChocolateSpread the remaining melted white chocolate evenly over the tops of the cookies using a flat spatula. Do not worry about achieving a perfectly smooth surface. The dark chocolate will cover much of the white chocolate, and the swirled pattern will give the bark its finished look. Add the Dark ChocolateSpoon the melted dark chocolate over the white chocolate layer in small dollops. Using a butter knife, gently swirl the dark chocolate through the white chocolate until you achieve a pattern you like. Avoid overmixing, as the two chocolates can blend together and create a muddy appearance instead of distinct swirls. Finish with PeppermintSprinkle the peppermint bits evenly over the chocolate bark while the chocolate is still soft enough for them to stick. Let the bark set at room temperature for about 1 hour, or place it in the refrigerator for approximately 20 minutes until firm. Avoid freezing the bark, as condensation can form on the chocolate when it is removed from the freezer. Cut and StoreOnce the chocolate is completely set, use a large, sharp knife to cut the bark into pieces. Triangles make a pretty presentation, while squares are generally easier to cut. Store the finished bark in a sealed, airtight container to keep it fresh.