- 4 tablespoons (57g) butter cold
- 1 cup (170g) white chocolate chopped
- 3/4 cup (149g) granulated sugar
- 2 teaspoons King Arthur Pure Vanilla Extract
- 1/4 teaspoon ground nutmeg
- 1/2 teaspoon table salt
- 2 large eggs
- 1 1/4 cups (150g) King Arthur Unbleached All-Purpose Flour
- 1/2 teaspoon baking powder
- 1 cup (170g) bittersweet chocolate wafers chopped
8x8 metal baking pan
Two mixing bowls
Butter knife
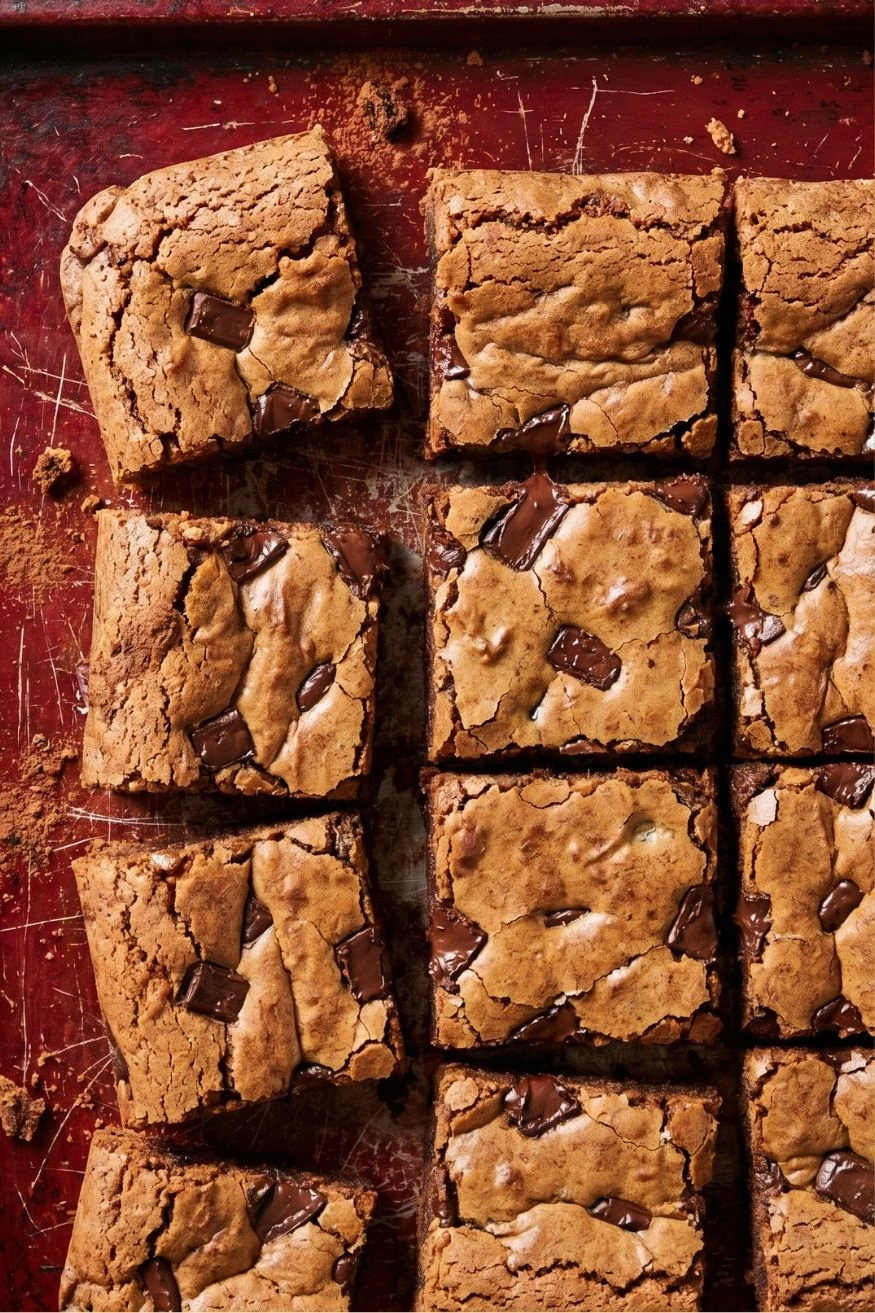
Prep the panYou preheat the oven to 350°F and line the 8x8 pan with parchment paper, leaving overhang on two sides so you can lift the finished brownies out cleanly. Skipping the parchment means you will spend twenty minutes with a spatula trying to excavate brownie squares from the corners. Make the dark chocolate batterYou whisk the melted butter and granulated sugar together in the first bowl until combined, then beat in the eggs one at a time. You add the cocoa powder, flour, and salt and stir until no dry streaks remain. The batter runs thick, almost like a stiff frosting, which is correct. You set the bowl aside. Melt the white chocolateYou combine the white chocolate chips and butter in a microwave-safe bowl and heat in thirty-second bursts, stirring between each interval, until the mixture melts into a smooth, glossy liquid. White chocolate burns faster than dark chocolate and turns from melted to seized in the space of one extra thirty-second interval. If the mixture turns grainy or solid, you stir in one teaspoon of neutral oil, such as canola or vegetable, and warm it for ten additional seconds. That step recovers most seized white chocolate batches. Finish the white chocolate batterYou let the melted white chocolate cool for two minutes, then whisk in the eggs, flour, and vanilla until the batter comes together smoothly. You stop mixing the moment you see no dry flour, because overmixing develops gluten and makes the finished brownies tough rather than tender. Dollop and create the swirlYou drop alternating tablespoon-sized spoonfuls of dark and white batter across the prepared pan in a rough checkerboard pattern. You do not need precision here. Once both batters cover the pan, you drag a butter knife through the surface in three or four slow figure-eight passes to create the marbled effect. The goal of true swirl brownies is distinct contrast between the two colors, and you protect that contrast by stopping before the two batters fully merge into one pale brown uniform layer.The marbled cookie brownie variation fits here naturally. You press small torn pieces of refrigerated chocolate chip cookie dough into the top surface of the batter after swirling, before the pan goes into the oven. The cookie dough bakes into soft, golden patches across the top and adds a chewy textural contrast to the fudgy brownie underneath. Bake and coolYou slide the pan into the center rack of the 350°F oven and bake for twenty-five to thirty minutes. You test doneness by inserting a toothpick into the center of the pan. A toothpick that comes out with a few moist crumbs but no wet batter indicates a done brownie. A completely clean toothpick signals a slightly overbaked one. You pull the pan at the moist-crumb stage for the fudgiest result.You let the pan cool on a wire rack for at least one hour before cutting. Cutting hot brownies compresses the layers and produces ragged, collapsed squares instead of clean slices. A chilled pan produces the cleanest cuts.